Testing a tachometer effectively is crucial for ensuring its functionality and accuracy, which are particularly important in various industrial and mechanical applications. In this article, we will delve deep into the intricacies of how to test a tachometer. We are delighted to provide you with a step-by-step guide that is approved by industry professionals, ensuring that you can test your tachometer with tremendous confidence.

Understanding Tachometers
A tachometer is an instrument that measures the rotation speed of a shaft or disk, typically in a motor or other machine. By determining the revolutions per minute (RPM), tachometers provide critical data required to maintain efficient operation of machines and vehicles.
Why Testing Your Tachometer is Important
Inaccurate tachometer readings can lead to inefficient operation and even damage to machinery. Ensuring that your tachometer works correctly provides peace of mind and guarantees that your equipment runs optimally.
Types of Tachometers
Digital Tachometers
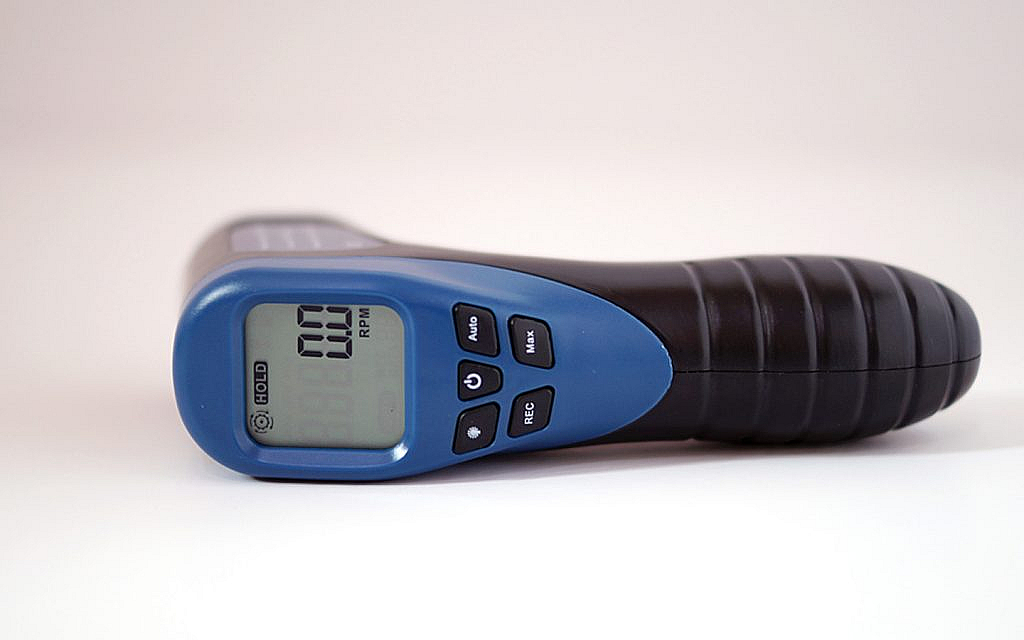
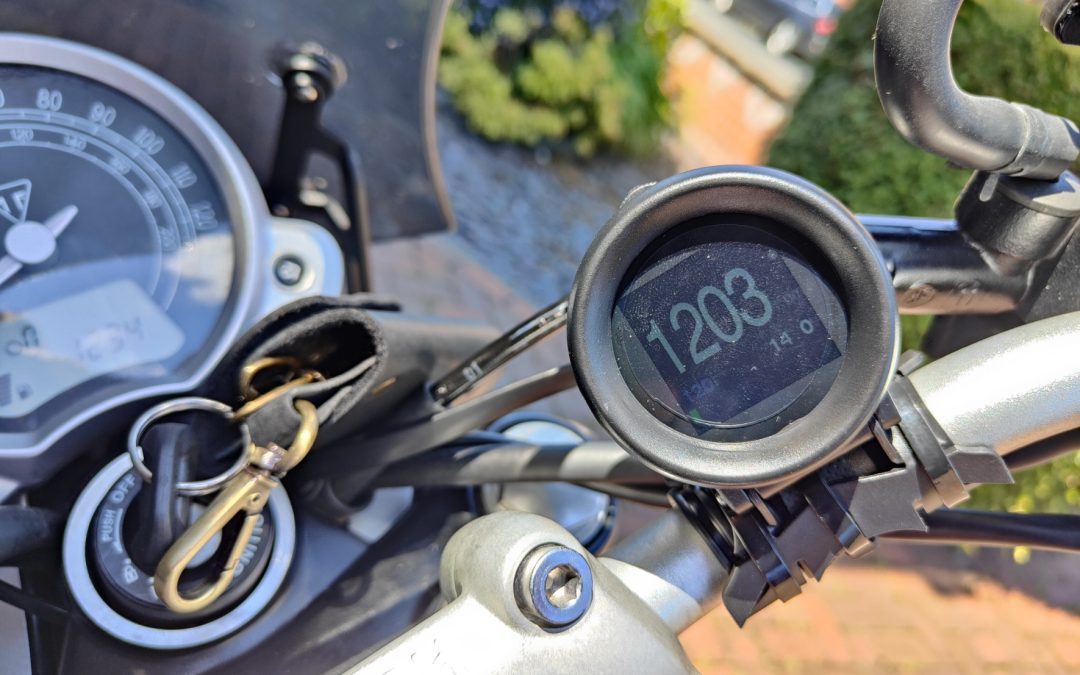
Digital tachometers provide electronic means to measure RPM and usually offer more precise readings.
Mechanical Tachometers
Mechanical tachometers operate using physical movements and are generally more robust and simpler to use in harsh conditions.
Contact and Non-Contact Tachometers
Contact tachometers require physical contact with the rotating object, while non-contact tachometers use laser or other means to measure RPM without direct contact.
Basic Tools Needed for Testing
To test a tachometer, you will need a few basic tools: a known reference motor, a power supply, cables, and connectors, and possibly a strobe light for manual testing.
Step-by-Step Guide on How to Test a Tachometer
1. Initial Visual Inspection
Before starting, ensure that the tachometer and its connections are visually in good shape.
2. Setting Up the Test Environment
Make sure you have a controlled environment to perform the test, minimizing external factors that could affect the readings.
3. Connecting the Tachometer
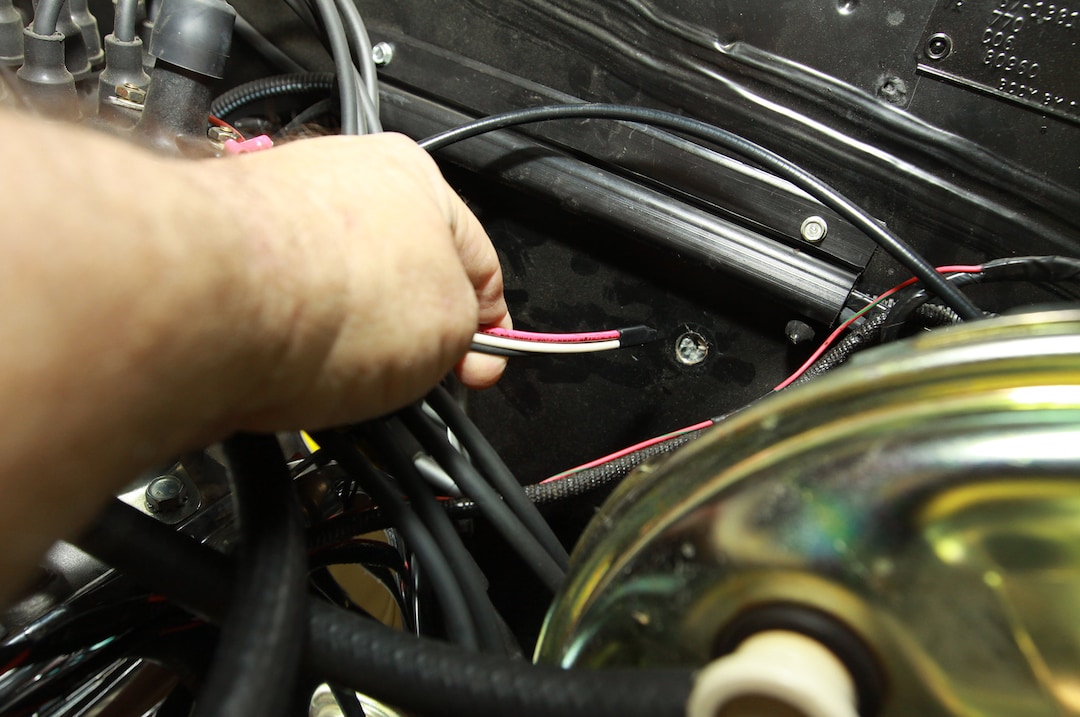
Connect the tachometer to the test motor securely, ensuring that all cables and connectors are properly attached.
4. Calibrating the Tachometer
Calibrate the tachometer using a known good reference source to establish baseline accuracy.
5. Running the Test
Run the motor and compare the tachometer readings with the known reference data. Adjust if necessary.
Advanced Testing Techniques
Using a Strobe Light
A strobe light can be used to manually validate the readings from the tachometer, providing another layer of accuracy.
Software-Based Testing
Software solutions can also be used to compare real-time data and historical data to ensure the accuracy of your tachometer.
Common Issues and Troubleshooting
Inconsistent Readings
If the readings are inconsistent, check the connections and recalibrate the tachometer.
Zero Readings
Zero readings usually indicate a failure in the connection or a power issue. Double-check all connections and power supply.
Maintenance Tips
Regular maintenance of your tachometer can greatly extend its lifespan. Make sure to clean it regularly and store it in appropriate conditions.
Real-World Applications
Tachometers are used extensively in various industrial applications, from automotive to manufacturing industries.
Additional Resources
For those interested in advanced applications, further reading can be done at Tesca Global and Britannica.
Additionally, for more in-depth details, related internal links are manufacturing inspection, event detection, and paint and coating inspection.

Frequently Asked Questions
1. What is a tachometer used for?
A tachometer measures the RPM of a rotating object, essential for monitoring and controlling the performance of machines.
2. How do you calibrate a tachometer?
Calibrating a tachometer involves using a known reference source to adjust the device for accurate readings.
3. Why is my tachometer showing zero readings?
Zero readings usually indicate a problem with the connection or power supply. Ensure all components are properly connected and powered.
