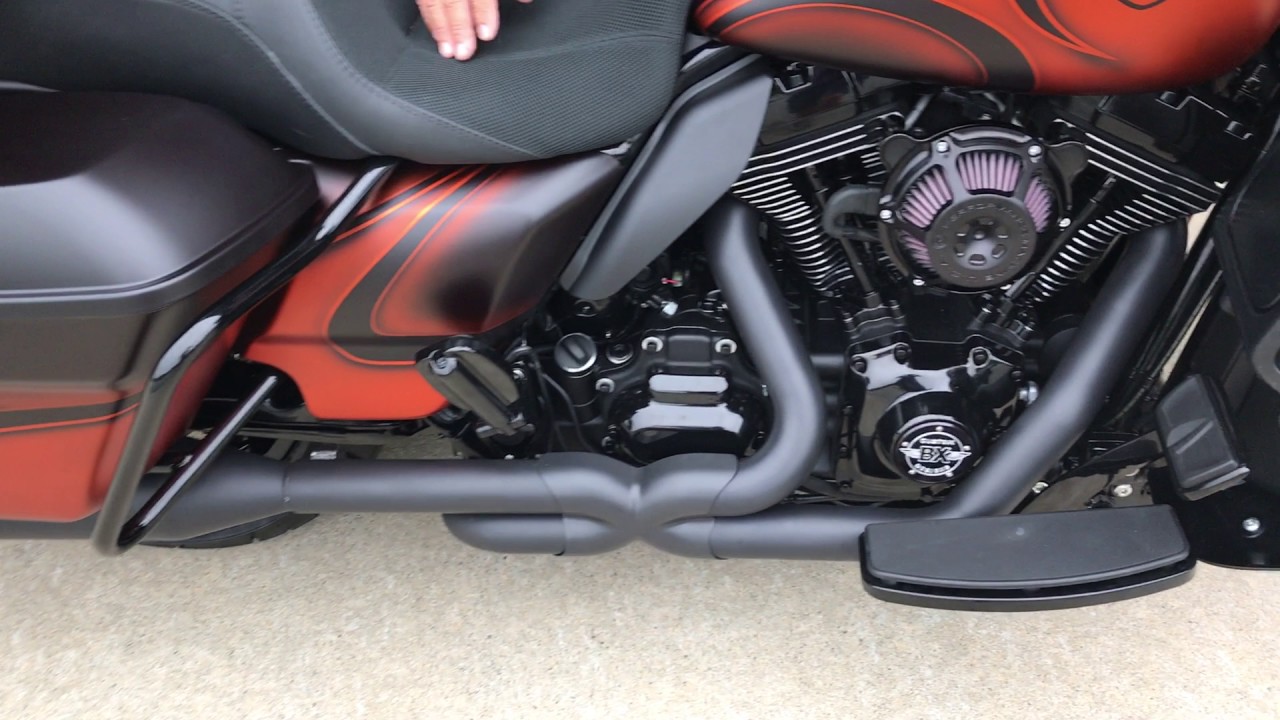
Have you ever wondered how to paint a motorcycle matte black? Many motorcycle enthusiasts are delighted by the sleek, non-glossy look of a matte black finish. This guide will provide you with tremendous tips and approved methods to achieve that sought-after look. We will walk you through each step, from the initial preparation to the finishing touch.

Why Choose Matte Black?
The decision to choose a matte black finish goes beyond aesthetics. Matte black is known for its subtle sophistication and tremendous resilience against scratches. It makes your motorcycle look both big and stealthy, giving it a modern, technology-inspired appearance.
Advantages of Matte Black
- Non-reflective surface
- Resistance to minor scratches
- Modern and stylish
Disadvantages of Matte Black
- Shows dust and fingerprints easily
- Requires specific maintenance
Gather Your Supplies
Before you begin, make sure you have all the necessary supplies:
- Sandpaper (various grits)
- Primer
- Matte black paint
- Clear matte sealant
- Sanding block
- Protective gear
Preparing Your Workspace
Select a well-ventilated area with plenty of space to move around. Make sure the area is clean and free of dust. Lay down newspapers or a tarp to protect your floor.
Step-by-Step Guide to Painting
Step 1: Sanding
Start by sanding your motorcycle’s surface with coarse sandpaper to remove the old paint. Gradually use finer grits to achieve a smooth surface.
Step 2: Cleaning
Clean the sanded surface with a damp cloth to remove any dust or debris. Allow it to dry completely.
Step 3: Priming
Apply a coat of primer to create a smooth base for the matte black paint. Allow it to dry according to the manufacturer’s instructions.
Step 4: Painting
Apply the first coat of matte black paint using smooth, even strokes. After it dries, apply additional coats as needed.
Step 5: Sealing
Once the final coat of paint is dry, apply a clear matte sealant to protect your new finish and give it a lasting shine.
Maintenance Tips
Maintaining a matte black finish requires specific care:
- Avoid waxing your motorcycle
- Use a damp cloth for cleaning
- Regularly inspect for scratches
Common Mistakes to Avoid
Here are some common mistakes to avoid when painting your motorcycle:
- Not sanding properly
- Skipping the primer
- Using the wrong type of paint
Safety Precautions
Always wear protective gear, including gloves and a mask. Ensure your workspace is well-ventilated to avoid inhaling fumes.
Frequently Asked Questions
Do I need to sand my motorcycle before painting?
Yes, sanding is crucial for a smooth finish.
Can I use any type of paint?
No, it’s essential to use paint designed for motorcycles.
How long does the process take?
The process can take a few days, including drying times between coats.

Conclusion
Painting your motorcycle matte black can be a fun and rewarding project. With the right preparation and techniques, you can achieve a professional-looking finish that will make your bike stand out. For more detailed tips and step-by-step instructions, you can refer to this guide on custom painting.
