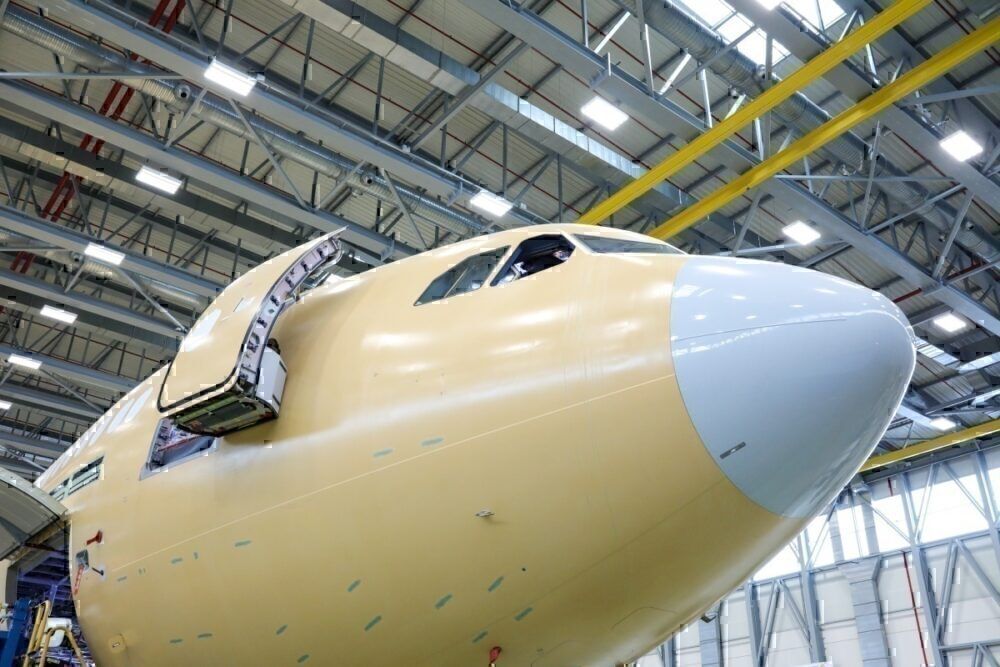
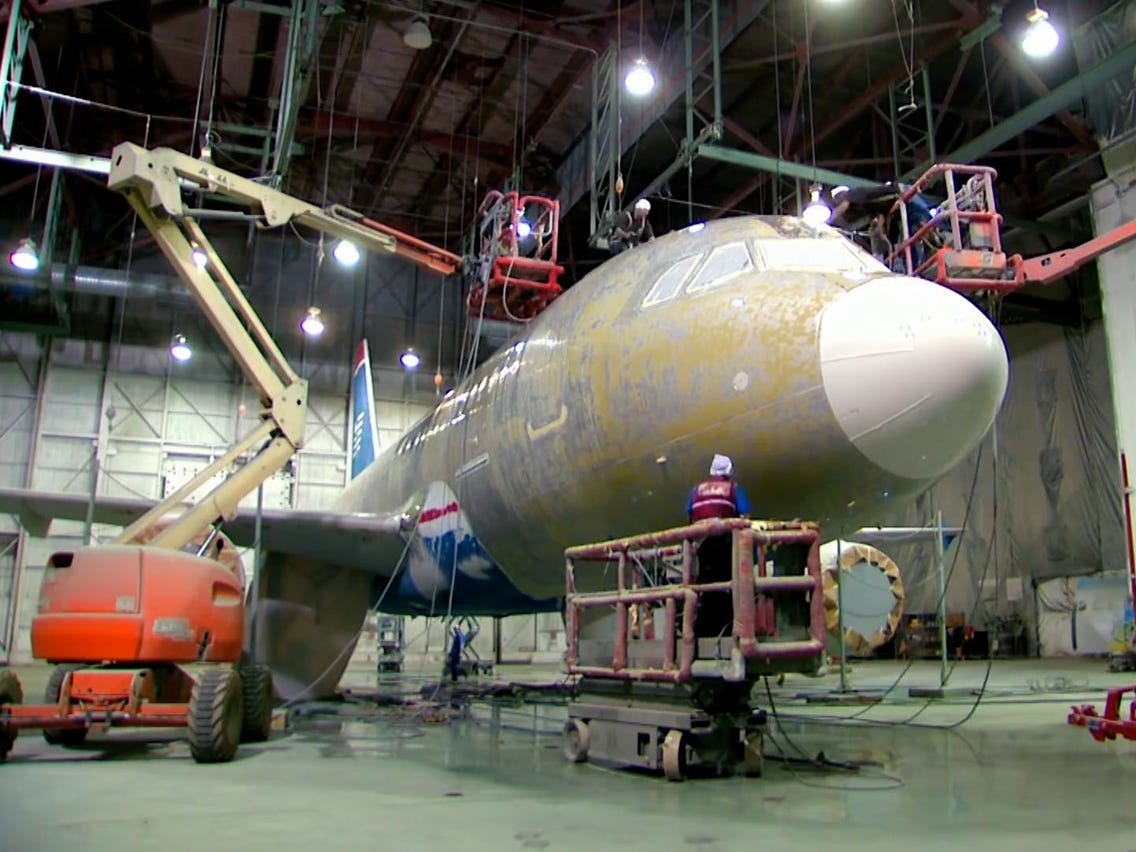
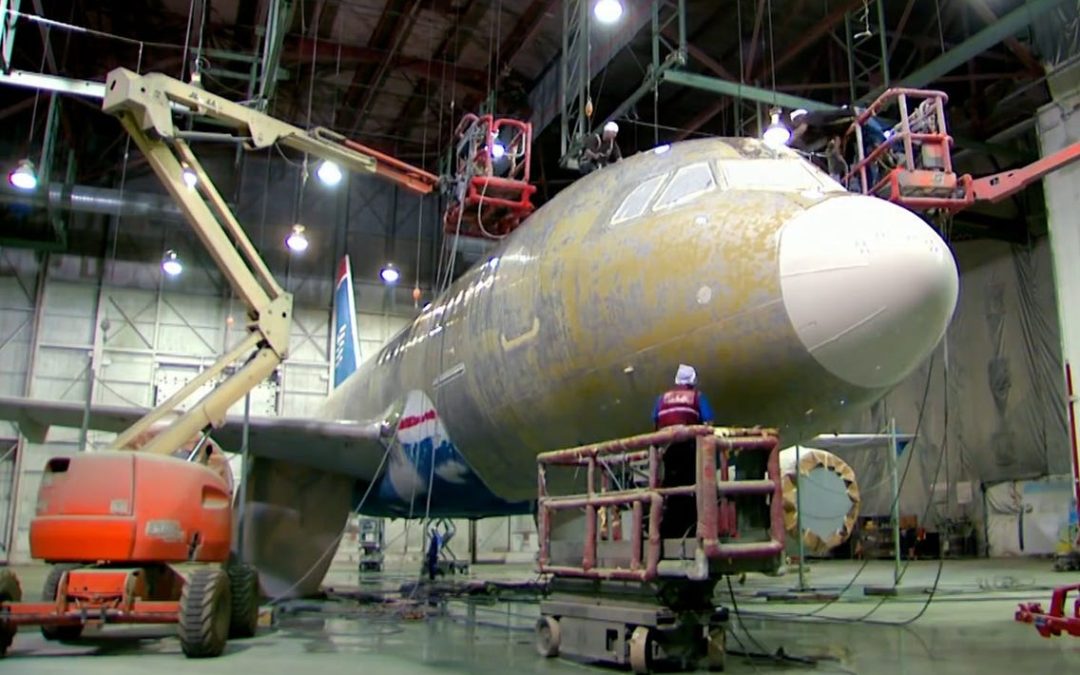
Understanding how to use aircraft paint remover is crucial for anyone involved in aviation maintenance or restoration. Whether you are a professional in the aviation industry or a DIY enthusiast, knowing the correct method ensures the safety and effectiveness of the paint removal process.

Understanding Aircraft Paint Remover
Before diving into the process, it’s important to understand what aircraft paint remover is and why it’s uniquely formulated for aviation use. Standard paint removers may not be effective on the tough, durable coatings used on aircraft.
What is Aircraft Paint Remover?
Aircraft paint remover is a chemical solution specially designed to strip the thick, durable paint used on airplanes without damaging the underlying structure. Its formulation is often very strong and can safely work on various types of aircraft materials, including aluminum and composite.
Why Use Aircraft Paint Remover?
The removal of old paint is necessary for several reasons: ensuring a smooth application of new paint, preventing corrosion, and maintaining the aircraft’s structural integrity. Using a remover designed for aircraft can avoid the risks associated with standard removers, such as weakening the material or causing future corrosion.
Steps to Use Aircraft Paint Remover
Each step in the paint removal process must be followed precisely to ensure complete and safe removal of the old paint.
Step 1: Preparation
Start by gathering all necessary equipment, such as protective gear (gloves, goggles, and masks), scrapers, brushes, and, of course, the paint remover. Adequate ventilation is essential, so ensure you’re working in a well-ventilated area or use a fume extractor.
Step 2: Application
Apply the remover generously and evenly across the paint surface. Ensure that it forms a thick layer for effective penetration. Depending on the remover, you may need to wait a specified amount of time for it to work effectively.
Step 3: Scraping
After the remover has had time to work, use a scraper to gently remove the loosened paint. Be careful not to damage the underlying surface. Repeat the application if necessary for any remaining paint.
Step 4: Cleanup
Once all the paint is removed, clean the surface thoroughly to remove any residue of the remover. This step is critical to prepare the surface for repainting or any other maintenance work.
Safety Precautions
Using aircraft paint remover involves handling strong chemicals, so safety is paramount. Always wear protective clothing, gloves, goggles, and masks. Work in a well-ventilated area to avoid inhaling fumes, and strictly follow the manufacturer’s instructions regarding application and disposal.
Common Mistakes and How to Avoid Them
Avoid these common mistakes to ensure a smooth and successful paint removal process:
Using Insufficient Product
Using too little paint remover can result in incomplete or uneven stripping. Always apply a generous amount as directed.
Scraping Too Aggressively
Aggressive scraping can damage the underlying material. Always scrape gently and patiently.
Skipping Safety Precautions
Never skip on safety gear. The chemicals in these removers can be highly corrosive and dangerous.

FAQs
How Long Does Aircraft Paint Remover Take to Work?
It usually takes between 15 to 45 minutes, depending on the product and thickness of the paint.
Can I Use Household Paint Remover on Aircraft?
No, household paint removers are not strong enough and may damage the aircraft’s surface.
What Should I Do if the Paint Remover Contacts My Skin?
Immediately wash with water and seek medical advice if irritation persists.
For a detailed understanding of choosing the right aircraft paint, you can refer to this article on choosing the right aircraft paint.
