Introduction
Building your own CNC milling machine might sound overwhelming at first. But with the right guidance, it’s absolutely achievable. Imagine being able to construct a device that’s precise, efficient, and can turn raw materials into designed masterpieces. The feeling of accomplishment and the skills acquired are tremendous. In this article, we’ll dive into the steps needed for this incredible project and ensure you feel delighted with your progress.
What is a CNC Milling Machine?
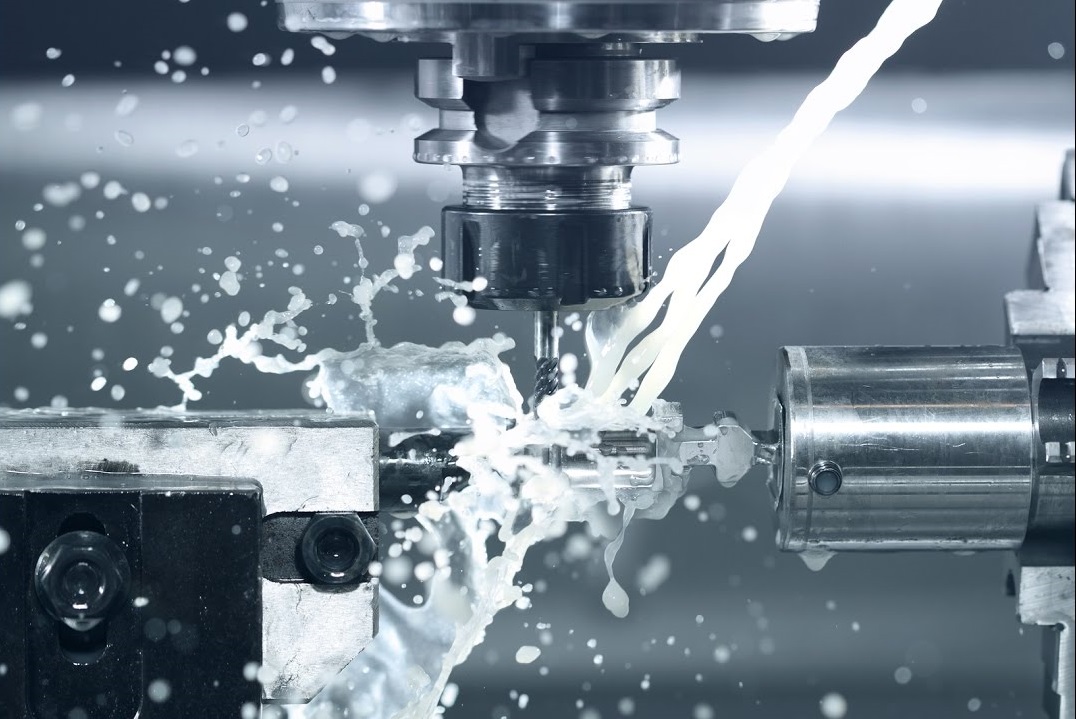
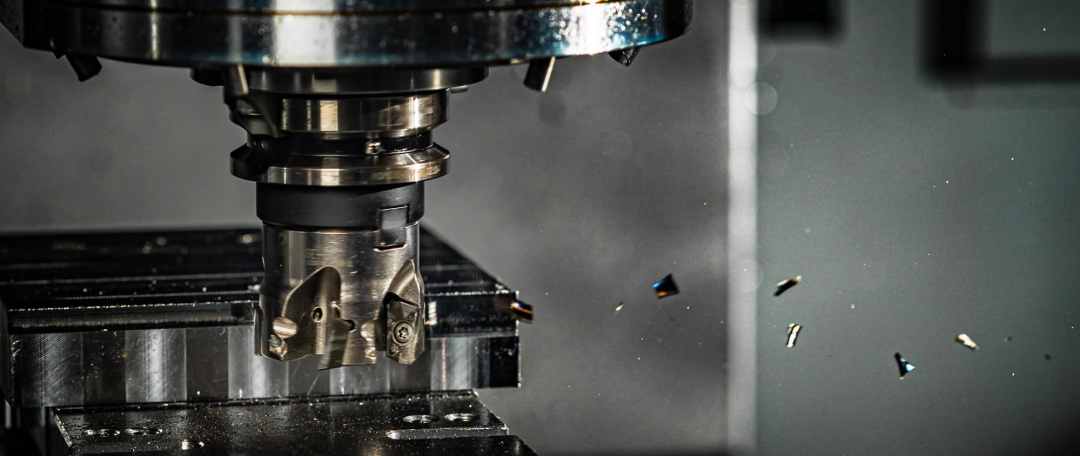
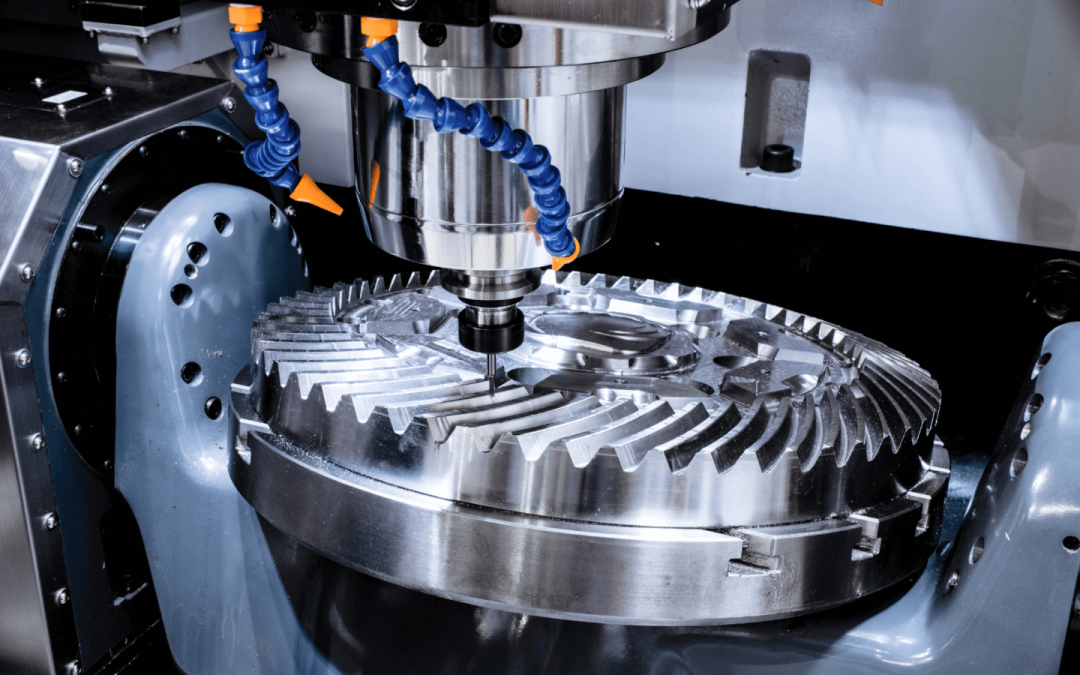
Before diving into the construction, let’s understand what a CNC milling machine is. CNC stands for Computer Numerical Control. Essentially, it’s a machine that uses computers to control the movement and operation of a milling cutter. This allows for highly detailed and precise work that’s essential in today’s technology-driven world.
Benefits of Building Your Own CNC Milling Machine
- Cost savings compared to buying a commercial machine
- Customizable to your specific requirements
- Hands-on learning experience
- Improved problem-solving and engineering skills
Materials Required
Mechanical Components
For the mechanical build, you’ll need:
- Frame material (usually aluminum or steel)
- Linear motion components (rails, bearings)
- Spindle motor
- Lead screws or ball screws for movement
Electronic Components
The electronic setup will include:
- CNC controller (Arduino, for example)
- Stepper motors or servo motors
- Motor drivers
- Power supply
Step-by-Step Construction Guide
Step 1: Designing the Machine
Start by deciding the dimensions and specifications of your CNC milling machine. Software like CAD (Computer-Aided Design) can be extremely helpful in this phase. This step is crucial as it helps in visualizing the final product.
Step 2: Building the Frame
The frame is the backbone of your machine. Ensure it’s sturdy and aligns well with your design. Use quality materials like aluminum to provide a strong and stable platform.
Step 3: Assembling Linear Motion Components
Install the rails and bearings to ensure smooth and precise movement. This step requires accuracy to avoid any future issues.
Step 4: Setting Up the Spindle and Motor
The spindle motor is the heart of the CNC machine as it does the cutting. Ensure it is properly secured and matched with suitable motors, usually stepper or servo motors.
Step 5: Wiring the Electronics
This step involves connecting your CNC controller, motors, and drivers. Make sure to follow the wiring diagrams accurately. A mistake here can cause malfunctions.
Step 6: Software Installation and Calibration
Install the required software to control your CNC milling machine. Common choices include GRBL and Mach3. Calibration is crucial to ensure your machine operates as expected.
Testing and Troubleshooting
Run test cuts to ensure everything is working correctly. If issues arise, troubleshoot by checking connections, re-calibrating, or verifying software configurations.
External Resources
For further details on milling machines, you can refer to this CNC Masters resource.
Internal Resources
You might also find these links from Strobox.ai helpful:

Faq
What is a CNC milling machine?
A CNC milling machine is a device that uses computer numerical control (CNC) to move and operate a milling cutter for highly detailed and precise work.
Why build my own CNC milling machine?
Building your own CNC milling machine can be cost-effective, customizable, and educational. It also improves your problem-solving and engineering skills.
What are the basic materials needed?
Basic materials include frame materials, linear motion components, a spindle motor, lead screws or ball screws, a CNC controller, motors, motor drivers, and a power supply.
