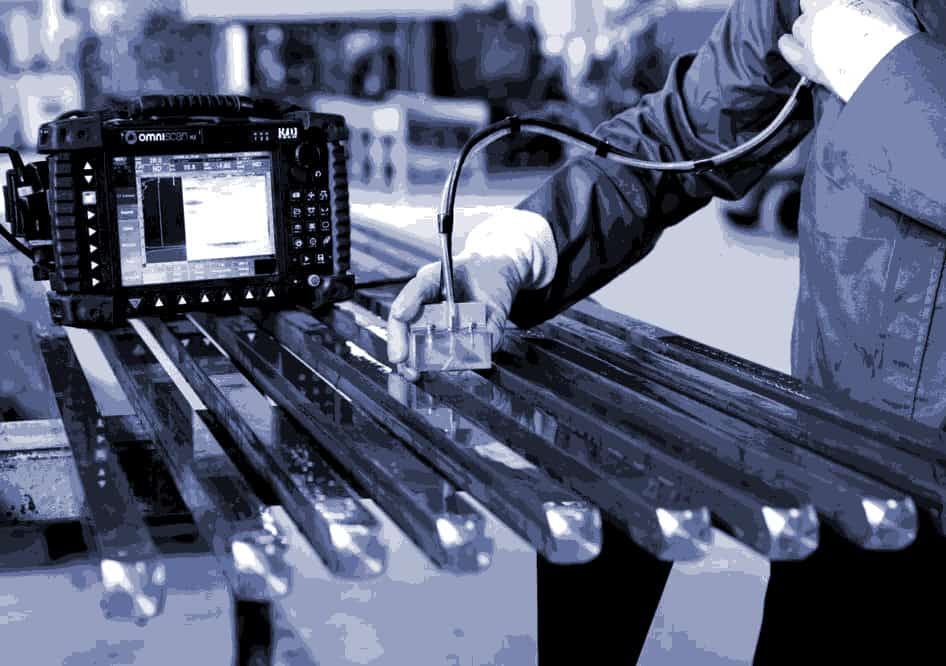
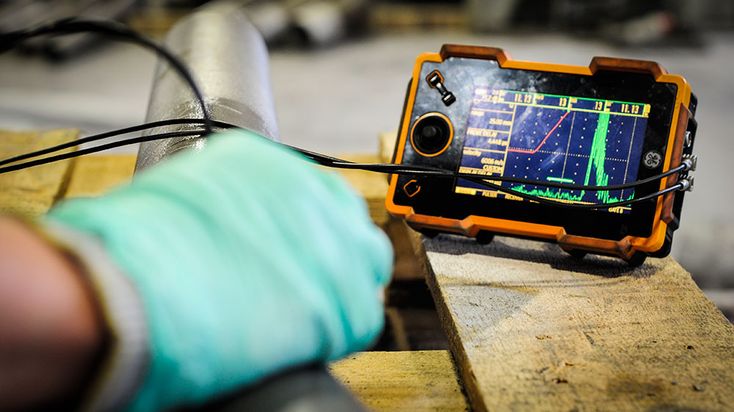
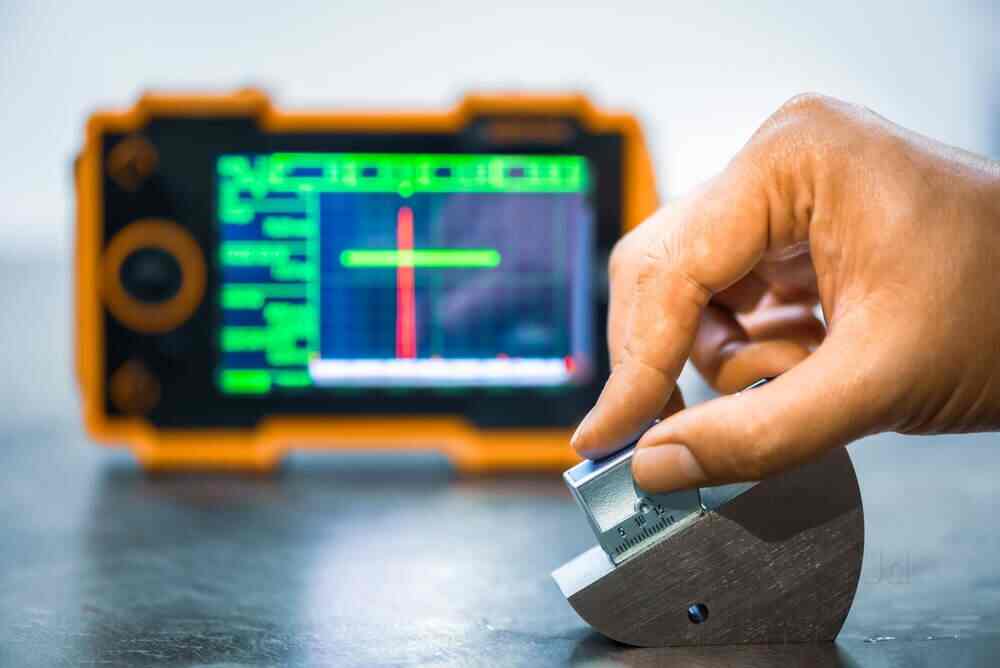
In the realm of industrial quality assurance, understanding common ultrasonic frequency errors is crucial. These errors can significantly impact the accuracy and reliability of inspections. By delving into these common pitfalls, industry professionals can enhance their inspection processes, ensuring optimal results.

Introduction to Ultrasonic Frequency Errors
Ultrasonic testing is a widely used method for non-destructive testing in various industries. However, errors in frequency settings can lead to inaccurate results. Common ultrasonic frequency errors are often overlooked but play a pivotal role in the effectiveness of this testing method.
What Are Ultrasonic Frequencies?
Ultrasonic frequencies refer to sound waves that exceed the upper limit of human hearing, typically above 20 kHz. In industrial applications, frequencies range from 1 MHz to 10 MHz, depending on the material and the required inspection depth.
Importance of Correct Frequency Settings
Setting the correct frequency is critical. It ensures that the sound waves penetrate the material adequately and reflect back to the receiver, providing accurate data about the material’s integrity.
Common Ultrasonic Frequency Errors
Understanding the common ultrasonic frequency errors can prevent inaccuracies:
- Incorrect frequency selection
- Poor synchronization between devices
- Inadequate calibration of equipment
Incorrect Frequency Selection
Choosing the wrong frequency can lead to insufficient penetration or excessive noise, both of which can distort the inspection results. For more details on selecting the optimal frequency, check out the article on optimal frequency.
Poor Synchronization Between Devices
Synchronization issues can cause delays or incorrect data capture. Proper synchronization ensures that devices work in unison, providing accurate results. Learn more about synchronization.
Inadequate Calibration of Equipment
Calibration errors can lead to incorrect readings. Regular calibration checks ensure that equipment operates correctly. For a comprehensive guide on calibration, visit frequency calibration.
Impact of Frequency Errors on Inspection Accuracy
Frequency errors can significantly affect the accuracy of ultrasonic inspections. They can lead to false positives or negatives, which can be costly in industrial applications.
False Positives and Negatives
False positives occur when the equipment indicates a defect that isn’t there, while false negatives miss actual defects. Both can have serious implications for safety and quality.
Preventing Common Ultrasonic Frequency Errors
Preventing frequency errors involves proper training, regular maintenance, and using advanced technology to enhance accuracy.
Training and Education
Ensuring that technicians are well-versed in equipment operation and frequency settings is essential in preventing errors.
Regular Maintenance
Regular maintenance of ultrasonic equipment can prevent errors due to wear and tear. This includes checking for any hardware malfunctions and ensuring software updates are current.
Advanced Technology
Incorporating advanced technology such as automated frequency selection and real-time data analysis can minimize human error. For instance, synchronization technology improves inspection accuracy.
Conclusion
In conclusion, understanding and addressing common ultrasonic frequency errors is vital for conducting accurate and reliable ultrasonic testing. By focusing on proper training, regular maintenance, and leveraging advanced technology, industry professionals can significantly reduce these errors, ensuring the integrity of their inspection processes.

FAQs on Ultrasonic Frequency Errors
What are the most common ultrasonic frequency errors?
The most common errors include incorrect frequency selection, poor synchronization between devices, and inadequate calibration of equipment.
How can I prevent ultrasonic frequency errors?
Preventing these errors involves proper training, regular maintenance of equipment, and using advanced technology for accurate data analysis.
Why is calibration important in ultrasonic testing?
Calibration ensures that the equipment is functioning correctly, providing accurate readings essential for effective testing.
For more insights into setting inspection frequencies, visit [P-F Interval Feasibility](https://power-mi.com/content/setting-predictive-maintenance-inspection-frequencies-p-f-interval-really-feasible) or explore [Key Factors for Determining Inspection Frequency](https://acoem.us/blog/other-topics/key-factors-for-determining-inspection-frequency/).
This article contains affiliate links. We may earn a commission at no extra cost to you.
