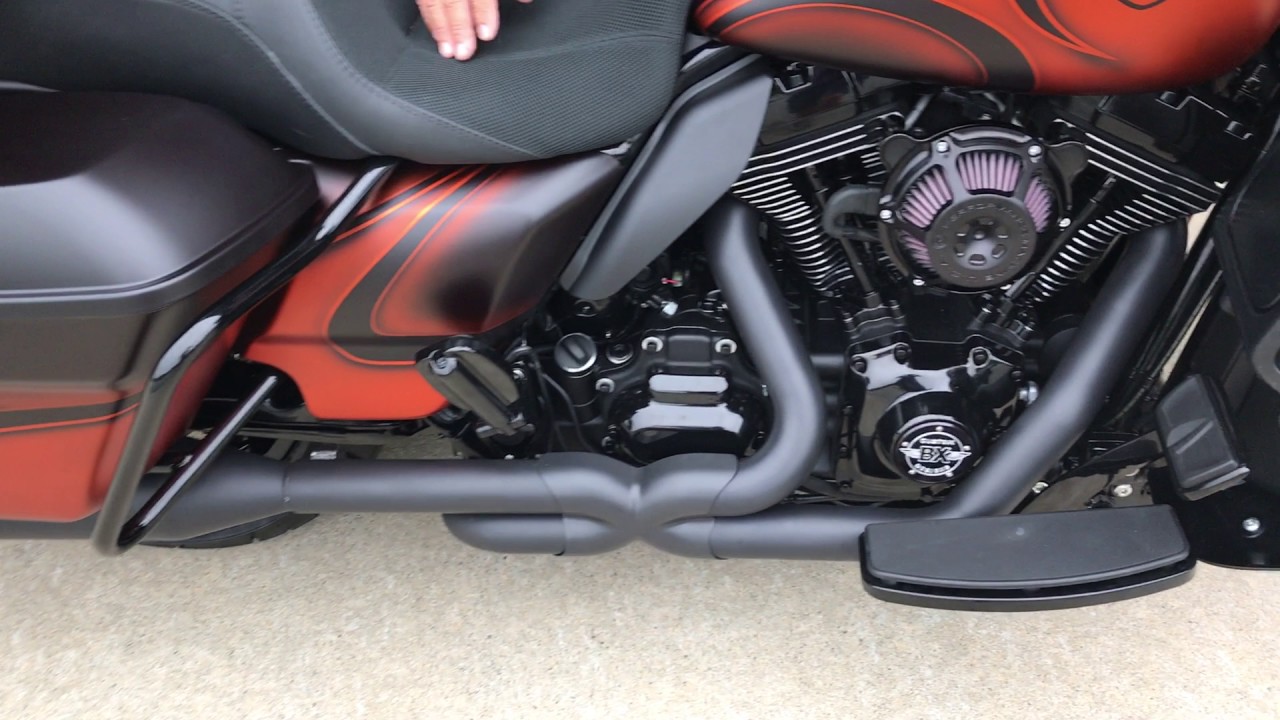
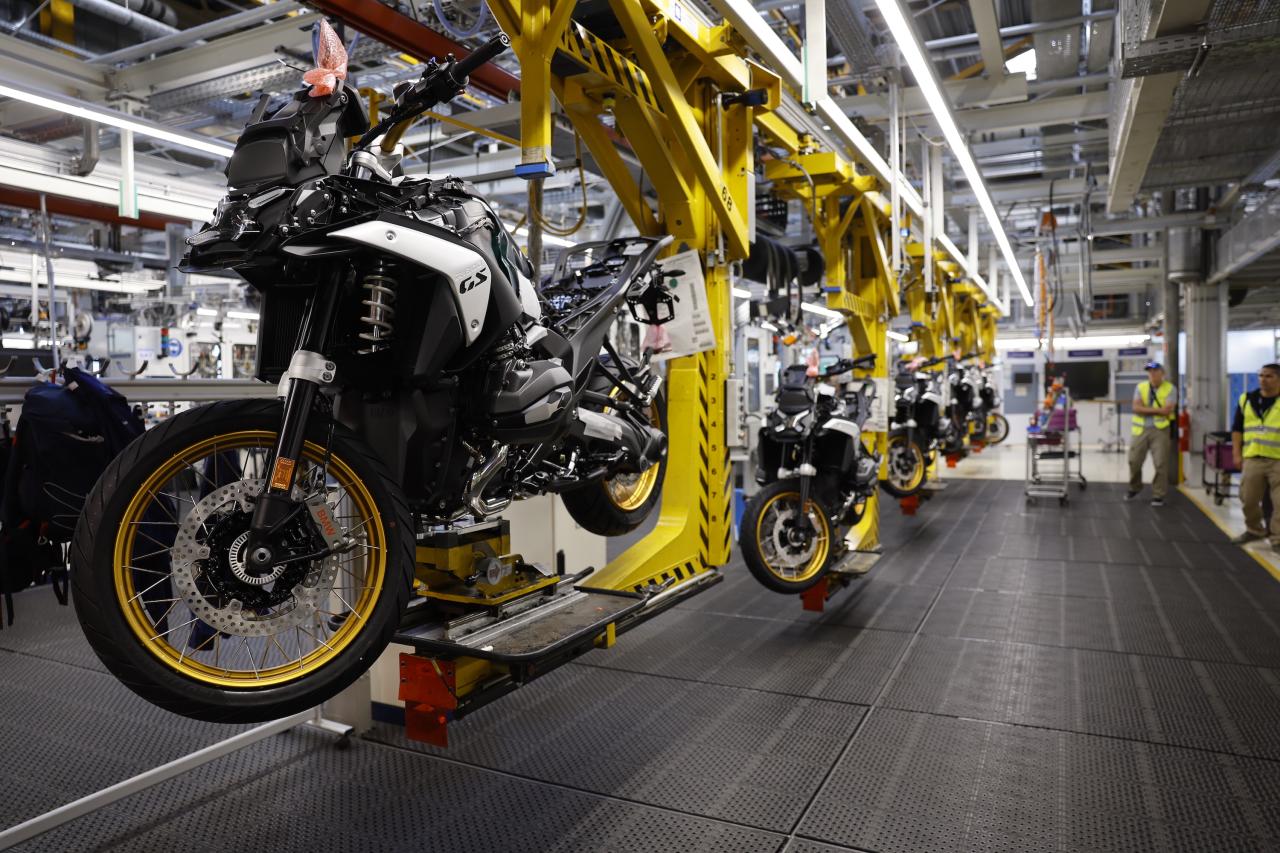
In the realm of motorcycle customization, a pristine paint job holds paramount importance. Its the first thing that catches your eye, and often, the element that makes a motorcycle stand out. However, achieving that impeccable finish is no simple feat. One of the most common challenges faced by industry QA professionals and enthusiasts alike is to Eliminate Uneven Application and Runs in Motorcycle Paint. This article provides detailed strategies and insights on how to overcome these painting woes, ensuring your motorcycles paint job is nothing short of spectacular.

Understanding the Root Causes of Uneven Paint Application
Before diving into solutions, its crucial to understand why uneven paint application happens in the first place. Here are some common reasons:
- Incorrect Surface Preparation: Without proper sanding and cleaning, paint struggles to adhere smoothly.
- Poor Painting Techniques: Using the wrong spray pattern or speed can lead to uneven layers.
- Inadequate Equipment: Outdated or inappropriate tools can make it hard to achieve a smooth finish.
1. Meticulous Surface Preparation: The Foundation of Flawless Paint
Cleaning and Sanding
Start by washing the motorcycle thoroughly to rid it of dirt and grease. Use a degreaser for stubborn spots. Next, sand the entire surface to create a rough texture that paint can grip onto. Use fine-grit sandpaper to avoid deep scratches.
Priming the Surface
Once cleaned and sanded, apply a high-quality primer. This not only enhances paint adhesion but also provides a uniform base, crucial for avoiding uneven application. Let the primer dry completely before proceeding.
2. Mastering the Art of Paint Application
Choosing the Right Equipment
Invest in a quality paint sprayer. Ensure its suitable for automotive applications and in good working condition. A malfunctioning sprayer can cause paint runs and uneven application.
Technique is Key
Maintain a consistent spray distance, typically 6-8 inches from the surface. Use smooth, even strokes and overlap each pass slightly to avoid gaps. Keep your speed steady to ensure uniform coverage.
Layering the Paint
Apply multiple thin coats instead of one thick layer. Thin coats dry faster and are less prone to runs. Allow each layer to dry completely before applying the next.
3. Quality Assurance: Inspecting and Correcting Mistakes
Visual Inspection
After the final coat dries, inspect the paint job in bright light. Look for uneven spots, runs, or sags. Mark these areas for correction.
Correcting Runs and Sags
If you find runs or sags, dont panic. Sand the affected areas lightly with fine-grit sandpaper and clean off the dust. Reapply a thin layer of paint and blend it with the surrounding area.

FAQs
Q: How long should I wait between coats of paint?
A: Its generally recommended to wait at least 15-20 minutes between coats, depending on the paint type and environmental conditions.
Q: Can I use any type of sandpaper for surface preparation?
A: For best results, use fine-grit sandpaper (around 400-600 grit) to avoid deep scratches that can affect the final finish.
Q: What should I do if the paint doesnt adhere properly?
A: If paint isnt adhering, the surface may not be cleaned or sanded properly. Re-clean and re-sand the area before reapplying paint.
