In the world of manufacturing and machining, knowing how to chamfer on a milling machine is an essential skill. Chamfering, the process of creating a beveled edge on the material, not only enhances aesthetics but also removes sharp edges, making mechanical assemblies safer. This comprehensive guide will help you understand all the nuances of chamfering, from the tools needed to the techniques involved to achieve a perfect chamfer every time.
Let’s dive into the world of chamfering with all the tips and tricks you need.

Understanding Chamfering and Its Importance
What is Chamfering?
A chamfer is a transitional edge between two faces of an object. It’s often created at a 45-degree angle and commonly used to smooth rough edges, facilitate assembly, or add a design element. Unlike fillets, which are rounded, chamfers have a straight, sloped edge.
Why is Chamfering Important?
Chamfering plays a critical role in various applications. Here are a few reasons why it’s essential:
- Safety: Removes sharp edges that could cause injury.
- Aesthetics: Adds a finished, professional look to parts.
- Assembly: Eases the alignment of components.
- Stress Relief: Helps reduce stress concentration on edges.
Essential Tools and Equipment for Chamfering
Milling Machine
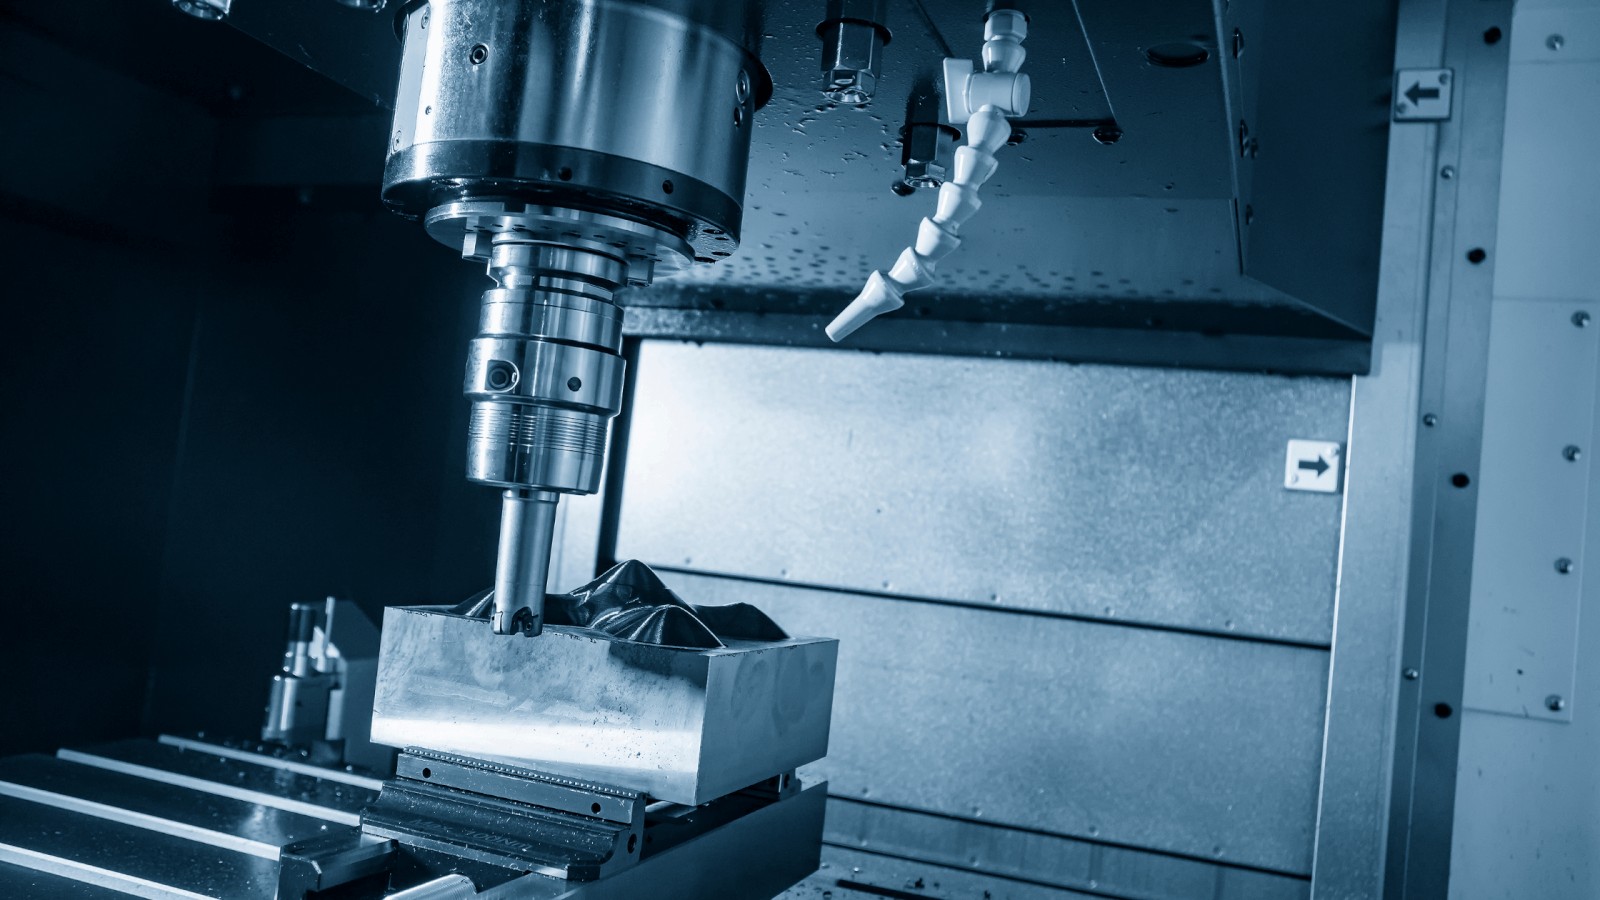
The primary tool you’ll need is a milling machine. Milling machines come in various models, with vertical and horizontal orientations. For chamfering, a vertical milling machine is typically more suitable.
Chamfer Mills
Chamfer mills are specialized cutting tools used to create chamfers. They come in different angles, with the 45-degree chamfer mill being the most common. These mills ensure consistent, clean edges on your workpiece.
Measuring Tools
Accuracy is crucial in chamfering, so you’ll need precise measuring tools such as calipers, micrometers, and angle gauges to verify the dimensions of the chamfer.
Setting Up Your Milling Machine
Selecting the Right Material
Before you start, choose the appropriate material for your project. Different materials require different cutting speeds and feed rates. Common chamfering materials include aluminum, steel, and plastic.
Choosing the Right Cutting Tool
As mentioned earlier, chamfer mills are ideal for this task. Ensure your cutting tool is suitable for the material you’re working with, and always opt for a high-quality tool to achieve the best results.
Work Holding and Positioning
Securely clamping your workpiece is vital for accurate chamfering. Use appropriate work holding methods such as vice or fixture to keep the material stable during the milling process.
Chamfering Techniques and Tips
Setting the Cutting Parameters
Determining the correct cutting speed and feed rate is crucial for a successful chamfer. The cutting speed is typically expressed in surface feet per minute (SFM), while the feed rate is given in inches per minute (IPM). Refer to the cutting tool manufacturer’s guidelines for specific parameters.
Adjusting the Milling Head
Aligning the milling head to the desired angle is a critical step. Most chamfers are cut at a 45-degree angle, but this can vary depending on your project requirements. Use angle gauges to verify the correct positioning.
Performing a Test Cut
Before machining the final part, it’s recommended to perform a test cut on a scrap piece of material. This allows you to fine-tune the cutting parameters and make any necessary adjustments.
Milling the Chamfer
Once you’re confident with the setup and parameters, proceed with machining the chamfer. Engage the milling machine, and steadily feed the workpiece into the cutter. Pay attention to the cutting forces and avoid overloading the tool.
Finishing and Quality Control
Deburring
After chamfering, inspect the edges for burrs or rough spots. Use a deburring tool to smoothen the chamfered edges, ensuring a clean finish.
Quality Inspection
Verify the dimensions of the chamfer using measuring tools. Check for consistency and accuracy to ensure the chamfer meets the specified requirements.
Troubleshooting Common Issues
Excessive Burrs
If you notice excessive burrs post-chamfering, it may indicate improper cutting parameters. Adjust the cutting speed, feed rate, or tool geometry to reduce burr formation.
Tool Wear
Chamfer mills are prone to wear, especially when machining hard materials. Regularly inspect the cutting tool for wear and replace it as needed to maintain optimal performance.
Advanced Chamfering Techniques
Multi-Angle Chamfers
For more complex designs, consider using multi-angle chamfer mills. These tools allow you to create chamfers with different angles in a single pass.
3D Chamfering
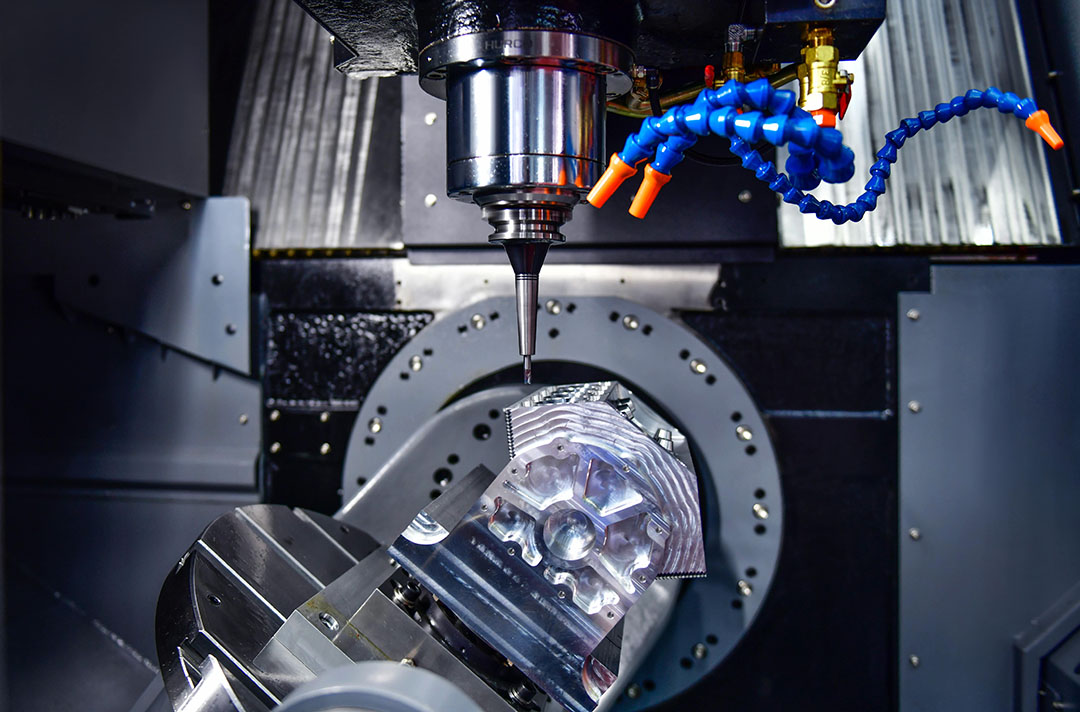
3D chamfering involves adding bevels to curved or irregular surfaces. This requires advanced CAM software to generate precise toolpaths and a 5-axis milling machine for execution.
Automation
Integrating automation into your chamfering process can improve efficiency and consistency. CNC machines with automated chamfering capabilities can save time and reduce the risk of human error.
Applications of Chamfering
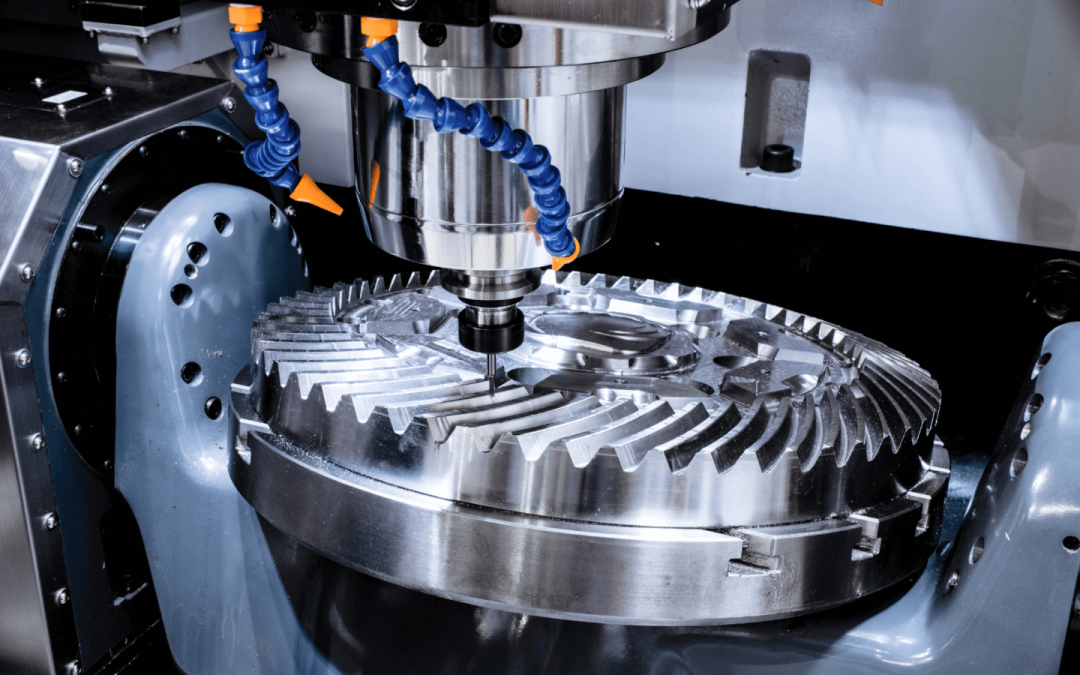
Chamfering finds applications in various industries, including automotive, aerospace, and manufacturing. It’s used in the production of gears, shafts, housings, and other components requiring precision and smooth edges.
Conclusion
Mastering how to chamfer on a milling machine is a valuable skill for any machinist. With the right tools, techniques, and attention to detail, you can achieve perfect chamfers every time. Remember to prioritize safety, maintain your equipment, and continuously improve your skills to stay ahead in the ever-evolving world of machining.

Frequently Asked Questions (FAQs)
What is the purpose of chamfering?
Chamfering serves multiple purposes including safety, aesthetics, ease of assembly, and stress relief on edges.
Which tools are essential for chamfering on a milling machine?
Essential tools include a milling machine, chamfer mills, and precise measuring instruments like calipers and micrometers.
How do I choose the right cutting parameters?
Always refer to the cutting tool manufacturer’s guidelines for recommended cutting speeds and feed rates based on the material you’re working with.
For more about milling machines, check out this detailed guide on milling in machining.
Explore more resources about high-speed applications in various fields:Paint Coating InspectionWafer Polishing
