Installing a tachometer in your vehicle can seem daunting at first, especially if you are new to automotive modifications. In this tremendous guide, we’ll walk you through the process step-by-step to ensure you have a clear understanding of how to install a tachometer. Our objective is to provide detailed instructions and insights to make this task straightforward and enjoyable.
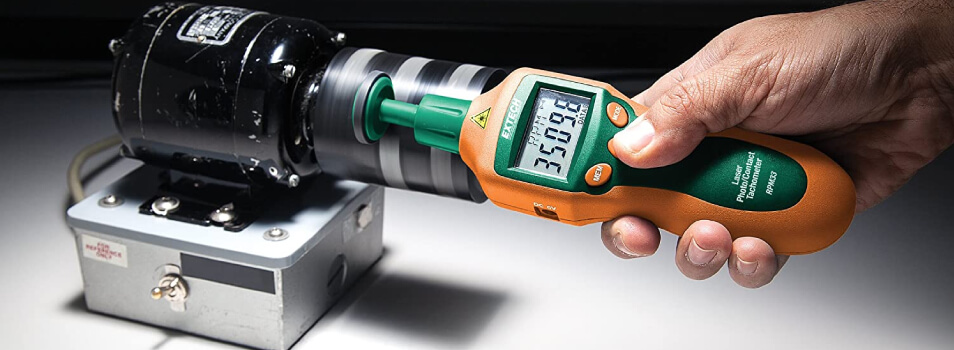
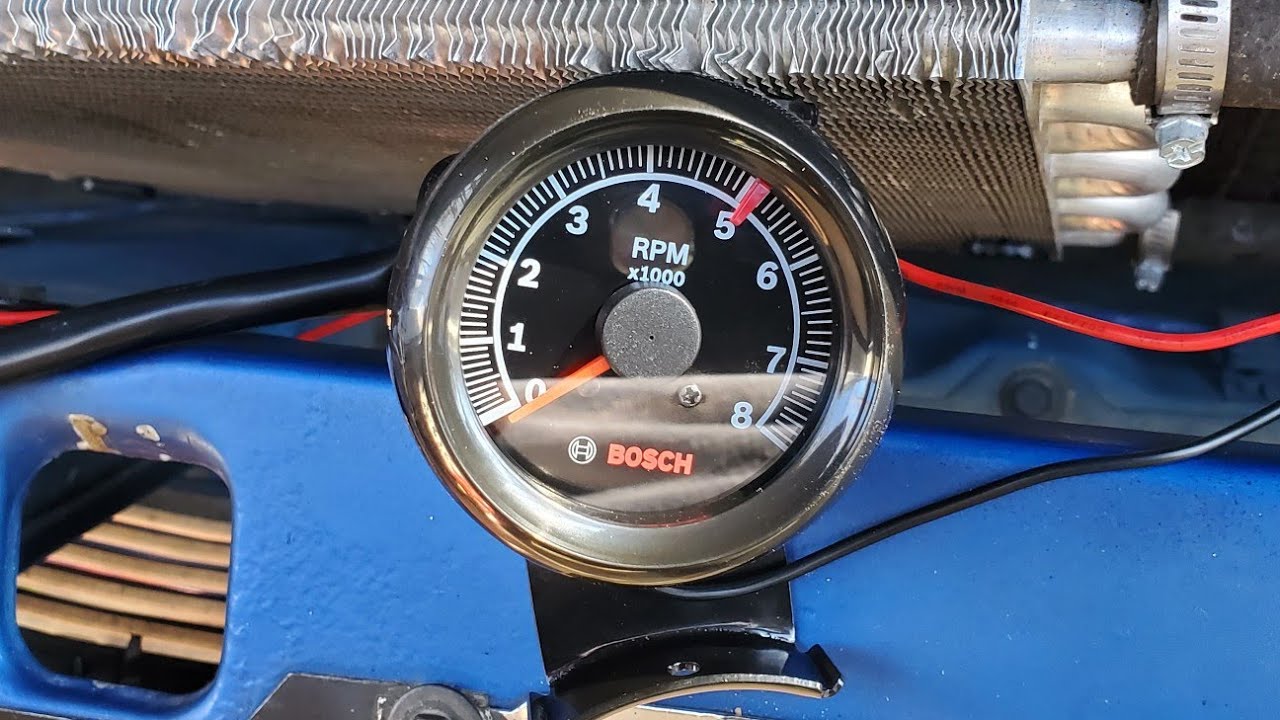
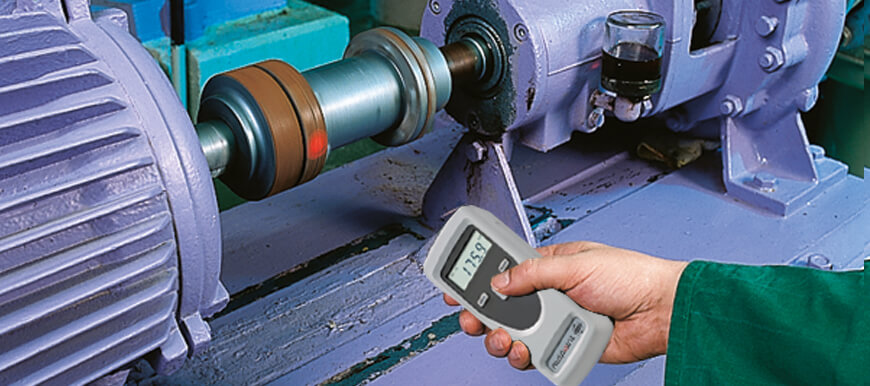
A tachometer is an instrument that measures the rotation speed of a shaft or disk, such as in a motor or other machine. For vehicle enthusiasts and professionals alike, knowing how to install a tachometer can be a skill that adds significant value. Moreover, it is essential for ensuring that your vehicle is performing optimally by keeping track of engine RPM (revolutions per minute).

What is a Tachometer?
Before diving into the installation process, let’s briefly cover what a tachometer is and why it’s important. Essentially, a tachometer measures the engine’s RPM, helping you to monitor its performance effectively. For a more detailed explanation, you can refer to this resource.
Tools and Materials Needed
- Screwdriver set
- Wire strippers
- Electrical tape
- Wire connectors
- Multimeter
- Drill (optional)
- Tachometer kit
Step-by-Step Guide on How to Install a Tachometer
Step 1: Safety First
Before starting any installation, ensure safety is your priority. Park your vehicle in a safe, flat area, and disconnect the battery to avoid any potential electrical issues.
Step 2: Choose the Location
Decide where you want to mount the tachometer. Common places include the dashboard or the steering column. Ensure it is in a visible location but does not obstruct your view.
Step 3: Pre-Installation Checks
Use a multimeter to measure voltage and identify the correct wires you need for connecting your tachometer. Refer to your vehicle’s manual for wire specifications.
Step 4: Mounting the Tachometer
Using the brackets and screws provided in the tachometer kit, secure the tachometer to the selected location. If drilling is required, make sure to use appropriate drill bits and follow safety precautions.
Step 5: Wiring the Tachometer
Connecting the Power Wire
Connect the power wire from the tachometer to the ignition switch or any other 12V power source. Use wire connectors and electrical tape to ensure a secure connection.
Connecting the Ground Wire
Attach the ground wire to a suitable grounding point within the vehicle. This could be a metal part of the chassis or an existing ground wire.
Connecting the Signal Wire
The signal wire is connected to the negative side of the ignition coil. This wire sends engine RPM data to the tachometer.
Additional Wiring (if applicable)
Some tachometers come with additional features such as backlighting or memory functions. Ensure to connect these wires as per the manufacturers instructions.
Step 6: Double-Check Connections
Before proceeding, double-check all your connections. Ensure that wires are securely fastened and there are no loose ends.
Step 7: Reconnect the Battery and Test
Reconnect the vehicle battery and start the engine. Observe the tachometer to ensure it reads correctly. If there are any discrepancies, refer to the manufacturer’s troubleshooting guide.
Common Issues and Solutions
Encountering problems during installation is not uncommon. Here’s a list of common issues and their solutions:
- Tachometer Not Working: Check the signal wire connection and ensure it is properly attached to the ignition coil.
- Inconsistent Readings: Verify all connections and ensure there is no electrical interference from other wires.
- Backlight Not Functioning: Check the backlight wire connection and consult the manufacturers guidelines.
Maintenance Tips for Your Tachometer
Regular maintenance can prolong the life of your tachometer. Keep the following tips in mind:
- Regularly inspect wiring for wear and tear.
- Clean the tachometer face to ensure readability.
- Update firmware if applicable.
FAQs
How long does it take to install a tachometer?
The installation process typically takes 1-2 hours, depending on your experience and vehicle model.
Can I install a tachometer in any vehicle?
Yes, tachometers are generally compatible with most vehicles. However, some models may require specific types, so it is best to check the manufacturer’s specifications.
Do I need any prior experience?
Basic knowledge of vehicle electronics can be helpful, but this guide provides detailed instructions that can be followed by beginners as well.
Interested in learning more about how tachometers work? You can find additional information here.

Conclusion
We hope this guide has been helpful in understanding how to install a tachometer. By following these steps and tips, you can successfully add this valuable instrument to your vehicle. Whether you’re a seasoned professional or a beginner, the satisfaction of completing such a project is tremendously fulfilling. Happy driving!
