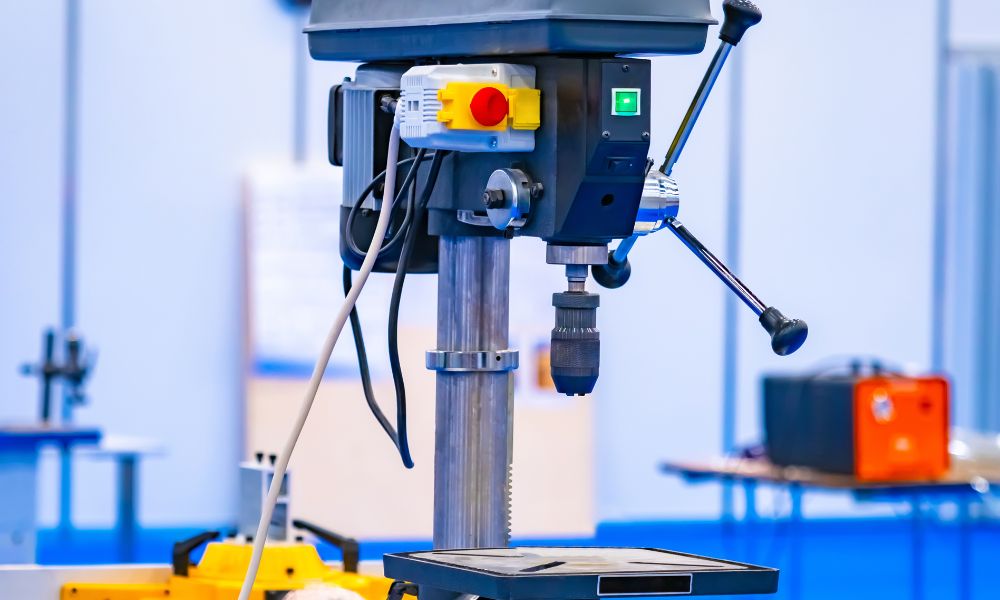
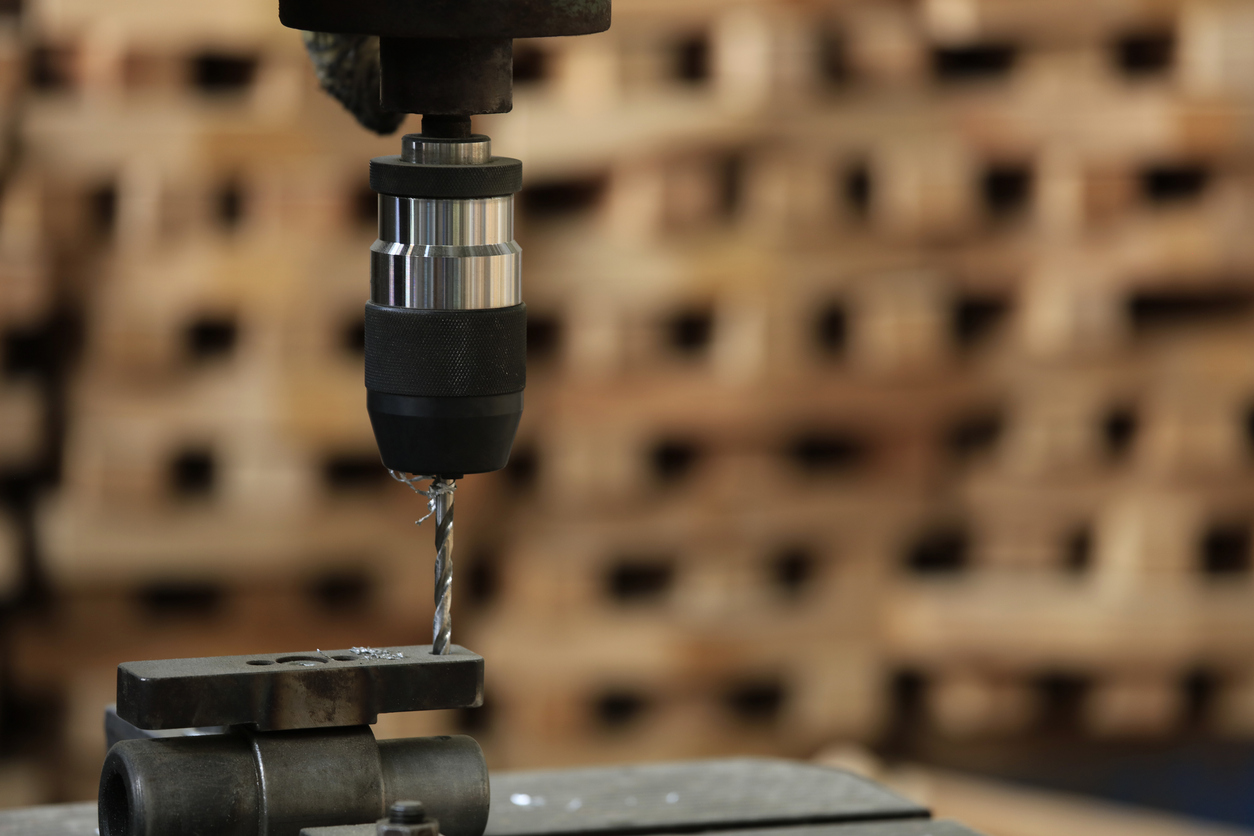
Welcome to our comprehensive guide on how to make a drill press table. If you’re an industry QA professional or an enthusiast eager to optimize your drilling tasks, building your own drill press table can be a game-changer. This is a simple yet impactful project that enhances precision, improves safety, and ultimately, saves time and resources in your workshop.
This article will walk you through the entire process, from gathering the necessary materials to final assembly. We’ll cover the tools required, step-by-step instructions, and tips to ensure your drill press table is both robust and functional.

Materials Needed for Your Drill Press Table
Before you begin, here are the materials you’ll need:
- Plywood (3/4 inch thick)
- Hardwood boards (for the fence and supports)
- T-track
- Clamps
- Wood screws
- Glue
- Measuring tape
- Pencil
- Safety glasses
- Hearing protection
Tools Required
Ensure you have the following tools on hand:
- Drill and bits
- Table saw or circular saw
- Router
- Clamps
- Screwdriver
- Square
- Sander
Step-by-Step Guide
Step 1: Measuring and Cutting the Plywood
Start by measuring the base of your drill press to determine the appropriate size for your table. Typically, a good size for a drill press table is around 20 inches by 30 inches. Mark these dimensions on your plywood and cut accordingly using a table saw or circular saw.
Step 2: Installing the T-Track
The T-track is essential for holding down clamps and other fixtures. Measure and cut grooves on the top side of your plywood where the T-track will be installed. Use a router to carve out these grooves, ensuring they are straight and of adequate depth. Once done, secure the T-track into place with wood screws.
Step 3: Assembling the Fence
The fence is a critical component that helps guide your workpiece accurately. Cut hardwood boards to the desired length and height for your fence. Assemble the fence by gluing and screwing the pieces together, making sure it is square. Once the fence is assembled, you can attach it to the table.
Step 4: Attaching the Drill Press Table
Place your new table on top of the drill press platform. Ensure it is centered and square. Secure the table using appropriate clamps and fasteners.
Step 5: Finishing Touches
Sand the edges and surfaces of the table to remove any rough spots. This not only makes the table safer to use but also gives it a professional finish.
Safety Considerations
When working on any DIY project, especially involving power tools, safety should always be a priority. Wear safety glasses, hearing protection, and be mindful of your surroundings. For more on drill press safety, you can refer to this OSHA Guidance on Drill Press Safety.
Benefits of Using a Custom Drill Press Table
Enhanced Precision
With the right adjustments and attachments, a custom drill press table allows for enhanced precision during drilling tasks. The fence and T-track system enable accurate positioning and repetitive drilling with minimal error.
Improved Safety
A well-designed drill press table provides stability and support for your workpieces. This reduces the risk of slips and accidents, making your work environment safer.
Greater Versatility
By customizing your drill press table, you can incorporate various attachments and fixtures, expanding the range of tasks you can perform. From woodworking to metalworking, a versatile drill press table is an invaluable addition to any workshop.
Conclusion
Building a drill press table is a straightforward project that offers tremendous benefits for any industry QA professional. The right tools, materials, and a bit of patience can transform your workshop into a safer, more efficient space.
If you’re looking for further reading on related technologies and inspection methods, visit our articles on coating inspection, genetic analysis, and semiconductor inspection.

FAQ
1. What is the best material for a drill press table?
For most DIY projects, 3/4 inch plywood is a durable and cost-effective choice. Its strong enough to support heavy workpieces and easy to work with.
2. Can I use my drill press table for metalworking?
Yes, with appropriate attachments and fixtures, your drill press table can be adapted for metalworking tasks. However, ensure that your drill press is up to the job.
3. Do I need special tools to build a drill press table?
Basic woodworking tools such as a drill, table saw, and router are essential. Safety equipment like glasses and hearing protection should also be used.