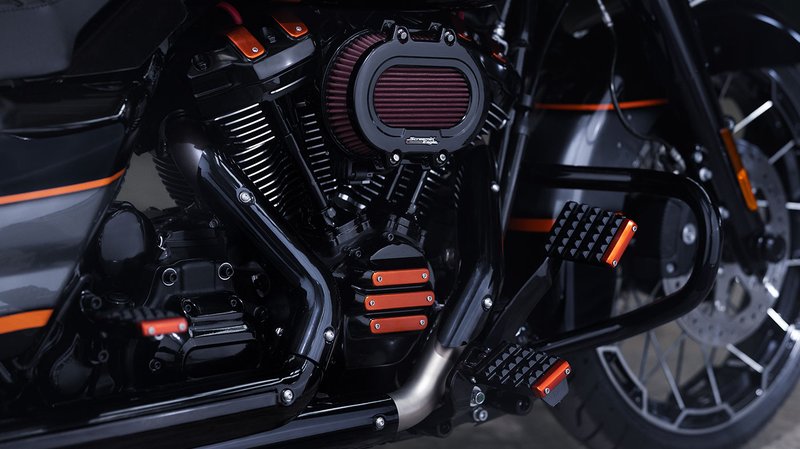
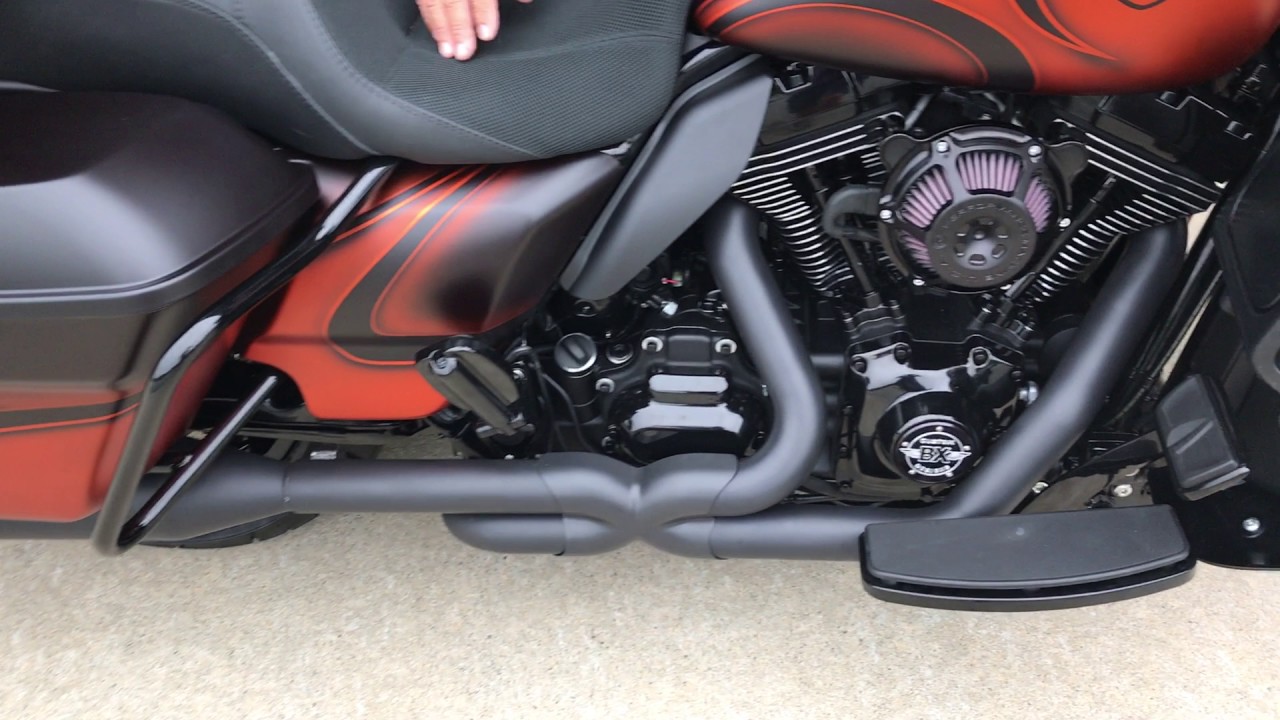
Are you delighted by your motorcycles look but feel that its fender could use a fresh coat of paint? It’s here, the perfect guide on how to paint a motorcycle fender with a spray can. With the right tools and some patience, you can achieve a terrific and professional-quality finish on your motorcycle fender. Whether you’re a beginner or a seasoned DIYer, this article is packed with all the tips and information you’ll need.
Motorcycle painting can be a delightful experience, especially when you see the tremendous transformation. With modern spray can technology, achieving that perfect finish is no longer a distant dream. Lets dive into the big world of motorcycle customization and learn how to paint a motorcycle fender with a spray can.

Preparation Stage
Gathering Tools and Materials
The first step in any successful painting project is to gather all the necessary tools and materials. Here’s a list of essential items you’ll need:
- Spray cans (Primer, Paint, and Clear Coat)
- Sandpaper (Various grits)
- Masking tape
- Drop cloths
- Cleaning supplies (Soap and Water)
- Personal protective equipment (Gloves, Mask)
Setting Up Your Work Area
Choose a well-ventilated area for painting. Its important to avoid enclosed spaces to reduce the risk of inhaling fumes. Cover your workspace with drop cloths to prevent paint from getting on unwanted areas and ensure there’s enough room to move around comfortably.
Sanding the Fender
Choosing the Right Sandpaper Grit
Select sandpaper with varying grits to get the best results. Start with a coarse grit (e.g., 180) to remove any old paint or rust. Gradually move to finer grits (e.g., 400 and 600) to smoothen the surface.
Sanding Process
Buckle up your gloves and mask before you begin. Use the coarse grit sandpaper first, then move on to the finer grits. Sand in circular motions and ensure that the surface is even and smooth to touch. Wipe the fender clean with a damp cloth to remove any dust.
Priming the Fender
Choosing the Right Primer
Primers are essential for ensuring better paint adhesion and a longer-lasting finish. Choose a primer compatible with both the material of your fender and the type of paint you plan to use.
Application of Primer
Shake the primer can well before use. Hold the spray can about 10-12 inches away from the surface and apply the primer in thin, even coats. Allow each coat to dry thoroughly before applying the next one. Generally, 2-3 coats are sufficient.
Painting the Fender
Choosing the Right Paint
When selecting paint, make sure its compatible with your primer. Motorcycle-specific paints are usually recommended for their durability and resistance to environmental elements.
Application of Paint
Just like with the primer, shake the paint can thoroughly. Spray the paint in even, light coats, holding the can about 10-12 inches from the surface. Apply 3-4 coats, allowing adequate drying time between each coat. This will ensure a smooth and vibrant finish.
Clear Coating for Protection
Importance of Clear Coat
A clear coat not only enhances the appearance of the paint but also provides a protective barrier against scratches and UV rays. It’s a crucial step in achieving that professional finish.
Application of Clear Coat
Apply the clear coat in the same manner as the primer and paint. Hold the can 10-12 inches away and apply thin, even coats. Typically, 2-3 coats are enough to protect the paint job adequately.
Final Touches
Sanding Between Coats
For the smoothest finish, lightly sand the clear coat between each layer with a fine grit sandpaper (e.g., 1500). This helps eliminate any imperfections and gives a glossy finish.
Polishing for Shine
Once the final clear coat is dry, use a polishing compound to buff the fender. This will enhance the shine and give your motorcycle fender a professional appearance.
Handling Common Issues
Dealing with Drips
If you notice any drips or runs in the paint, let it dry completely and then sand it smooth with fine grit sandpaper. Reapply the paint in thin, even coats.
Avoiding Orange Peel
Orange peel is a common issue that results in a bumpy texture. To avoid this, ensure youre spraying the paint evenly and not too thickly. Sand and polish the surface if needed to smooth it out.
Maintenance Tips
Regular Cleaning
Keep your newly painted fender clean by washing it regularly with mild soap and water. Avoid harsh chemicals that could damage the paint.
Protection from Elements
Consider using a motorcycle cover to protect your paint job from UV rays, rain, and debris. This will help maintain the quality and longevity of the finish.
Conclusion
Painting your motorcycle fender with a spray can may seem daunting, but with the right tools, preparation, and patience, you can achieve a terrific result. This guide has provided you with all the necessary steps and tips to get started. Enjoy the process, and ride with pride knowing youve added a personal touch to your beloved bike.
For more detailed information on motorcycle painting, you can check out this How to Paint a Motorcycle.

FAQs
Do I need to remove the fender from the motorcycle before painting?
While it’s not absolutely necessary, removing the fender allows for a more thorough and even paint job. It also helps in protecting other parts of the motorcycle from overspray.
How long should I wait between each coat of paint?
Wait at least 15-20 minutes between each coat of paint to allow it to dry properly. Refer to the paint can’s instructions for the most accurate drying times.
What should I do if I make a mistake while painting?
If you make a mistake, don’t panic. Allow the paint to dry completely, then sand the affected area and reapply the paint in thin, even coats.
