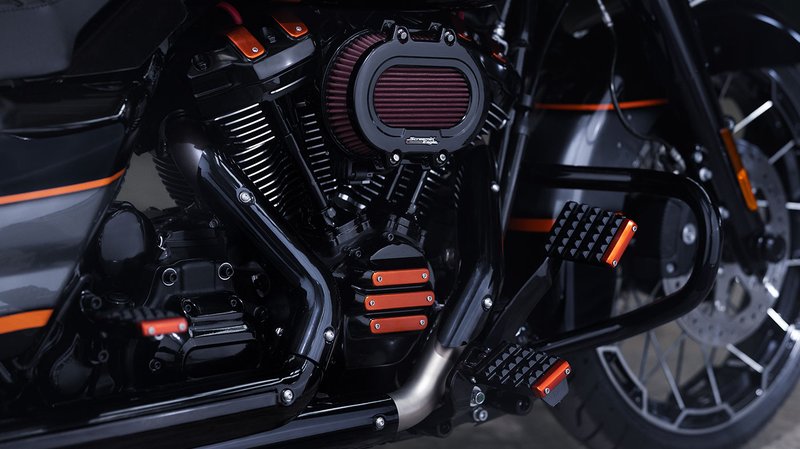
Introduction: The Art of Painting Stripes
Painting stripes on a motorcycle gas tank is an art form that combines precision, creativity, and a deep love for motorcycles. Whether you’re a seasoned rider or new to the world of motorcycles, customizing your bike can be a fulfilling experience. In this guide, we will delve into the steps you need to follow to achieve a professional-looking paint job on your motorcycle gas tank.
The key to achieving crisp, clean stripes is **preparation** and **attention to detail**. In this article, you will learn how to paint stripes on a motorcycle gas tank with simple yet effective techniques, suitable for enthusiasts of all skill levels.
Why Should You Paint Stripes on a Motorcycle Gas Tank?
Personalizing Your Ride
One of the biggest reasons to paint stripes on your motorcycle gas tank is to infuse **personality** and **style** into your ride. Custom stripes can set your bike apart from the crowd and reflect your unique taste and personality.
Enhancing Aesthetics
Adding stripes can dramatically enhance the **aesthetics** of your motorcycle. Whether you opt for classic racing stripes or intricate designs, a well-painted tank can elevate your bike’s appearance and make it truly stand out.
Essential Tools and Materials
Gathering the Right Supplies
Before diving into the painting process, it’s essential to gather all the necessary tools and materials. Here are the primary items you’ll need:
- Motorcycle Gas Tank
- Painter’s Tape
- Sandpaper (Various Grits)
- Primer
- Base Coat Paint
- Stripe Paint
- Clear Coat
- Masking Film
- Measuring Tape
- Paint Sprayer or Spray Cans
- Tack Cloth
Having these items ready will ensure a smooth and uninterrupted painting process.
Step-by-Step Guide to Painting Stripes on a Motorcycle Gas Tank
Step 1: Preparing the Gas Tank
The first step in painting stripes on your motorcycle gas tank is to properly prepare the surface. This includes cleaning, sanding, and applying a primer to ensure the paint adheres well and looks flawless.
Cleaning the Tank
Start by thoroughly cleaning the gas tank to remove any dirt, grease, or old paint. Use a mild detergent and water to clean the surface. Let it dry completely before moving on to the next step.
Sanding the Surface
Use sandpaper to sand the surface of the gas tank. Start with a coarse grit (e.g., 80-grit) to remove any existing paint or imperfections. Gradually move to finer grits (e.g., 320-grit) for a smooth finish. Sanding will help the primer and paint adhere better to the surface.
Step 2: Applying Primer
Once the tank is sanded and clean, apply a primer to create a solid base for the paint. Using a primer will ensure that the paint adheres well and provides a smooth finish.
Step 3: Base Coat Application
After the primer has dried, it’s time to apply the base coat. This is the main color of your gas tank and will serve as the backdrop for your stripes.
Choosing the Right Base Coat
Select a high-quality base coat that complements the stripe colors you plan to use. Apply the base coat evenly in multiple thin layers, allowing each layer to dry completely before applying the next.
Smooth and Even Finish
To achieve a smooth and even finish, use a tack cloth between each layer to remove any dust or debris. This will ensure a flawless base for your stripes.
Step 4: Taping and Masking
Once the base coat is dry, it’s time to tape and mask the areas where you want to paint the stripes.
Designing Your Stripes
Use painter’s tape to outline the stripes on your gas tank. Be precise in your measurements and placement to ensure even and symmetrical stripes. Mask off the surrounding areas to prevent overspray.
Step 5: Painting the Stripes
With the gas tank prepped and taped, it’s time to paint the stripes. Use a paint sprayer or spray cans for this step.
Applying the Stripe Paint
Apply the stripe paint in thin, even layers. Allow each layer to dry before applying the next. To achieve crisp lines, remove the tape while the paint is still slightly wet.
Step 6: Finishing Touches
Once the stripes are painted and dry, apply a clear coat to protect the paint and give it a glossy finish. This will also help seal and protect your new stripes.
Clear Coating
Apply multiple layers of clear coat, allowing each layer to dry completely. This will give your gas tank a professional and durable finish.
Caring for Your Newly Painted Gas Tank
Proper Maintenance
To keep your newly painted gas tank looking its best, follow proper maintenance practices. Regularly clean the tank with a mild detergent and water, and avoid harsh chemicals that could damage the paint.
Common Mistakes to Avoid
Painting stripes on a motorcycle gas tank can be challenging, especially if you’re new to the process. Here are some common mistakes to avoid:
- Skipping the sanding and priming steps
- Using low-quality paint
- Applying thick layers of paint
- Rushing the drying process
- Improper taping and masking
Frequently Asked Questions
How long does it take to paint stripes on a gas tank?
The time required to paint stripes on a gas tank can vary depending on the complexity of the design and the drying time of the paint. On average, it can take several days to a week to complete the process.
Can I use spray cans to paint stripes?
Yes, you can use spray cans to paint stripes on a gas tank. Just ensure you use high-quality spray paint and follow the steps outlined in this guide for the best results. Learn more about using spray cans here.
What if I make a mistake while painting?
If you make a mistake while painting, don’t panic. You can sand down the affected area, reapply primer, and redo the paint job. Patience and attention to detail are key to achieving a professional finish.

Conclusion: Enjoy Your Customized Gas Tank
Painting stripes on a motorcycle gas tank is a rewarding and creative process that allows you to personalize your ride. By following the steps outlined in this guide and paying attention to detail, you can achieve a professional-looking paint job that will make your motorcycle stand out on the road. Enjoy the satisfaction of riding a bike that reflects your unique style and personality!
For more detailed instructions and visual aids, check out this comprehensive guide.
