Industry QA Professionals and enthusiasts often find themselves needing to measure a tachometer signal. Learning how to test tachometer signal with multimeter can be extremely beneficial. Not only does it help in diagnosing issues, but it also ensures that the equipment is working as intended. In this article, we’ll delve into the details of testing a tachometer signal using a multimeter.

What is a Tachometer?
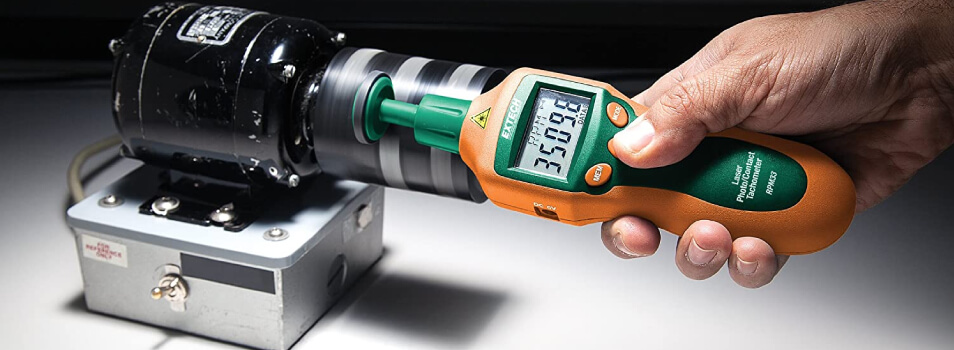
A tachometer is an instrument that measures the rotational speed of a shaft or disk. It typically measures revolutions per minute (RPM). Understanding how it works is essential before attempting to test its signal.
The Role of the Tachometer in Machines
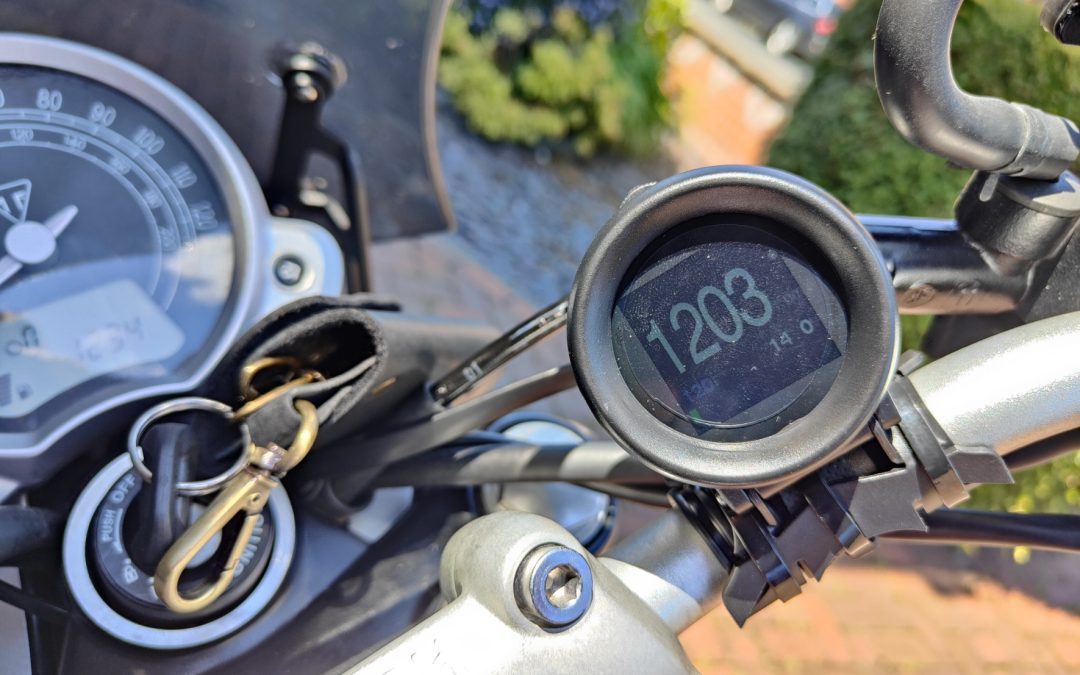
Tachometers are integral to a variety of machines. They provide real-time data on the speed of rotation, which is crucial for processes that require precise speed control.
Types of Tachometers
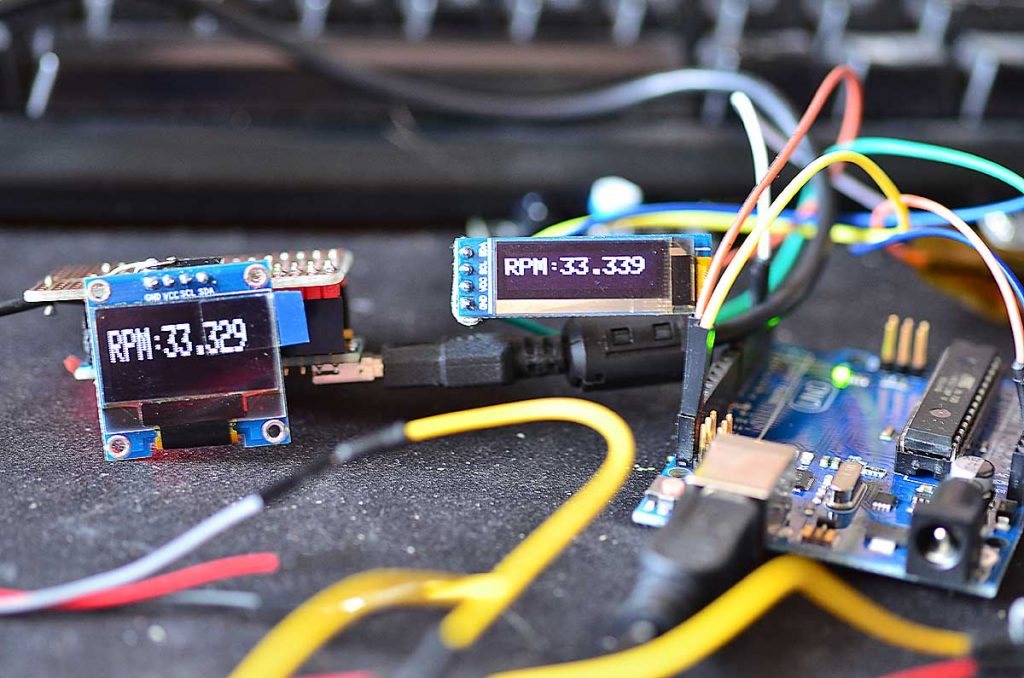
There are various types of tachometers, including mechanical, electrical, and digital tachometers. Each type has its own method of measuring RPM and producing signals.
Understanding Tachometer Signals
Tachometer signals can be digital or analog. These signals represent the speed of rotation and are used for monitoring and control purposes.
Digital Signals
Digital tachometer signals are in the form of pulses. These pulses can be easily read by digital instruments, including multimeters.
Analog Signals
Analog signals, on the other hand, vary in voltage. They are typically read by analog multimeters or oscilloscopes.
Why Test the Tachometer Signal?
Testing the tachometer signal ensures that the device is functioning correctly. It helps identify any issues early, preventing potential downtime or damage to machinery.
Common Problems Detected by Testing
Common issues detected by testing tachometer signals include faulty wiring, incorrect connections, and malfunctioning sensors.
Tools Needed for Testing
Before you can begin testing a tachometer signal, you’ll need the following tools: a multimeter, test leads, and a service manual for your specific tachometer.
Choosing the Right Multimeter
Not all multimeters are the same. Ensure you have a multimeter that can measure the types of signals your tachometer produces. Both analog and digital multimeters can be used, but digital ones are generally more user-friendly.
Gathering Additional Tools and Resources
Besides the multimeter, having a detailed service manual can be extremely helpful. It provides specific instructions and diagrams for your tachometer model. For more on testing tools, check out this resource.
Steps to Test Tachometer Signal with Multimeter
1. Safety First
Before beginning any testing, ensure that the machinery is turned off and properly secured. Safety should always come first.
2. Locate the Tachometer Signal Wires
Refer to your service manual to locate the signal wires. These wires are usually marked or color-coded.
3. Set Up the Multimeter
Set your multimeter to measure voltage if you’re dealing with analog signals or frequency if it’s a digital signal.
4. Connect the Test Leads
Attach the test leads to the signal wires. Ensure a secure connection to avoid inaccurate readings.
5. Take the Measurements
Turn on the machinery and observe the readings on the multimeter. Ensure the values are within the expected range as per the service manual.
6. Interpret the Results
Compare the readings against the specifications in your service manual. This will help you determine if the tachometer is functioning correctly.
7. Troubleshoot if Necessary
If your readings are off, it might indicate an issue with the sensor, wiring, or the tachometer itself. Consult your service manual for troubleshooting steps.
Common Pitfalls and How to Avoid Them
Poor Connections
Ensure all connections are secure to avoid erroneous readings.
Incorrect Multimeter Settings
Set your multimeter to the appropriate function to get accurate readings.
Advanced Testing Techniques
For more advanced testing, you might want to use an oscilloscope. This provides a visual representation of the signal, allowing for more detailed analysis.
Using an Oscilloscope
An oscilloscope can provide a visual graph of the signal, making it easier to diagnose issues. Check out this article for more details on advanced techniques.
Maintenance Tips
Regular maintenance of your tachometer is essential. This includes cleaning the sensor and checking connections periodically.
Periodic Calibration
Periodically calibrating your tachometer ensures its accuracy. Follow the guidelines in your service manual for calibration intervals.
Case Studies
To provide practical insights, lets explore a couple of case studies where tachometer signal testing was crucial.
Case Study 1: Manufacturing Equipment
In a manufacturing setting, a faulty tachometer signal led to equipment malfunction. Testing with a multimeter quickly identified a wiring issue, saving downtime.
Case Study 2: Automotive Industry
In the automotive industry, precise engine speed measurement is crucial. Regular testing of tachometer signals with a multimeter ensured optimal performance of racing cars.
Conclusion
Testing a tachometer signal with a multimeter is a valuable skill for Industry QA Professionals. By following the steps outlined above, you can ensure your equipment functions correctly, preventing potential issues down the line. For more information on advanced stroboscopic detection, visit stroboscopic detection.

FAQ
Q1: Can I use any multimeter to test a tachometer signal?
A: No, you should use a multimeter that can measure the specific type of signal your tachometer produces.
Q2: What if my multimeter shows no reading?
A: Check your connections and ensure the multimeter is set to the correct function. Consult your service manual for further troubleshooting steps.
Q3: How often should I test my tachometer signal?
A: Periodic testing is recommended, especially during regular maintenance checks. Always follow the guidelines provided in the service manual.
