Understanding how to effectively utilize a multimeter as a tachometer opens up tremendous opportunities for accurate and efficient professionals dealing with various machinery and technology.
In this article, we will take you through substantial insights and steps to achieve the best results using your multimeter as an essential tachometer.

Introduction to Tachometers
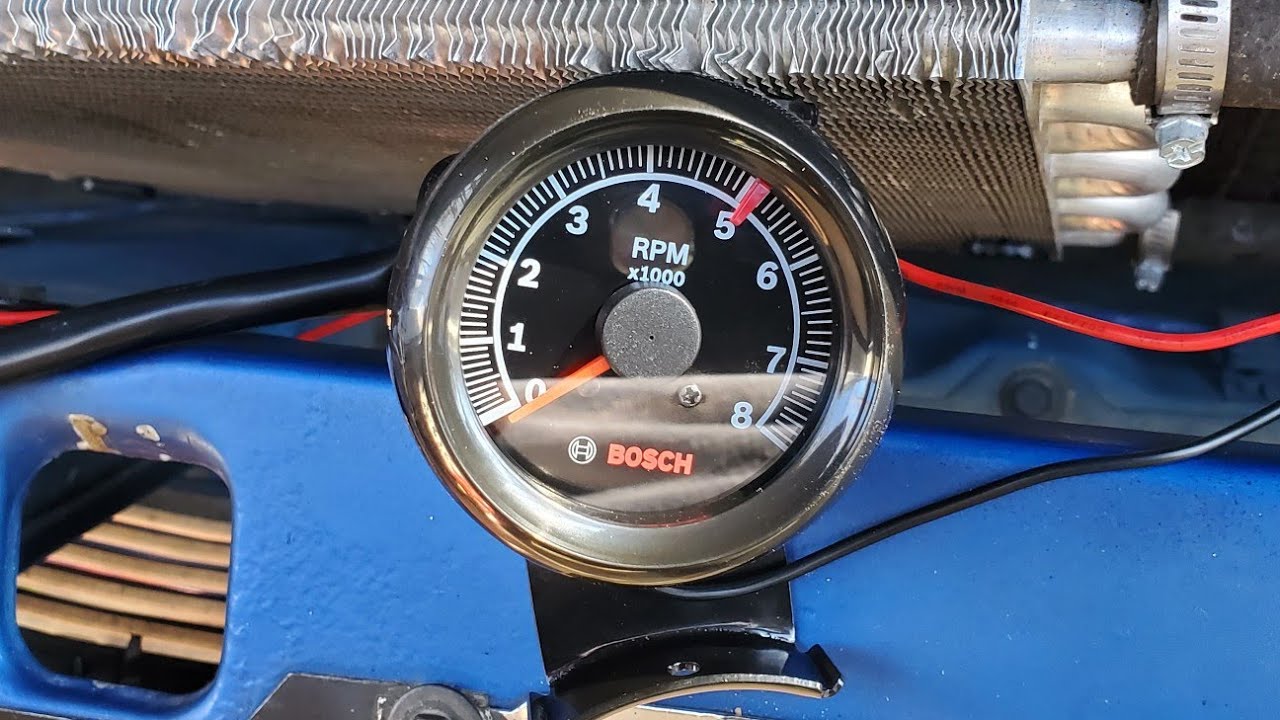
Tachometers are instruments used to measure the rotation speed of a shaft or disk, which is essential in many industrial and automotive applications. They convert the rotational speed into an analog or digital readout.
What is a Multimeter?
A multimeter is a versatile instrument that measures electrical properties like voltage, current, and resistance.
The Tremendous Potential of Combining Multimeter and Tachometer
Combining a multimeter with a tachometer can provide several benefits, including cost savings, efficiency, and versatility. This integration allows users to switch between measuring electrical properties and rotational speed with ease.
Applications in Various Industries
From automotive to machinery, the ability to measure rotational speed using a multimeter is beneficial in:
- Automotive diagnostics
- Industrial machinery maintenance
- Research and development
How to Prepare for the Measurement
Before diving into the steps, ensure you have a digital multimeter and preferably an IR tachometer module attachment. Follow these steps:
- Check battery levels in both devices.
- Read the user manual thoroughly for any specific instructions.
Essential Tools and Components
Gather the following tools:
- Digital Multimeter
- Infrared (IR) Tachometer Module
- Reflective Tape
Step-by-Step Guide on Using a Multimeter as a Tachometer
Follow these steps for accurate measurements.
Step 1: Setting Up the Multimeter
Begin by turning on your multimeter and setting it to the ‘frequency’ measurement mode.
Step 2: Attaching the IR Tachometer Module
Attach the IR tachometer module to your multimeter. Ensure they are correctly connected, often via specific ports or cables.
Step 3: Preparing the Subject
Place the reflective tape on the rotating object.
Step 4: Calibration
Calibrate the devices for accuracy. Follow the calibration instructions specific to your model.
Step 5: Taking Measurements
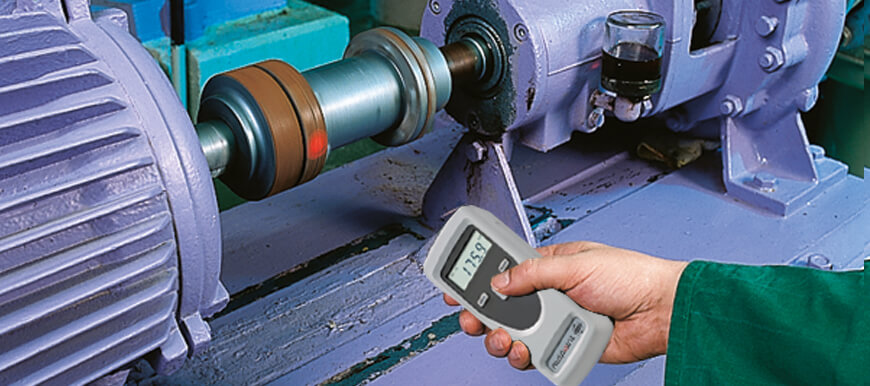
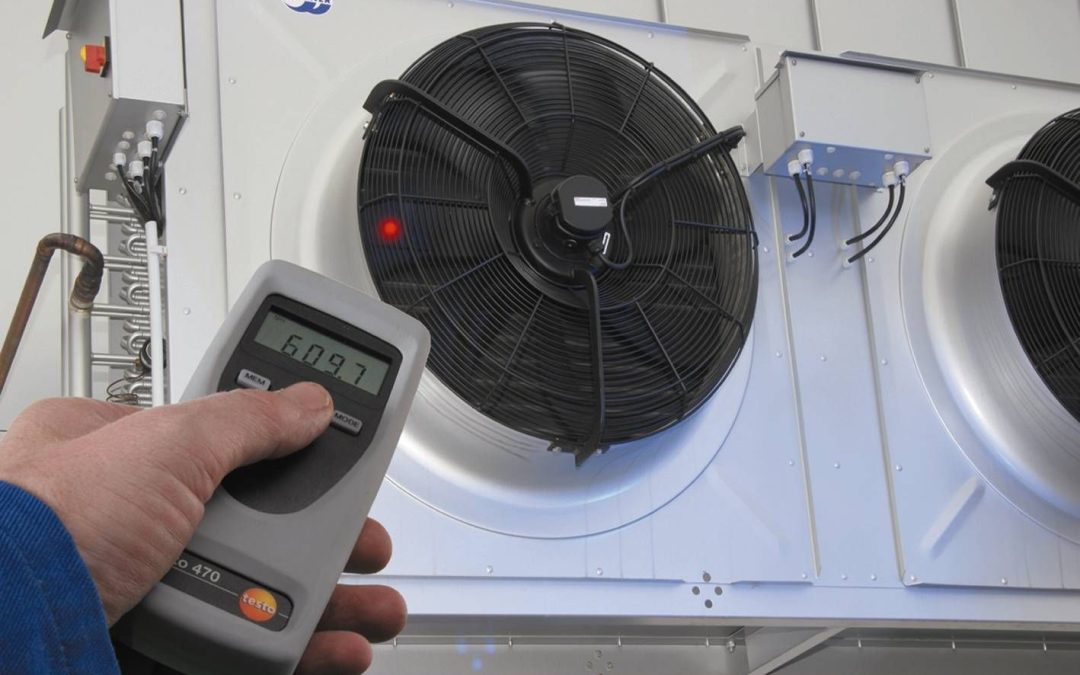
Point the IR tachometer at the reflective tape and take readings.
Common Pitfalls and How to Avoid Them
Avoid these common errors:
- Improper calibration
- Batteries running low
- Incorrect placement of reflective tape
Troubleshooting
For troubleshooting tips and more detailed information, check this resource.
Advanced Techniques
Explore advanced techniques such as data logging and analysis for more nuanced understandings.
Data Logging
Use data logging features to capture fluctuations over time.
Data Analysis
Analyze the data using appropriate software tools for better insights.
Safety Considerations
Ensure you adhere to all safety guidelines and wear appropriate protective equipment.
Electrical Safety
Always follow electrical safety protocols to prevent accidents.
Conclusion
Using a multimeter as a tachometer offers tremendous advantages. With the tips and steps provided in this article, you should be well-equipped to carry out accurate and efficient measurements.
For more insights on tachometer systems, check our other articles:

FAQ
What is the primary use of a tachometer?
A tachometer is primarily used to measure the rotational speed of an object, essential in various mechanical and automotive applications.
Can I use any multimeter as a tachometer?
Not all multimeters have this feature. Ensure your multimeter supports frequency measurement or can be paired with an IR tachometer module.
What kind of reflective tape should I use?
Use high-visibility reflective tape recommended by your tachometer modules manufacturer.
