For those seeking a detailed and comprehensive method to use an aircraft paint stripper, its here! Whether you are an aviation enthusiast, a professional in the industry, or simply curious about the process, this guide provides a thorough understanding of how to handle aircraft paint stripping effectively.

Introduction to Aircraft Paint Stripping
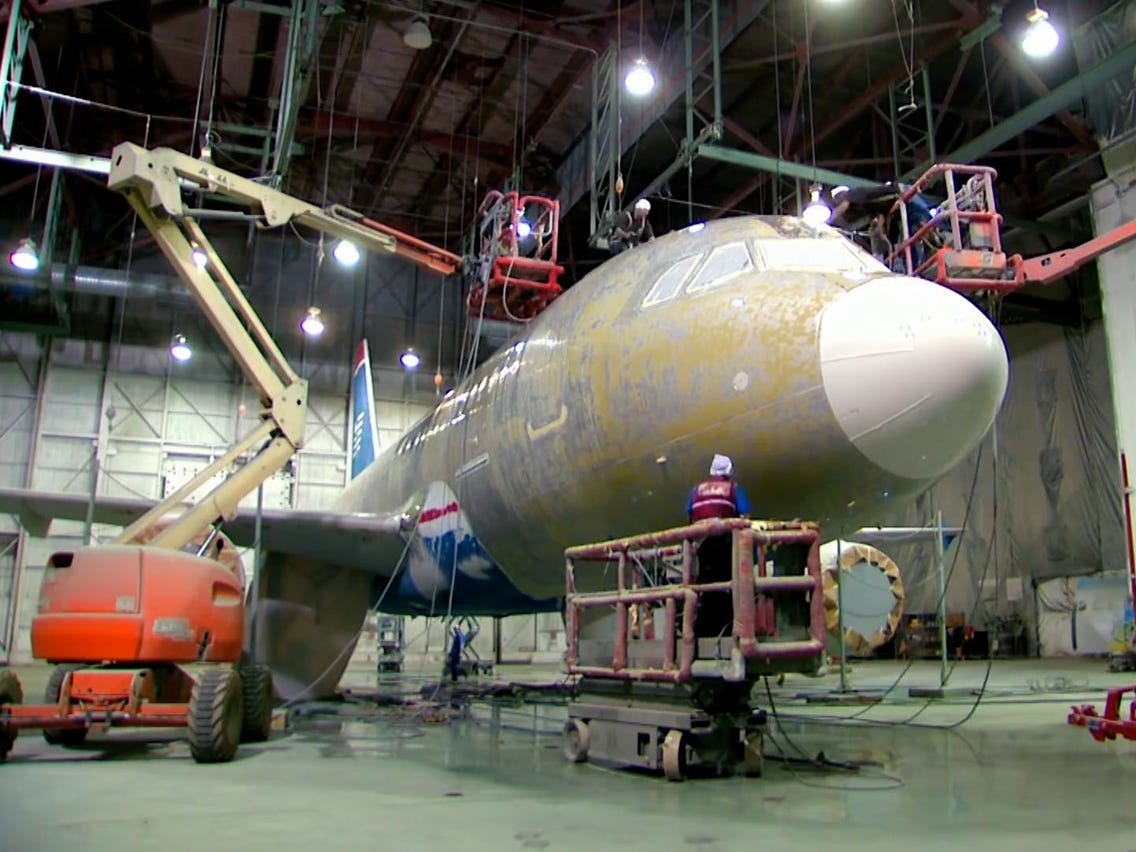
The process of aircraft paint stripping is critical for maintaining the aircraft’s integrity and aesthetics. It involves using specialized chemicals to remove old paint layers, allowing for a fresh coat of paint or detailed inspection of the aircraft’s surface.
Why is Paint Stripping Important?
There are multiple reasons why paint stripping is a crucial part of aircraft maintenance:
- Ensures proper adhesion of new paint layers.
- Prepares the surface for inspections and repairs.
- Enhances the overall appearance of the aircraft.
Choosing the Right Aircraft Paint Stripper
Selecting the appropriate paint stripper for aircraft is vital for achieving desirable results. Here are some factors to consider:
Compatibility with Aircraft Materials
Ensure the stripper is safe for the aircraft’s structure, typically made of aluminum, titanium, or composites.
Environmentally Safe Products
Opt for strippers that are less toxic and environmentally friendly to minimize occupational hazards and environmental impact.
Step-by-Step Guide on How to Use Aircraft Paint Stripper
Understanding how to use an aircraft paint stripper requires careful preparation and execution. Follow these steps to ensure a successful stripping process:
Step 1: Gather Necessary Equipment
Essential tools and materials include:
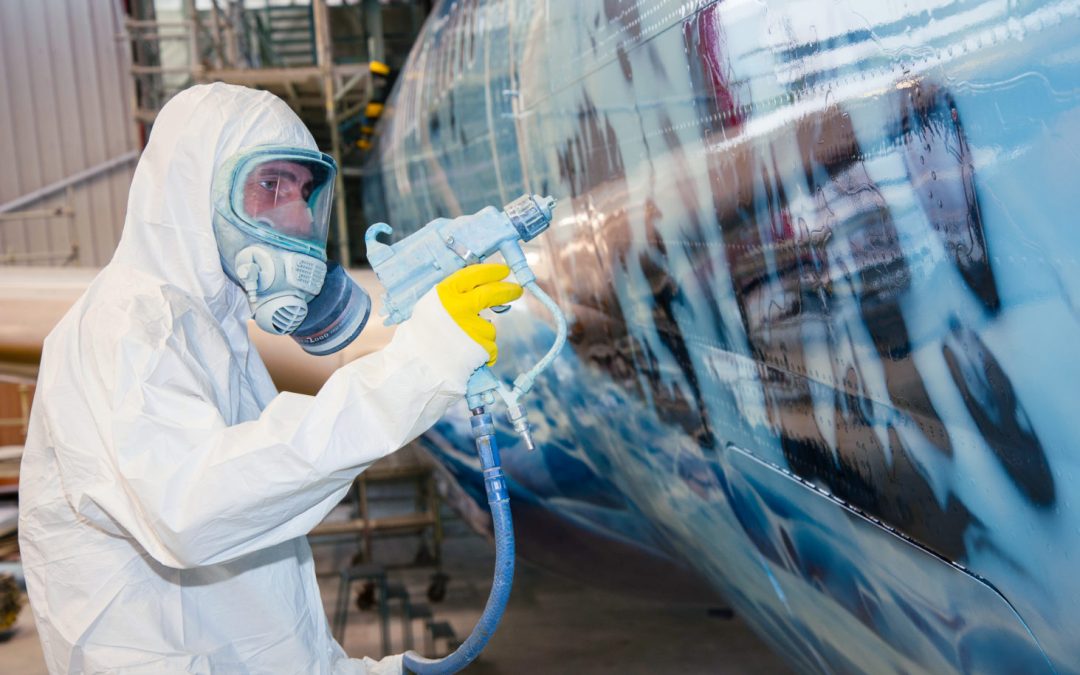
- Protective gear: gloves, goggles, and masks.
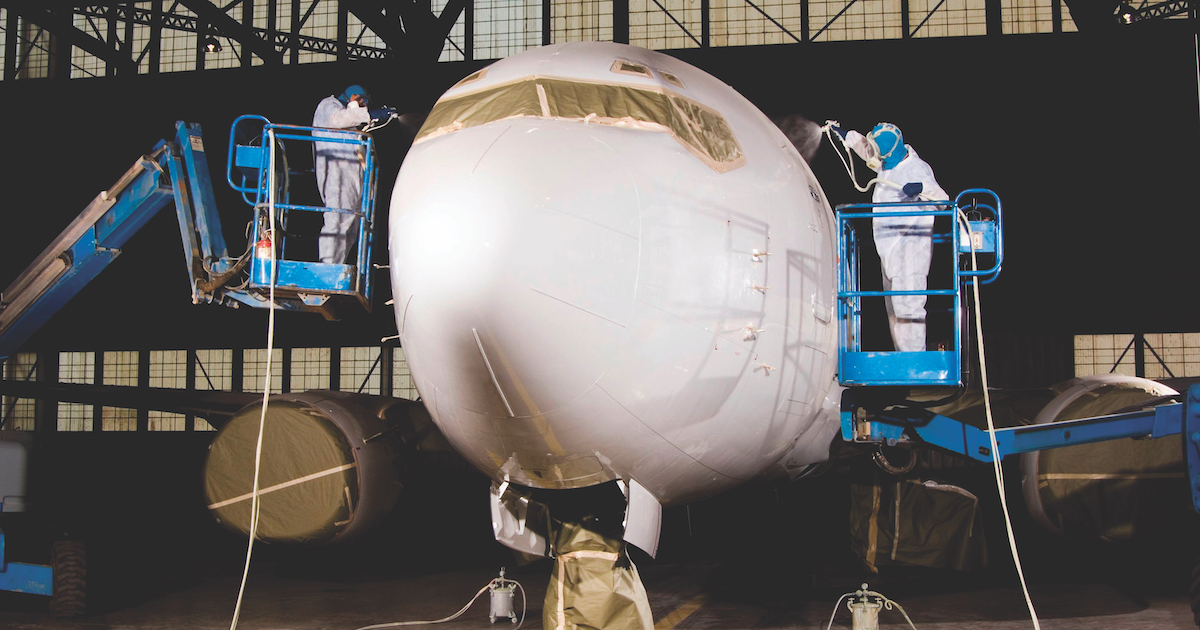
- Drop cloths and masking tape to protect areas not being stripped.
- High-quality aircraft paint stripper.
Step 2: Prepare the Aircraft Surface
Before applying the stripper, it’s crucial to clean the surface thoroughly and cover any areas that should not be exposed to the chemicals.
Step 3: Apply the Aircraft Paint Stripper
Follow these guidelines for application:
- Apply a thick, even layer of paint stripper using a brush or sprayer.
- Work in small sections to maintain control and effectiveness.
- Allow appropriate dwell time as recommended by the manufacturer.
Step 4: Remove the Stripper and Paint
Once the stripper has adequately worked on the paint:
- Use plastic scrapers to remove loosened paint carefully.
- Wipe down the area with clean cloths or rinse with water to remove any residue.
Step 5: Inspect and Repeat, if Necessary
After the initial strip, inspect the surface for any remaining paint. Reapply the stripper and repeat the process if needed.
Safety Precautions During Paint Stripping
When dealing with chemical strippers, safety should be a top priority:
Use Adequate Personal Protective Equipment (PPE)
Wear gloves, goggles, and masks to protect against chemical exposure.
Work in a Well-Ventilated Area
Ensure there is appropriate ventilation to avoid inhaling fumes.
Proper Disposal of Waste
Dispose of used strippers and paint residue according to local regulations to ensure environmental safety.
Frequently Asked Questions
What is the best type of aircraft paint stripper?
Choosing the right paint stripper depends on the aircraft materials and the environmental considerations. Opt for high-quality, eco-friendly strippers that provide effective results.
How long should I leave the stripper on the paint?
Typically, dwell times can range from 30 minutes to several hours, depending on the stripper’s formulation and the thickness of the paint layers.
Is it necessary to neutralize the aircraft surface after stripping?
Yes, neutralizing the surface ensures no residue of the chemical stripper remains, which can affect the adhesion of new paint layers.

Conclusion
Successfully using an aircraft paint stripper requires careful selection of products and adherence to safety protocols. By following this guide, you can achieve a clean, paint-free surface ready for inspections and new coatings. Ensure you continually update your techniques with the latest advancements and carefully maintain the integrity of your aircraft.
