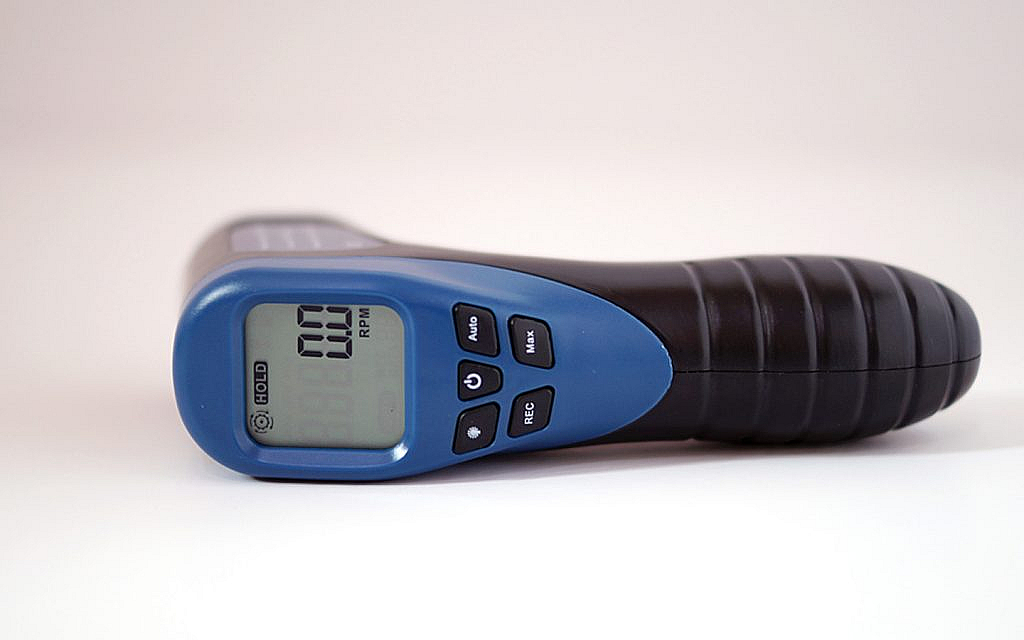
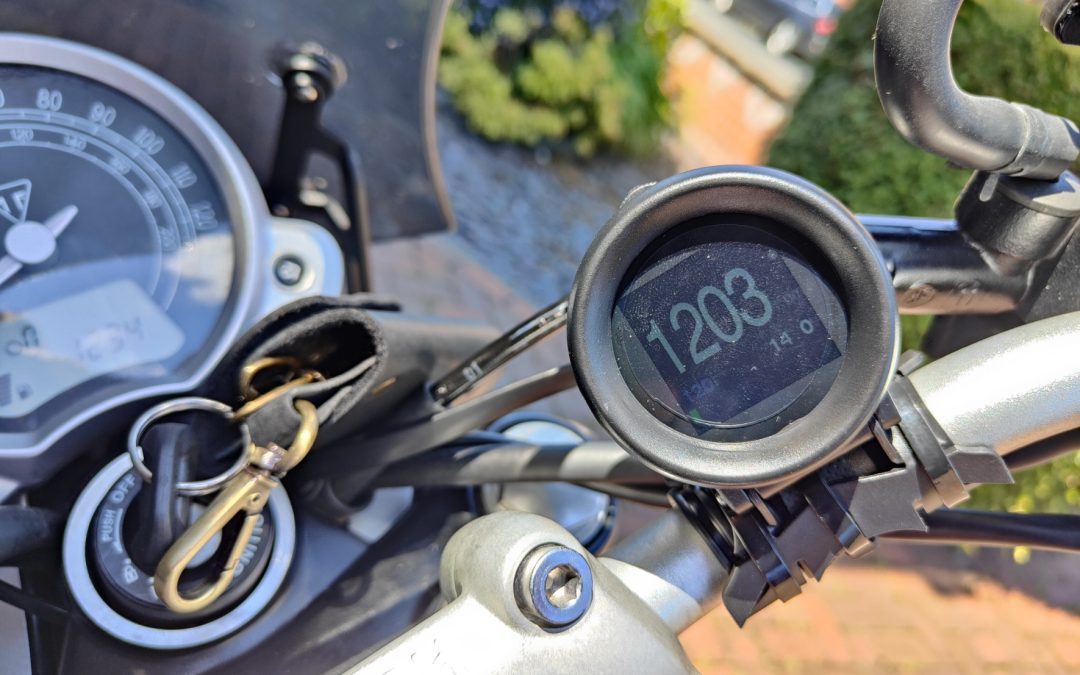
Wiring a boat tachometer is a crucial task for anyone serious about their boating experience. Understanding how to wire a boat tachometer successfully is not only important for engine performance but also for maintaining safety standards. This article will guide you through the entire process of wiring a boat tachometer, ensuring you are well-informed and confident throughout the task.

What is a Boat Tachometer?
A boat tachometer is an instrument used to measure the rotation speed of a boat’s engine. It displays the engine’s RPM (revolutions per minute), allowing boaters to monitor and optimize the performance of their vessel’s engine.
Why is a Boat Tachometer Important?
- Monitor Engine Health: Regularly observing the RPM can help detect potential issues before they become significant problems.
- Optimize Performance: Knowing the optimal RPM range can improve fuel efficiency and boat speed.
- Ensure Safety: Proper engine monitoring is crucial for averting breakdowns during critical moments.
Tools Needed for Wiring a Boat Tachometer
- Voltage Meter
- Wire Stripper
- Screwdriver Set
- Electrical Tape
- Boat Tachometer
- Wiring Diagram
Steps to Wire a Boat Tachometer
1. Gather Supplies
Ensure you have all the necessary tools and components mentioned above.
2. Read the Manual
Always start by reading the tachometer’s manual, which provides specific instructions related to the model you are installing.
3. Disconnect Battery
Safety first! Disconnect the boat’s battery to prevent any accidental short circuits.
4. Identify Wires
Using the wiring diagram, identify the wires you will connect to the tachometer. Commonly, these include the power supply, ground, signal, and illumination wires.
5. Connect Power Supply
Connect the power supply wire to the tachometer as indicated in the diagram. This is usually a 12V supply.
6. Ground Wire Connection
Connect the ground wire to the tachometer. This will help in providing a stable electrical circuit.
7. Connect Signal Wire
The signal wire usually leads to the negative side of the ignition coil. Ensure a secure connection.
8. Illumination Wire
If your tachometer has illumination, connect the illumination wire to a power source that is activated when the boat lights are on.
9. Secure Connections
Ensure all connections are tight and secure to prevent any electrical faults.
10. Reconnect Battery
Reconnect the battery and turn on the ignition to test the tachometer. It should start displaying the RPM as you rev the engine.
Troubleshooting Common Issues
Tachometer Not Working
Check the connections and ensure the power supply is proper. Also, verify the ground connection.
Inaccurate RPM Readings
This could be due to an incorrect signal wire connection. Recheck the wiring diagram.
Intermittent Functioning
Loose connections can lead to intermittent functioning. Double-check all connections for tightness.
Maintaining Your Boat Tachometer
Regular maintenance is crucial to ensure reliability. Check connections periodically and clean the tachometer with a dry cloth to remove any dust or grime.

FAQs
1. Can I install a boat tachometer myself?
Yes, with the right tools and instructions, installing a boat tachometer is a manageable DIY task.
2. How often should I check my boat tachometer?
It’s recommended to check the tachometer periodically, especially before long trips or after rough use of the boat.
3. Can a faulty tachometer damage the boat engine?
While a faulty tachometer won’t directly damage the engine, it can lead to improper engine monitoring, which could result in undetected issues escalating.
For more in-depth technical information on tachometers, you can visit Wikipedia tachometer page.
