
The motion blur cinematic look is a visual hallmark often associated with high-end films and professional video production. This effect adds a sense of movement, realism, and emotion to footage, making scenes feel more dynamic and immersive. Whether you are a filmmaker, photographer, or content creator, understanding how to create this effect can significantly elevate the quality of your visuals.
Achieving a polished blur effect involves more than simply moving your camera or subject. It requires a balance of technical knowledge, creative intent, and the right camera settings. In this guide, we’ll break down the principles behind this sought-after style, offer step-by-step techniques, and highlight common pitfalls to avoid.
If you’re interested in understanding how this effect differs from similar visual artifacts, such as camera shake, check out the detailed comparison in motion blur vs camera shake.
Understanding the Cinematic Motion Blur Effect
At its core, motion blur is the streaking or smearing of moving objects in a photo or video. This occurs when the subject moves quickly relative to the camera’s sensor during exposure. In cinematic contexts, this effect is used deliberately to create a sense of speed, fluidity, or drama.
The signature look is often achieved by matching the camera’s shutter speed to the frame rate using the “180-degree shutter rule.” This means setting your shutter speed to roughly double your frame rate (for example, 1/50s for 24fps video). This setting mimics the natural blur our eyes perceive and is a key reason why movies feel different from hyper-sharp video footage.
Camera Settings for a Cinematic Blur
Getting the right settings is crucial for a convincing cinematic motion blur effect. Here are the main factors to consider:
- Shutter Speed: The most important variable. A slower shutter speed (relative to your frame rate) increases blur. For 24fps, use 1/48s or 1/50s.
- Frame Rate: Standard cinema is 24fps. Higher frame rates (like 60fps) require even slower shutter speeds for the same blur, which can be challenging in bright conditions.
- Aperture and ISO: Slower shutter speeds let in more light. To avoid overexposure, use a smaller aperture (higher f-number) or lower ISO.
- ND Filters: In bright environments, neutral density filters help reduce light so you can use slower shutter speeds without overexposing your image.

Techniques to Create a Professional Motion Blur Look
Achieving a cinematic blur effect involves both camera technique and creative direction. Here are some proven methods:
1. Panning with Your Subject
Panning involves moving your camera horizontally in sync with a moving subject. This keeps the subject relatively sharp while the background blurs, emphasizing speed and direction. Use a tripod or monopod for smoother movement and experiment with different shutter speeds to find the right balance.
2. Intentional Camera Movement
Deliberately moving the camera during exposure can add energy to static scenes. This technique is often used in action sequences or to convey chaos. Practice smooth, controlled movements to avoid unwanted shake.
3. Using Slow Shutter in Low Light
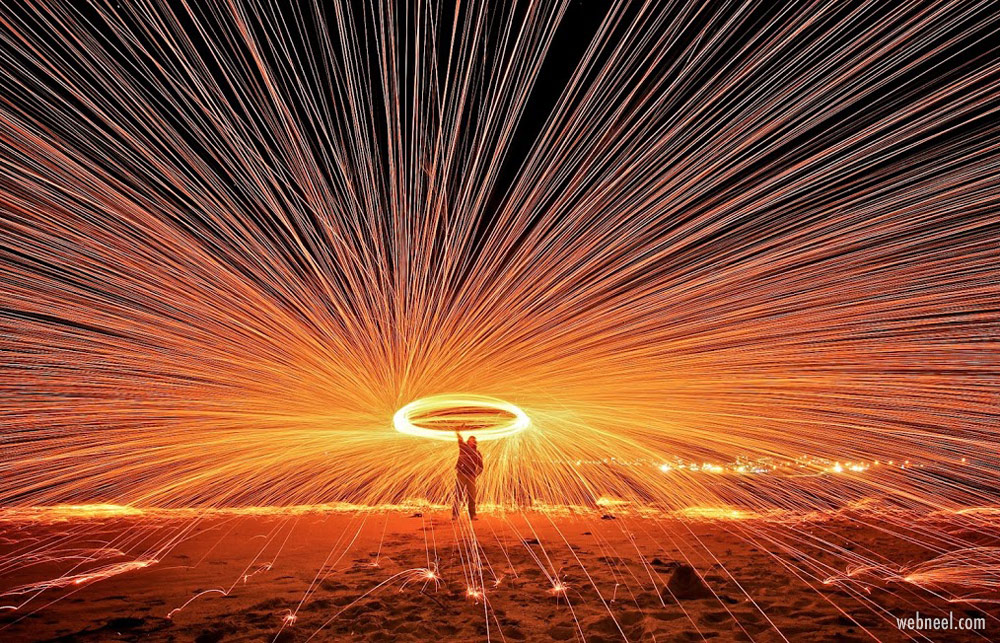
Low-light conditions naturally allow for slower shutter speeds without overexposure. This is ideal for capturing light trails, city scenes, or night-time motion, resulting in a dreamy, cinematic atmosphere.
4. Adding Blur in Post-Production
While it’s best to capture blur in-camera, software tools like Adobe Premiere Pro, After Effects, or DaVinci Resolve offer motion blur effects that can enhance or simulate the look. Use these tools sparingly for the most natural results.
Common Challenges and Solutions
While pursuing a cinematic motion blur look, you may encounter several obstacles:
- Unwanted Camera Shake: Unlike intentional blur, accidental shake can ruin footage. Use stabilization gear or in-camera stabilization features to minimize this.
- Overexposure: Slow shutter speeds let in more light. ND filters are essential for shooting in daylight.
- Inconsistent Blur: Practice is key. Experiment with different speeds and movements to achieve consistent results.
- Subject Too Blurry: If your subject loses all definition, increase shutter speed slightly or improve your panning technique.
For a deeper dive into the science and visual impact of this effect, you may find this comprehensive guide on how motion blur affects visuals particularly insightful.
Creative Uses in Film and Photography
The cinematic blur style is not limited to action scenes. Filmmakers and photographers use it to:
- Impart a sense of urgency or excitement in chase sequences
- Convey emotional states, such as confusion or disorientation
- Add visual interest to otherwise static scenes
- Create artistic effects, such as light trails or abstract compositions
The versatility of this technique makes it a valuable tool for storytelling and artistic expression across genres.
Tips for Beginners
- Start with static scenes and introduce movement gradually.
- Use a tripod or stabilizer for smoother results.
- Experiment with different shutter speeds and review your results on a large screen.
- Practice panning with moving subjects, such as cars or cyclists.
- Don’t be afraid to make mistakes—each attempt helps refine your technique.
Frequently Asked Questions
What is the 180-degree shutter rule and why is it important?
The 180-degree shutter rule suggests setting your shutter speed to approximately double your frame rate (for example, 1/50s at 24fps). This creates natural-looking blur that mimics how our eyes perceive motion, resulting in a more film-like appearance.
Can I achieve a cinematic blur effect without ND filters?
While it’s possible in low-light conditions, ND filters are essential for maintaining slower shutter speeds in bright environments without overexposing your footage. They are a key accessory for outdoor shoots.
How is motion blur different from camera shake?
Motion blur is a deliberate effect that shows movement, while camera shake is usually accidental and results in unwanted image softness. For a detailed breakdown, see our article on motion blur vs camera shake.
Is it better to create blur in-camera or in post-production?
Capturing blur in-camera generally yields more natural results. However, post-production tools can enhance or simulate the effect if needed, especially for correcting or amplifying the look.
What genres benefit most from this visual style?
Action, sports, and drama films frequently use this technique, but it’s also popular in music videos, commercials, and fine art photography for its emotional and dynamic qualities.