
Creating a sense of movement and drama is a hallmark of visually striking photography. Among the most effective techniques for achieving this is motion blur, which adds a dynamic, cinematic quality to images. Whether you’re a seasoned photographer or just starting to experiment, understanding how to use motion blur can transform your visual storytelling. This guide covers the fundamentals, practical tips, and creative approaches to help you master this compelling style.
If you’re new to these techniques, you may want to explore the motion blur settings for beginners for a foundational overview before diving deeper into cinematic effects.
Understanding Motion Blur for Cinematic Impact
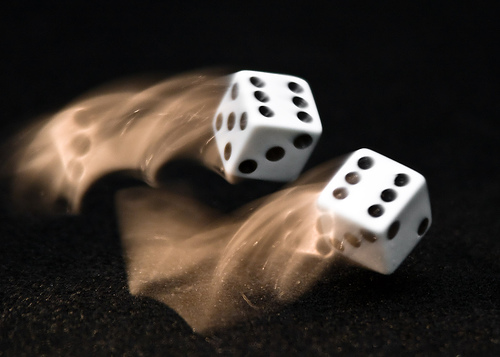
Motion blur occurs when a moving subject or camera causes parts of an image to appear streaked or smeared. In the context of cinematic photography, this effect is used intentionally to convey speed, emotion, or atmosphere. The key is to control the blur so it enhances rather than detracts from your composition.
There are two main ways to achieve motion blur:
- Subject movement: The camera remains still while the subject moves during a long exposure.
- Camera movement: The camera itself moves while the shutter is open, creating a blur across the entire frame or in specific areas.
Both methods can produce a cinematic look, but each requires different settings and creative choices.
Essential Camera Settings for Motion Blur Effects
Achieving the right amount of blur depends on your camera’s settings. Here are the primary controls to consider:
- Shutter Speed: The most critical factor. Slower speeds (such as 1/30s, 1/10s, or even several seconds) allow more movement to be captured. The exact speed depends on your subject’s motion and desired effect.
- Aperture: A smaller aperture (higher f-number) can help compensate for the extra light entering during long exposures, keeping your image properly exposed.
- ISO: Use the lowest ISO possible to reduce noise, as longer exposures can introduce graininess.
- Stabilization: A tripod or stable surface is essential when you want only the subject to blur, not the entire frame.
For more detailed advice on gear, you can consult the motion blur camera gear recommendations.
Creative Approaches to Cinematic Motion Blur
Using motion blur techniques creatively can set your work apart. Here are some ideas to inspire your next shoot:
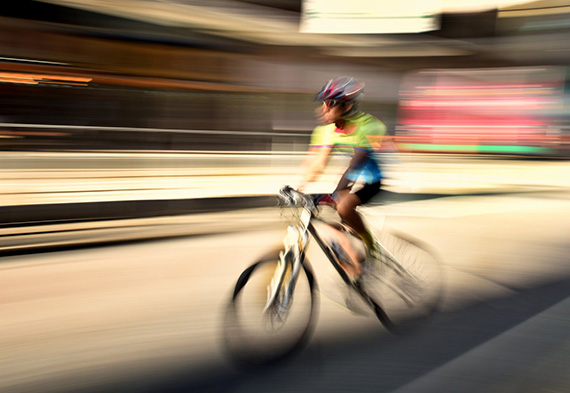
- Panning: Track a moving subject with your camera during a slow shutter exposure. The subject remains relatively sharp while the background blurs, emphasizing speed and direction.
- Light Trails: Capture moving lights at night, such as cars or cityscapes, to create dramatic streaks and patterns.
- Intentional Camera Movement (ICM): Move your camera deliberately during exposure to create abstract, painterly effects.
- Water and Clouds: Use long exposures to smooth out water or clouds, giving landscapes a surreal, cinematic atmosphere.
Experimenting with these methods allows you to develop your own style and visual language.
Lighting and Composition for Dynamic Scenes
Lighting plays a crucial role in motion blur photography. Low light conditions often require longer exposures, making it easier to capture movement. However, you can also use neutral density (ND) filters in bright environments to achieve the same effect.
When composing your shot, consider how the blur will interact with static elements. Leading lines, color contrasts, and framing can all help guide the viewer’s eye and enhance the cinematic mood.
Editing and Post-Processing Tips
Post-processing can enhance the cinematic feel of your motion blur shots. Adjusting contrast, color grading, and selectively sharpening or blurring areas can help direct attention and reinforce the intended mood. Many photographers use software like Lightroom or Photoshop to fine-tune their images after the shoot.
For a step-by-step look at how editing can transform your work, check out the motion blur before and after examples.
Common Challenges and How to Overcome Them
While motion blur adds drama, it can also introduce technical challenges. Here are some common issues and solutions:
- Unwanted Camera Shake: Use a tripod or image stabilization to keep static elements sharp.
- Overexposure: Reduce ISO, use a smaller aperture, or add an ND filter to avoid blown highlights during long exposures.
- Missed Focus: Pre-focus on your subject or use manual focus to ensure clarity where needed.
- Too Much or Too Little Blur: Adjust shutter speed incrementally and review your results on the camera’s display.
Practice and experimentation are key to mastering these challenges.
Inspiration and Further Learning
To see how others use these techniques in creative ways, you might explore motion blur instagram photography tips for ideas on composition and style. For those interested in using these effects for online content, the motion blur for social media content guide offers practical advice for maximizing visual impact on digital platforms.
If you want a comprehensive technical breakdown, the Adorama tutorial on capturing motion blur in photography provides step-by-step instructions and additional creative examples.
FAQ: Motion Blur in Cinematic Photography
What shutter speed should I use for motion blur effects?
The ideal shutter speed depends on your subject’s speed and the amount of blur you want. For subtle effects, try 1/30s to 1/60s. For pronounced streaks or light trails, use 1/10s or slower. Experiment and review your results to find the best setting for your scene.
How do I keep my subject sharp while blurring the background?
Use the panning technique: follow your moving subject with the camera during a slow shutter exposure. This keeps the subject relatively sharp while the background blurs, emphasizing motion and direction.
Can I achieve cinematic motion blur with a smartphone?
Yes, many smartphones offer manual or “pro” modes that let you adjust shutter speed. Use a tripod or stable surface, and experiment with slower shutter speeds to capture movement. There are also apps that simulate long exposure effects for creative results.