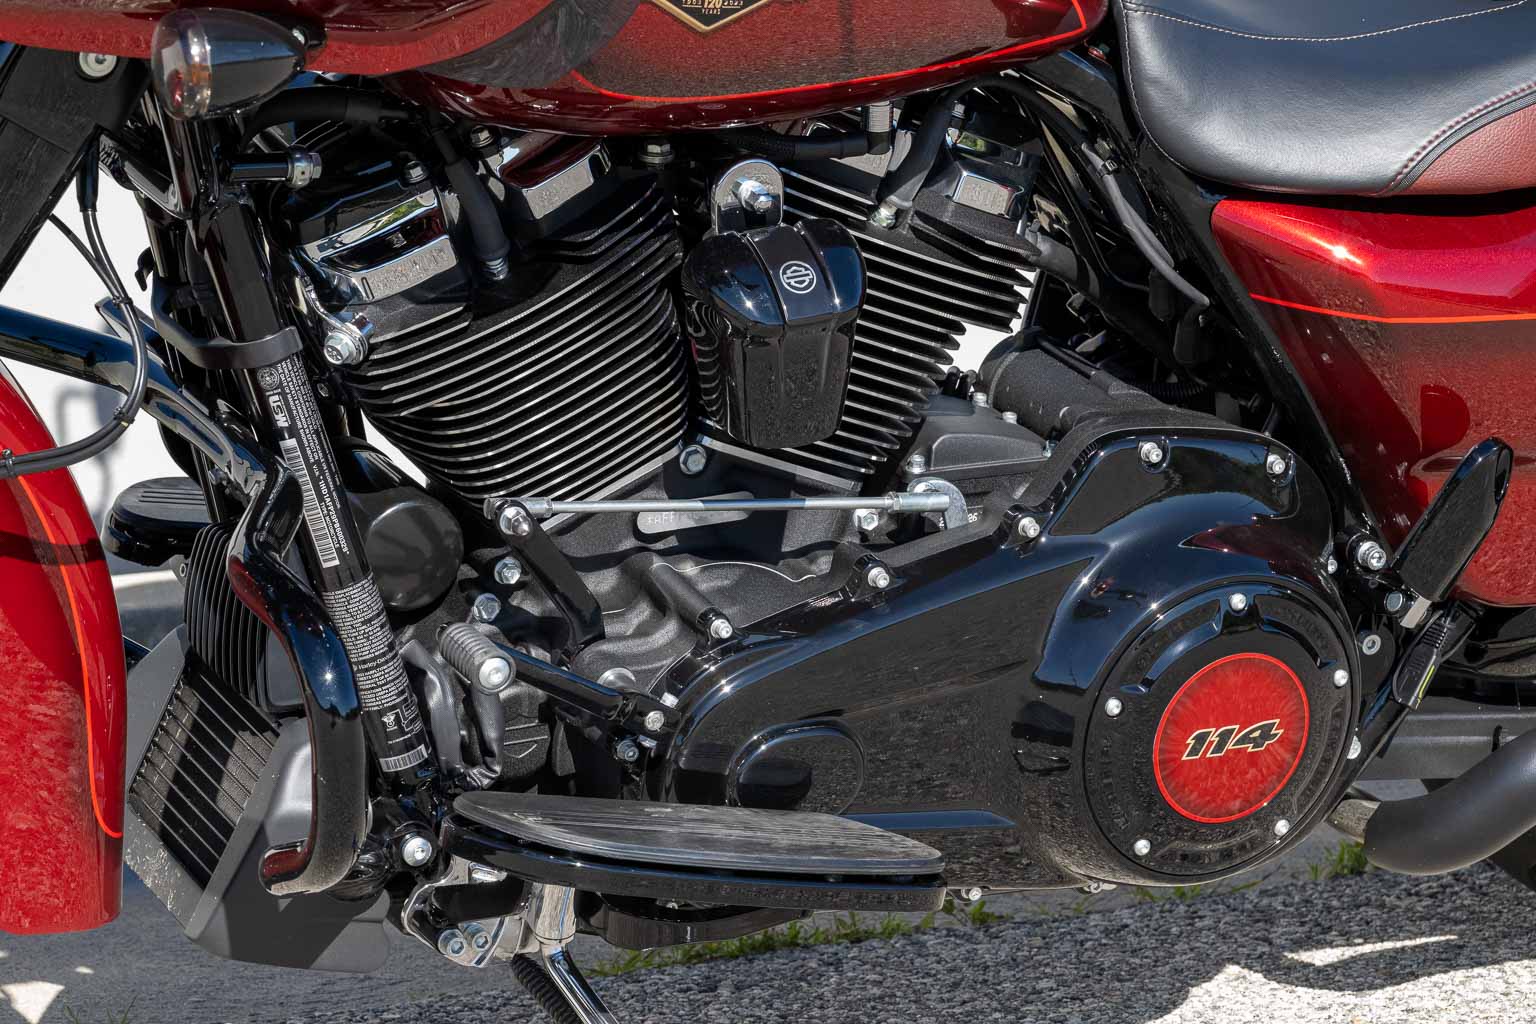
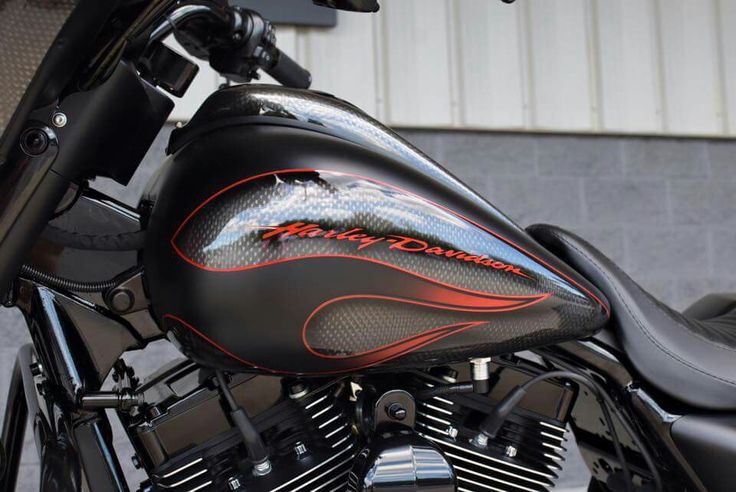
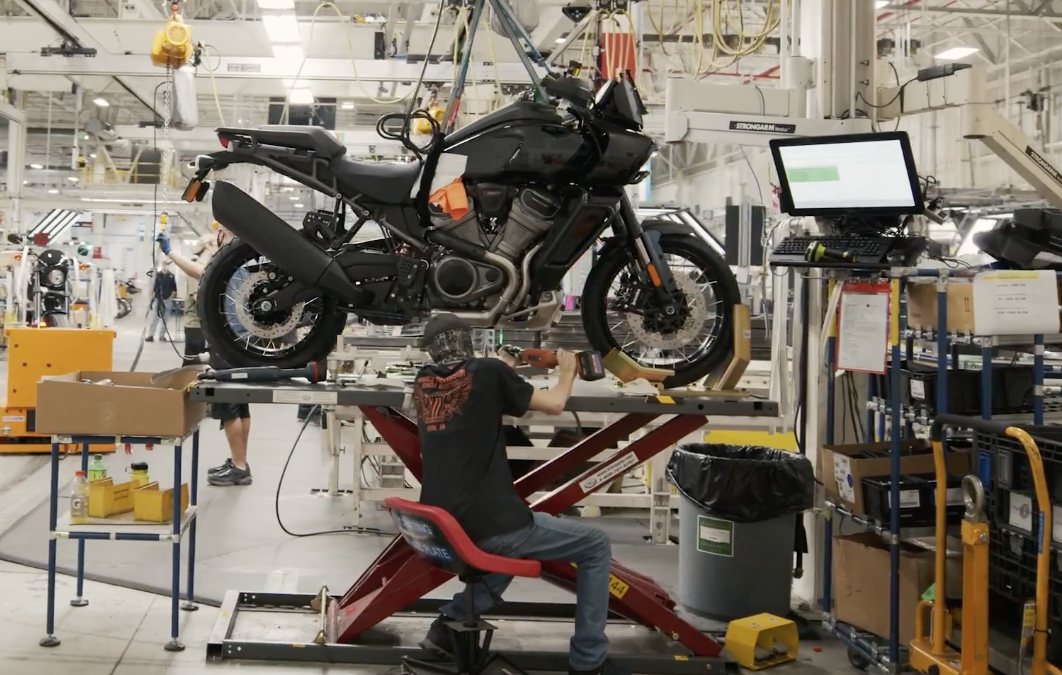
Painting a motorcycle yourself can be a delightful and creative project. However, achieving a professional finish requires some essential knowledge and careful preparation. If you have been dreaming of transforming the look of your bike, look no further. In this article, we will guide you through the process of how to paint a motorcycle yourself, step by step.

1. Why Paint Your Motorcycle?
Understanding the motivation behind painting your motorcycle is crucial. Whether you want to refresh its appearance, cover old damages, or simply add a personal touch, painting can make your motorcycle look new and unique.
2. Tools and Materials Needed
Essential Tools
- Spray gun or aerosol cans
- Air compressor
- Painter’s tape
- Sandpaper (various grits)
- Primer
- Base coat
- Clear coat
- Safety equipment (gloves, goggles, mask)
Materials
- Paint
- Thinners
- Cleaning agents
- Rags
3. Preparing the Motorcycle
Cleaning
Start by thoroughly cleaning the motorcycle. Remove all dirt, grease, and old paint residues to ensure a smooth surface for painting.
Disassembling
Disassemble the parts that will be painted. This usually includes the tank, fenders, and side covers. Label and safely store screws and bolts.
4. Sanding the Surface
Sanding is a critical step to prepare the surface. Use different grits of sandpaper to smooth out imperfections and create a surface that allows the paint to adhere properly.
5. Masking Off Areas
Use painter’s tape to mask off areas that should not be painted. This includes engine parts, wheels, and other non-removable parts. Learn more about masking techniques here.
6. Applying Primer
Apply a coat of primer to create a base for the paint. Primer helps in creating a smooth finish and enhances the paint’s adhesion.
7. Painting
Choosing the Paint
Select the type of paint suitable for motorcycle surfaces. Automotive paints are usually the best choice.
Applying the Base Coat
Apply the base coat evenly. Multiple light coats are preferred over a single heavy coat to avoid runs and drips.
Applying the Clear Coat
The clear coat is applied after the base coat has dried. It adds shine and protects the paint.
8. Curing Time
Allow the paint to cure for the recommended time. This usually takes a few days, and it is critical for achieving a durable and professional finish.
9. Reassembling the Motorcycle
Once the paint has cured, carefully reassemble the parts. This step might require some patience to ensure everything fits back perfectly.
10. Finishing Touches
Polishing
Polish the motorcycle to add the final shine and smoothness. Use a high-quality automotive polish for the best results.
Inspecting
Inspect the paint job for any imperfections. Touch up if necessary to achieve the perfect finish.
11. Common Mistakes to Avoid
- Skipping the sanding step
- Rushing the curing time
- Applying heavy coats of paint
- Not using proper safety equipment
12. Frequently Asked Questions
Is it cheaper to paint a motorcycle yourself?
Painting a motorcycle yourself can be cost-effective, especially if you already have the necessary tools and materials. However, it requires time, patience, and a bit of skill.
What type of paint should I use?
Automotive paint is recommended for painting motorcycles as it is durable and specifically designed for vehicles.
How long does it take to paint a motorcycle?
The entire process can take several days, considering the time needed for preparation, painting, and curing.
13. Conclusion
Painting a motorcycle yourself can be a rewarding and delightful project. With the proper tools, materials, and techniques, you can achieve a terrific, professional-looking finish. Follow these steps carefully, and you’ll be delighted with your motorcycle’s new look. Happy painting!

14. Additional Resources
For more information on high-speed genetic analysis, check out this link.
