Wiring a tachometer can be a transformational step for anyone looking to have better control and data on their vehicle’s engine performance. The technology behind tachometers is not new, yet its importance in modern vehicles cannot be overstated. Our goal here is to provide a tremendous guide and approved methodology for wiring a tachometer, ensuring a safe and efficient process.
In this article, we’ll introduce you to how to wire a tachometer and help you understand why it’s a crucial addition to your vehicle. By the end, you’ll be delighted with the new level of control and data you can leverage for improved performance.

What is a Tachometer?
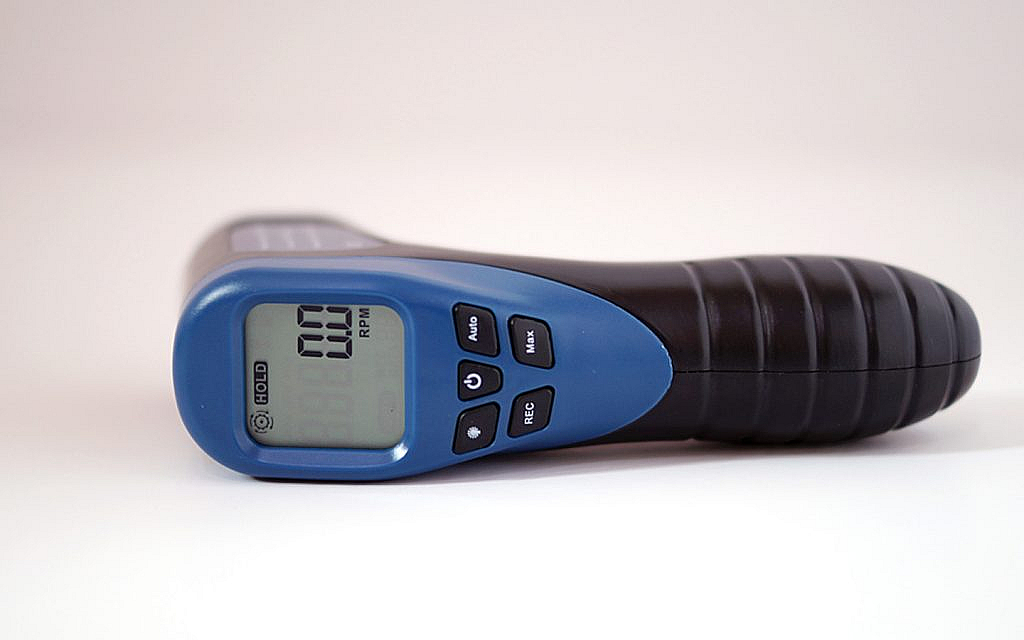
A tachometer is a device used to measure the rotation speed of a shaft or disk, as in a motor or other machine. In more straightforward terms, it measures the RPM (Revolutions Per Minute) of your vehicles engine. For more on how a tachometer works, you can visit this resource.
Tools and Materials Needed
Essential Tools
- Wire Cutters
- Screwdrivers
- Multimeter
- Electrical Tape
Required Materials
- Tachometer Kit
- Wiring Diagram
- Electrical Wires
- Connectors
Steps for Wiring a Tachometer
Step 1: Safety First
Before diving into the world of tachometer wiring, prioritize safety. Make sure the vehicle is parked on a flat surface, the engine is off, and the keys are removed from the ignition. It’s a good practice to disconnect the battery to avoid any electrical hazards.
Step 2: Understanding the Wiring Diagram
Refer to the wiring diagram that comes with your tachometer kit. This is your roadmap, indicating where each wire needs to be connected. Generally, there will be three main wires: power, ground, and signal.
Step 3: Locating Essential Wires
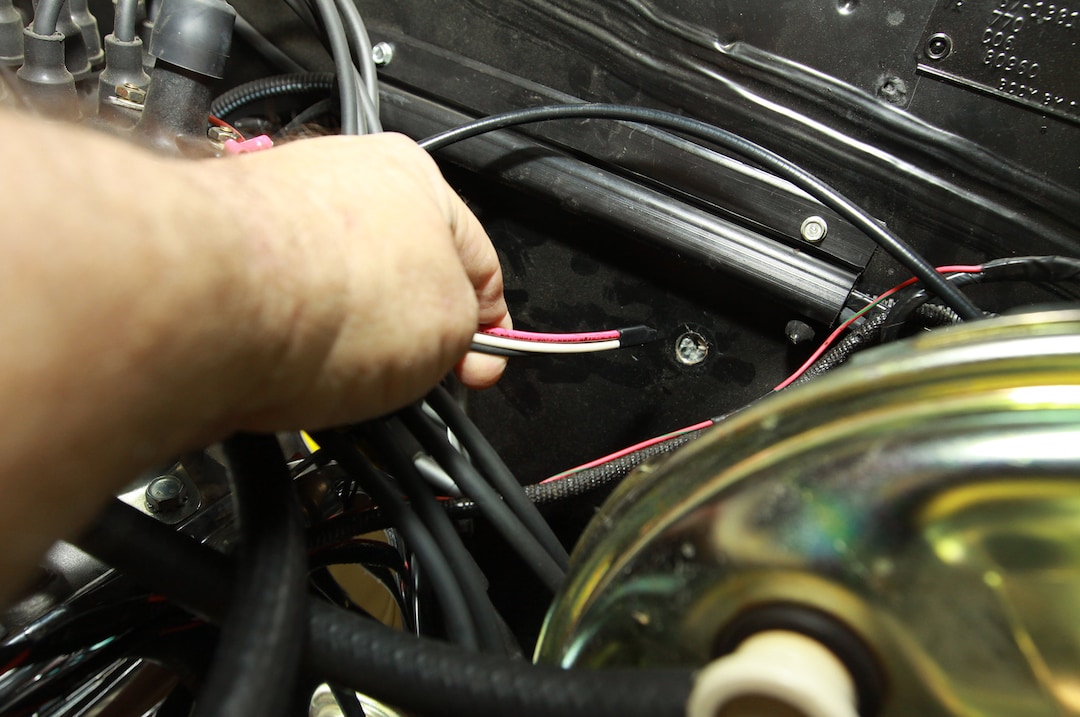
Identify the wires in your vehicles dashboard. Usually, you will find wires for power, lighting, and engine signal. Using a multimeter helps confirm the functions of these wires.
Step 4: Connecting the Wires
Start by connecting the power wire from the tachometer to a 12V ignition source. Next, connect the ground wire to the chassis or any grounding point. Finally, connect the signal wire to the ignition coil or the rpm signal output from the engine control unit (ECU).
Testing and Calibration
Initial Testing
Double-check all the connections and ensure they are secure. Reconnect the battery and start your vehicle. Observe the tachometer to see if it functions correctly.
Calibrating the Tachometer
If necessary, calibrate the tachometer as per the instructions provided in the kit. Calibration ensures accurate readings, which is crucial for making data-driven decisions about your vehicle’s performance.
Common Issues and Troubleshooting
Tachometer Not Working
If the tachometer does not work, revisit all the connections. Ensure that all wires are connected to the correct points and check for any possible faults using a multimeter.
Inaccurate Readings
Inaccurate readings often stem from poor grounding. Ensure that the ground connection is secure and free from rust or paint, which could interfere with the signal.
Why Wire a Tachometer?
Besides keeping you informed about your engine’s performance, wiring a tachometer has other benefits:
- Improved Fuel Efficiency: Knowing your RPM helps maintain optimal driving habits, enhancing fuel efficiency.
- Prevention of Engine Damage: Over-revving can be disastrous for your engine. A tachometer helps prevent this by alerting you when youre nearing unsafe RPM levels.
Conclusion
Wiring a tachometer is a wonderful addition to your vehicle. Aside from providing essential data about your engine’s performance, it helps in maintaining efficiency and avoiding potential engine damage.

FAQ
Can I wire a tachometer myself?
Yes, with the proper tools and instructions, you can wire a tachometer yourself. Always make sure to follow the recommended safety guidelines.
What if my tachometer isnt working correctly?
Double-check all connections. Make sure everything is wired according to the diagram and that there are no loose connections.
Do I need to calibrate my tachometer?
Calibration ensures your tachometer displays accurate readings. Always follow the instructions provided in the kit for the best results.
For additional information on related topics like paint inspection or gene analysis, make sure to check out more resources.
