Adding motion blur in After Effects is a powerful way to bring realism and energy to your animations and video projects. Whether you’re working on kinetic text, fast-moving graphics, or dynamic transitions, understanding how to control and fine-tune this effect can make a significant difference in the final result. This article will walk you through the essential steps, tips, and best practices for achieving professional-looking blur effects in your compositions.
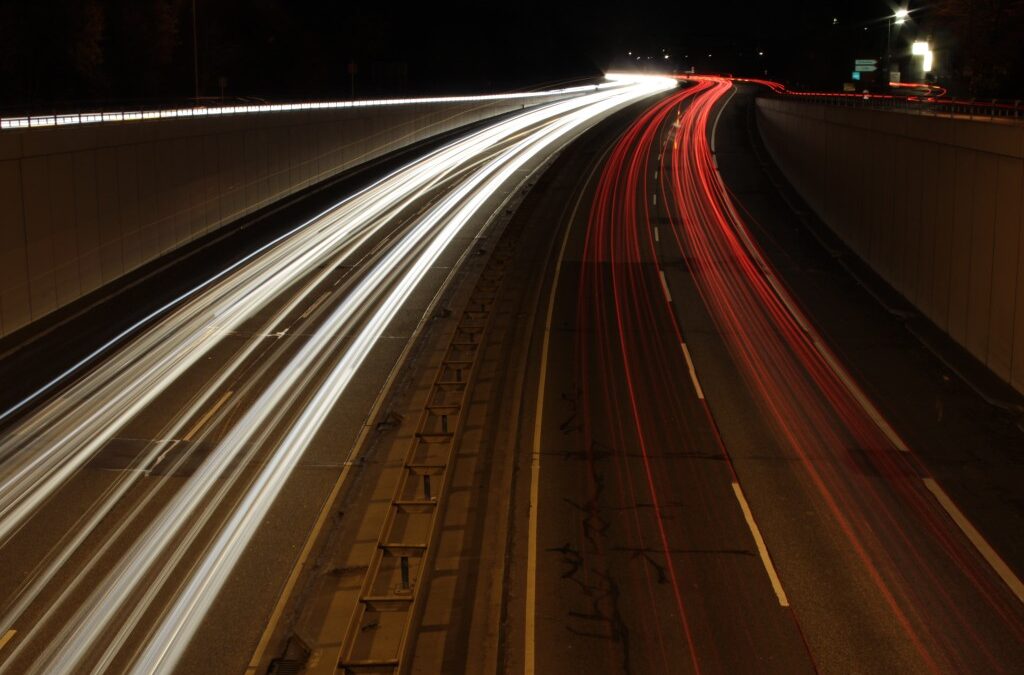
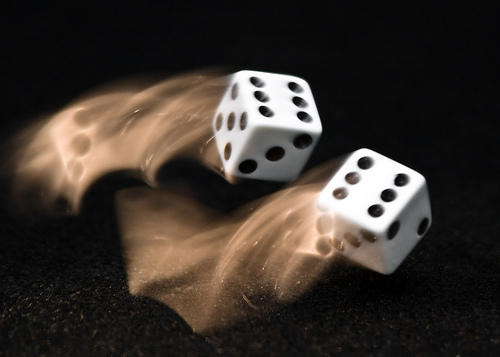
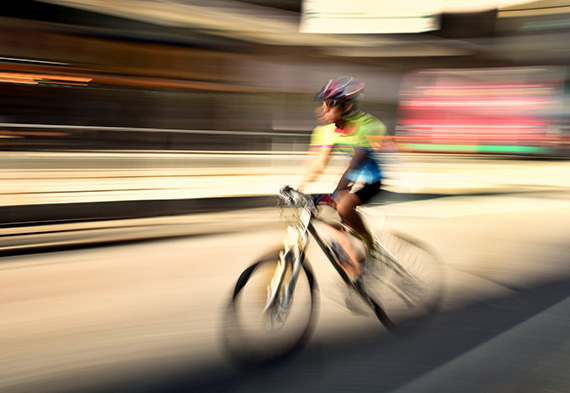
Before diving into the workflow, it’s helpful to understand the difference between motion blur and similar effects. For a deeper comparison, you can read about motion blur vs camera shake to clarify how each impacts your visuals.
Understanding the Motion Blur Effect in After Effects
In the context of digital animation and video editing, motion blur refers to the streaking or smearing of moving objects, simulating the way fast motion appears in real-world cameras. This effect helps blend frames together, making movement look smoother and more natural. In After Effects, you can apply this effect to individual layers or across entire compositions, giving you precise control over how blur is rendered.
By default, After Effects offers built-in tools to enable and adjust this effect, but knowing when and how to use them is key to achieving the desired look without sacrificing performance.
How to Enable Motion Blur for Layers
The most common way to add blur to moving elements is by enabling it on specific layers. Here’s a step-by-step process:
- Open your project and select the composition containing the layers you want to animate.
- Locate the Motion Blur column in the timeline panel. If you don’t see it, right-click the column headers and enable “Motion Blur.”
- Click the Motion Blur switch (the icon looks like three overlapping circles) for each layer you want to affect.
- Activate the global Motion Blur button at the top of the timeline. This ensures the effect is visible in your preview and final render.
Once enabled, any movement—such as position, rotation, or scale changes—will automatically generate blur based on the speed and direction of the animation.
Adjusting Motion Blur Settings for Custom Results
After Effects allows you to fine-tune how blur is calculated for your project. To access these controls:
- Go to Composition > Composition Settings.
- Navigate to the Advanced tab.
- Adjust the Shutter Angle and Shutter Phase settings.
- Shutter Angle controls the amount of blur. A higher value (up to 360°) increases the length of the blur trails, while a lower value makes the effect subtler.
- Shutter Phase shifts the blur relative to the frame, which can help sync the effect with your animation’s timing.
Experiment with these parameters to match the look of real-world cameras or to stylize your animation. For example, a shutter angle of 180° closely mimics the natural blur seen in film.
Using Effects and Plugins for Advanced Motion Blur
While the built-in blur is suitable for most projects, sometimes you may need more control or a different style. After Effects supports several effects and third-party plugins that offer advanced features:
- CC Force Motion Blur: This effect applies blur to layers that don’t have native motion, such as pre-rendered footage or certain effects.
- Pixel Motion Blur: Uses frame interpolation to generate blur based on pixel movement, which is useful for footage or complex animations.
- Third-party plugins: Tools like ReelSmart Motion Blur (RSMB) provide even more customization and can be applied to entire compositions or specific layers.
These options are especially helpful when working with footage that lacks natural blur or when you want to stylize the effect beyond what the standard settings allow.
Best Practices for Realistic Motion Blur in Animations
To get the most out of blur effects in your projects, keep these tips in mind:
- Preview with Motion Blur enabled: Always check your animation with the effect active to ensure it looks natural at full speed.
- Balance quality and performance: High shutter angles and advanced effects can slow down previews and renders. Adjust settings to find the right compromise for your workflow.
- Use blur selectively: Not every element needs this effect. Apply it only to moving objects or layers that benefit from added realism.
- Combine with other effects: Pairing blur with glow, color correction, or depth of field can enhance the sense of motion and focus in your scene.
For photographers and videographers interested in capturing similar effects in-camera, you might find this guide to capturing motion blur in photography helpful for understanding the real-world principles behind the digital effect.
Troubleshooting Common Issues with Motion Blur
Sometimes, the effect may not appear as expected. Here are a few common issues and solutions:
- Blur not visible: Make sure both the layer’s blur switch and the global button are enabled.
- Performance slowdowns: Lower the shutter angle or disable the effect during previews, then re-enable for final renders.
- Artifacts or unwanted trails: Adjust the shutter phase or experiment with different effects (like Pixel Motion Blur) for better results.
- Static layers blurring: Ensure only animated layers have the effect enabled, or use masks to limit the area affected.
Integrating Motion Blur into Your Workflow
Adding blur to your animations should be part of your creative process, not just an afterthought. Plan your movements and transitions with the effect in mind, and preview regularly to catch any issues early. When working with complex scenes, consider pre-rendering sections with blur applied to save time during final output.
For those interested in how visual effects and automation intersect in industrial settings, you might also explore topics like the importance of industrial vision inspection or factory machine learning applications explained to see how similar principles apply in manufacturing and automation.
Frequently Asked Questions
How do I enable motion blur for only certain layers in After Effects?
To apply the effect to specific layers, click the blur switch (three overlapping circles) next to each desired layer in the timeline. Then, ensure the global blur button at the top of the timeline is also activated. Only layers with the switch enabled will display the effect.
What is the best shutter angle for realistic blur in animations?
A shutter angle of 180° is commonly used to mimic the look of traditional film cameras, providing a natural amount of blur. However, you can experiment with higher or lower values depending on the speed of your animation and the style you want to achieve.
Can I add motion blur to pre-rendered footage or imported video?
Yes, you can use effects like CC Force Motion Blur or Pixel Motion Blur to add the effect to footage that doesn’t have it natively. These tools analyze the movement between frames and generate blur accordingly, giving you flexibility even with non-animated layers.
Does enabling motion blur slow down rendering in After Effects?
Applying this effect can increase render times, especially with high shutter angles or advanced effects. To optimize performance, use the effect only where necessary and consider lowering quality settings during previews.