
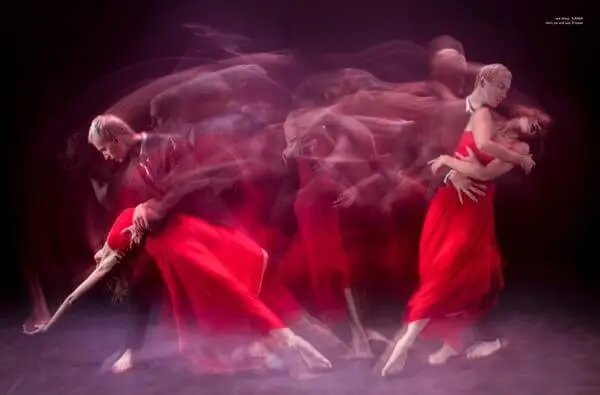
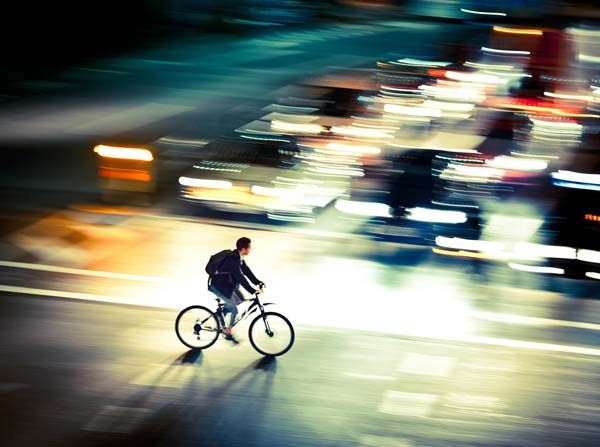
Capturing the smooth, flowing look of water using motion blur water photography techniques can transform ordinary scenes into mesmerizing works of art. By intentionally using slower shutter speeds, photographers can create dreamy effects that highlight the movement and energy of rivers, waterfalls, or ocean waves. This approach not only adds a sense of motion and atmosphere but also allows for creative expression beyond what the eye can see in real time.
Whether you’re just starting out or looking to refine your skills, understanding the fundamentals of motion blur with water is essential. This guide covers everything from gear selection and camera settings to composition tips and troubleshooting common challenges. For those interested in expanding their creative toolkit, exploring motion blur composition examples can provide additional inspiration and practical ideas.
Understanding Motion Blur in Water Photography
At its core, motion blur water photography leverages slower shutter speeds to record the movement of water over time. Unlike freezing action with fast shutter settings, this method intentionally blurs moving water, resulting in soft, silky textures that contrast beautifully with static elements like rocks or foliage. The effect is especially striking in scenes with waterfalls, streams, or ocean surf, where the dynamic flow of water becomes a central visual element.
The amount of blur depends on several factors, including the speed of the water, the chosen shutter speed, and the stability of your camera setup. Experimenting with different settings is key to finding the right balance between detail and abstraction.
Essential Gear for Capturing Water Motion
While it’s possible to achieve pleasing results with a basic camera, certain equipment can make the process easier and more consistent:
- Tripod: A sturdy tripod is crucial for keeping your camera steady during long exposures, preventing unwanted shake that can blur the entire image.
- Neutral Density (ND) Filters: These filters reduce the amount of light entering the lens, allowing for longer shutter speeds even in bright conditions. ND filters come in various strengths, so choose one that matches your shooting environment.
- Remote Shutter Release or Timer: Using a remote or the camera’s built-in timer minimizes vibrations caused by pressing the shutter button.
- Weather Protection: Shooting near water often means dealing with spray or humidity. Lens cloths and protective covers help keep your gear safe and clean.
Camera Settings for Smooth Water Effects
Achieving the desired blur effect relies on careful control of your camera’s exposure settings. Here are the key parameters to consider:
- Shutter Speed: For most water scenes, a shutter speed between 1/4 second and several seconds will create visible blur. Faster water may require shorter exposures, while slower-moving streams benefit from longer ones.
- Aperture: Use a smaller aperture (higher f-number) to increase depth of field and help control exposure. This also contributes to sharper details in the non-moving parts of your image.
- ISO: Set your ISO as low as possible (usually ISO 100 or 200) to minimize noise during long exposures.
- Manual Focus: Autofocus can struggle in low light or with moving water. Switch to manual focus and carefully set your point of sharpness before starting your exposure.
If you’re new to these settings, the motion blur settings for beginners guide offers a step-by-step breakdown for getting started.
Composing Striking Images with Water Movement
The composition of your photograph plays a significant role in the impact of motion blur. Here are some tips to enhance your results:
- Lead the Eye: Use the lines created by flowing water to guide viewers through the frame. Curves and diagonals add energy and depth.
- Include Static Elements: Anchoring your composition with rocks, trees, or man-made structures provides contrast and context for the blurred water.
- Frame for Balance: Consider the rule of thirds, but don’t be afraid to experiment with centered or asymmetrical arrangements for dramatic effect.
- Foreground Interest: Adding leaves, moss, or textured stones in the foreground can create a sense of scale and invite viewers into the scene.
Lighting and Timing for Water Blur Photography
Light conditions greatly influence your ability to use longer exposures. Early morning, late afternoon, or overcast days are ideal, as lower light levels make it easier to achieve slow shutter speeds without overexposing your image. If you’re shooting in bright sunlight, ND filters become essential for controlling exposure.
Timing is also important. The look of moving water changes throughout the day and with the weather. Experiment with different times and conditions to discover unique moods and effects.
Common Challenges and Solutions
Even with careful planning, you may encounter some obstacles when photographing moving water:
- Overexposure: If your images are too bright, use a stronger ND filter, a smaller aperture, or lower ISO.
- Camera Shake: Always use a tripod and remote release. If wind is an issue, stabilize your tripod with extra weight or seek sheltered locations.
- Water Spots on Lens: Regularly check your lens for droplets and clean as needed. A lens hood can help shield from spray.
- Unwanted Elements: Pay attention to distracting objects in the frame, such as litter or branches, and adjust your composition accordingly.
For more advanced creative ideas, the motion blur cinematic photography guide explores cinematic approaches to water movement and atmosphere.
Editing Tips for Enhancing Water Blur Images
Post-processing can help bring out the best in your motion blur water shots. Here are a few editing suggestions:
- Adjust Contrast and Clarity: Boosting contrast can make blurred water pop against textured backgrounds. Use clarity carefully to avoid making the water look harsh.
- Fine-Tune Color Balance: Water often reflects surrounding colors. Adjust white balance to achieve natural or creative tones.
- Crop for Impact: Don’t hesitate to crop your image to improve composition or remove distractions.
- Sharpen Selectively: Apply sharpening to static elements while leaving the blurred water soft for a more dynamic effect.
For a deeper dive into before-and-after transformations, check out the motion blur before and after examples guide.
Further Learning and Inspiration
Mastering the art of water motion photography is an ongoing process. Studying the work of other photographers and analyzing their techniques can spark new ideas for your own projects. For a comprehensive overview of creative approaches, the motion blur photography tutorial by Akari Photo Tours offers additional insights and step-by-step examples.
Sharing your results on social platforms can also be motivating. For tips on showcasing your work, the motion blur instagram photography tips article provides practical advice for building your audience.
Frequently Asked Questions
What shutter speed should I use for blurring water?
The ideal shutter speed depends on the speed of the water and the effect you want. For gentle streams, try starting with 1/2 to 2 seconds. For fast-moving waterfalls, even 1/8 to 1 second can create a pleasing blur. Adjust as needed based on your results and available light.
Do I need an ND filter for motion blur water photography?
ND filters are highly recommended, especially when shooting in daylight. They allow you to use slower shutter speeds without overexposing your image. In low light or at dawn/dusk, you may be able to achieve motion blur without a filter.
How do I keep my images sharp except for the water?
Use a tripod to stabilize your camera and set your focus manually on a stationary object in the scene. Avoid touching the camera during exposure by using a remote release or timer. In post-processing, apply selective sharpening to non-moving elements if needed.