
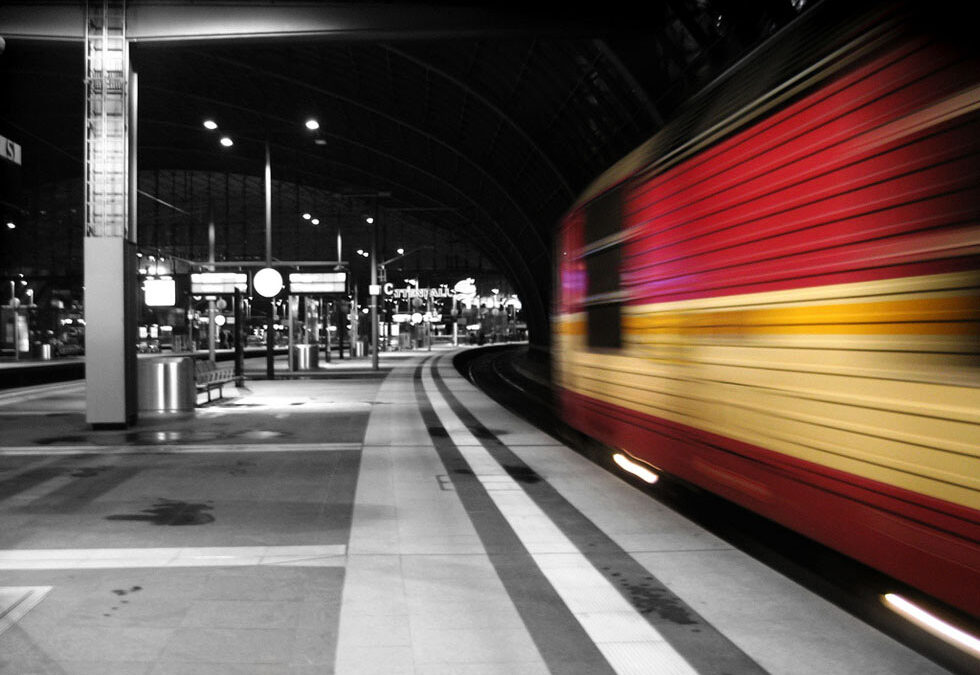
Creating motion blur using neutral density filter techniques is a powerful way to add a sense of movement and atmosphere to your photography. By controlling the amount of light that reaches your camera sensor, neutral density (ND) filters allow you to use slower shutter speeds even in bright conditions. This opens up creative possibilities for capturing flowing water, bustling city scenes, or dynamic landscapes with smooth, streaked effects that convey motion in a single frame.
Whether you’re just starting to experiment with long exposures or looking to refine your skills, understanding how to use ND filters for motion blur can dramatically enhance your portfolio. For additional inspiration, you might want to explore these motion blur composition examples to see how different photographers apply these concepts in real-world scenarios.
Understanding Motion Blur and Neutral Density Filters
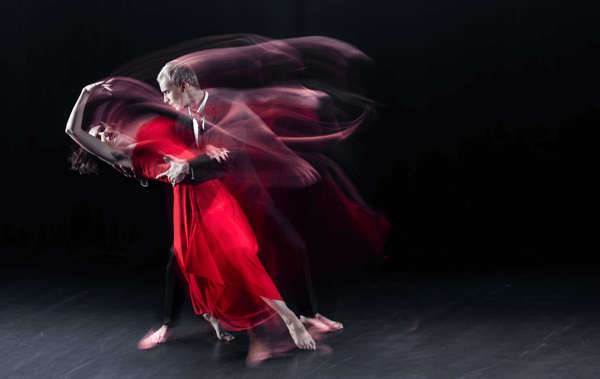
Motion blur occurs when moving subjects are captured with a slow shutter speed, causing them to appear streaked or blurred in the final image. This effect can be subtle or dramatic, depending on how long the shutter remains open and how fast the subject is moving. While motion blur can be achieved without filters in low-light conditions, shooting in daylight often requires additional tools to prevent overexposure.
Neutral density filters are essentially darkened pieces of glass or resin that reduce the amount of light entering your lens. By limiting light, ND filters let you use slower shutter speeds without blowing out highlights or losing detail. This is essential for creating pronounced motion blur in bright environments, such as waterfalls on a sunny day or busy urban streets at noon.
Choosing the Right ND Filter for Motion Effects
ND filters come in various strengths, typically measured in stops (e.g., ND2, ND8, ND64, ND1000). The higher the number, the more light is blocked, allowing for longer exposures. For most motion blur applications, a filter that reduces light by 3 to 10 stops is common.
- 3-stop ND (ND8): Useful for slightly lengthening exposures, such as softening moving water or clouds.
- 6-stop ND (ND64): Ideal for more pronounced blur, especially in moderate daylight.
- 10-stop ND (ND1000): Enables very long exposures, perfect for extreme motion blur and minimalist effects.
When selecting a filter, consider the lighting conditions and the type of motion you want to capture. For example, a gentle stream may only need a 3-stop filter, while fast-moving traffic in bright sunlight could require a 10-stop version.
Essential Camera Settings for Capturing Motion
Achieving the best results with motion blur using neutral density filter methods involves more than just attaching a filter. Camera settings play a crucial role in determining the final look of your image.
- Shutter Speed: The slower the shutter, the more pronounced the blur. Start with 1/4 to several seconds and adjust based on the scene.
- Aperture: Use a smaller aperture (higher f-number) to further reduce light and increase depth of field.
- ISO: Keep ISO as low as possible (e.g., ISO 100) to minimize noise during long exposures.
- Focus: Pre-focus before attaching the ND filter, as the darkened glass can make autofocus challenging.
- Stability: Use a sturdy tripod and, if possible, a remote shutter release or timer to avoid camera shake.
Step-by-Step Workflow for Long Exposure Photography
To consistently achieve smooth, controlled motion blur, follow this practical workflow:
- Compose your shot and set focus without the ND filter attached.
- Switch to manual focus to prevent the camera from hunting after the filter is on.
- Attach the ND filter carefully, ensuring it’s clean and free of fingerprints.
- Switch to manual mode and set your desired aperture and ISO.
- Calculate the correct shutter speed. Many photographers use smartphone apps or ND filter charts to determine the appropriate exposure time.
- Use a remote release or the camera’s self-timer to trigger the shutter and avoid vibrations.
- Review the image and adjust settings as needed for the desired effect.
Remember, exposure times can range from fractions of a second to several minutes, depending on filter strength and ambient light.
Creative Applications and Subject Ideas
Using ND filters for motion blur opens up a wide range of creative possibilities. Here are some popular subjects and scenes where this technique shines:
- Waterfalls and Rivers: Smooth out turbulent water for a silky, ethereal look.
- Clouds: Capture streaking clouds over landscapes for a sense of passing time.
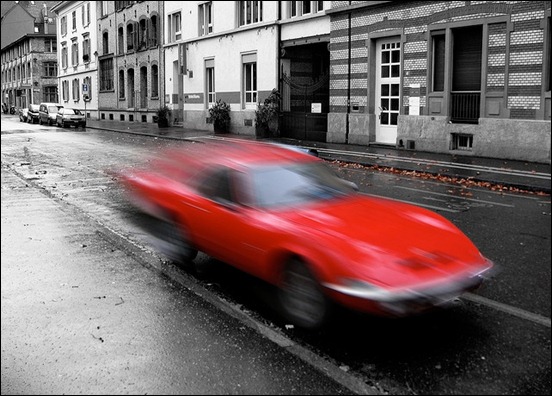
- Urban Life: Blur pedestrians or traffic to emphasize the energy of a city.
- Seascapes: Transform crashing waves into misty, dreamlike surfaces.
- Light Trails: Record the movement of cars, bikes, or even stars at night.
Common Challenges and Troubleshooting Tips
While the process is straightforward, photographers sometimes encounter issues when using ND filters for motion blur:
- Color Casts: Some ND filters introduce a color tint. Shoot in RAW and correct in post-processing if needed.
- Vignetting: Stacking multiple filters or using wide-angle lenses can cause dark corners. Use single, high-quality filters to minimize this.
- Light Leaks: Cover the viewfinder during long exposures to prevent stray light from affecting the image.
- Focus Issues: Always focus before attaching the filter, and use manual focus to maintain sharpness.
For more technical insights on how motion blur affects visuals and image quality, check out this comprehensive explanation of motion blur in photography.
Further Learning and Related Resources
If you’re interested in expanding your understanding of motion blur techniques, consider reading the motion blur cinematic photography guide for tips on achieving dramatic, movie-like effects. Beginners may also benefit from the motion blur settings for beginners guide, which breaks down the basics of exposure and camera setup.
Frequently Asked Questions
What strength ND filter should I use for motion blur in daylight?
For most daylight situations, a 6-stop (ND64) or 10-stop (ND1000) filter is recommended. These allow you to use much slower shutter speeds, even in bright sunlight, making it easier to achieve smooth, flowing motion effects in water, clouds, or city scenes.
How do I avoid blurry photos when using long exposures?
To keep static elements sharp while capturing motion blur, use a sturdy tripod and a remote shutter release or the camera’s timer function. Ensure your focus is set before attaching the ND filter, and avoid touching the camera during the exposure.
Can I stack ND filters for stronger effects?
Yes, you can stack ND filters to achieve greater light reduction, but be aware that this can increase the risk of vignetting and color casts. It’s usually better to invest in a single, high-quality filter with the desired strength for optimal results.
Is it possible to use ND filters for motion blur in smartphone photography?
Many smartphones now support clip-on ND filters or have built-in long exposure modes. While results may not match those from dedicated cameras, you can still experiment with motion blur effects using these accessories and apps.
Conclusion
Mastering motion blur using neutral density filter techniques can transform ordinary scenes into dynamic, visually compelling images. By understanding how to select the right filter, set up your camera, and troubleshoot common issues, you’ll be well-equipped to capture the beauty of movement in your photography. Keep experimenting with different subjects and settings, and refer to resources like motion blur before and after examples to track your progress and find new inspiration.