
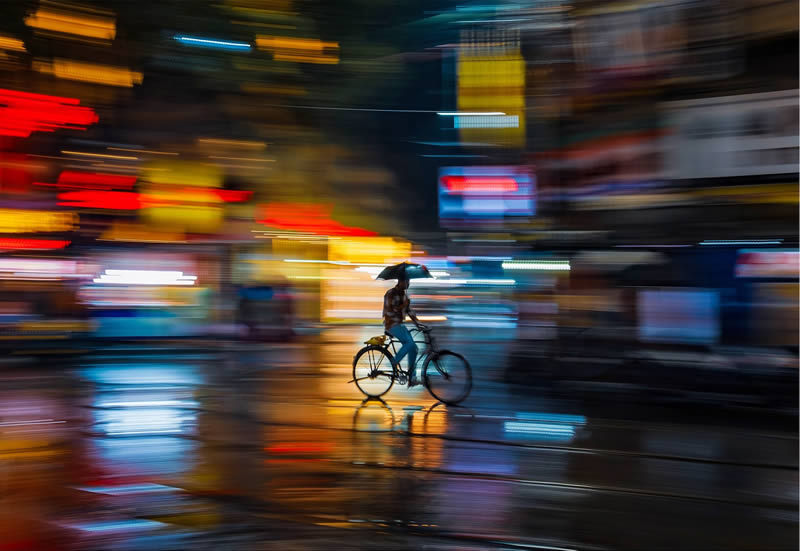
Capturing the energy and movement of busy streets is a rewarding challenge for photographers. Motion blur traffic photography is a creative approach that transforms ordinary scenes of vehicles and city life into dynamic, visually compelling images. By intentionally using slower shutter speeds, photographers can convey a sense of speed, flow, and urban rhythm that static images simply cannot achieve.
Whether you’re a beginner looking to experiment with new styles or an experienced shooter aiming to refine your technique, understanding how to control blur and sharpness is essential. This article explores practical methods, camera settings, and creative ideas to help you master the art of photographing moving traffic with intentional blur effects.
For those interested in exploring related creative methods, the motion blur car light trails tutorial offers step-by-step guidance on capturing vibrant streaks of light in urban environments.
Understanding Motion Blur in Urban Photography
At its core, motion blur traffic photography leverages the movement of vehicles, lights, and people to create a sense of action. The effect is achieved by using a slower shutter speed, allowing moving elements to streak across the frame while stationary objects remain sharp. This contrast between blur and clarity draws the viewer’s attention and tells a story about the pace of city life.
The amount of blur depends on several factors:
- Shutter speed (slower speeds create more pronounced blur)
- Speed and direction of the moving subject
- Camera stability (tripod use vs. handheld shooting)
- Lighting conditions (nighttime and dusk often enhance the effect)
For a deeper dive into the science and visual impact of motion blur, consider reading this comprehensive explanation of motion blur and its effects on visuals.
Essential Gear and Settings for Capturing Traffic Movement
While you don’t need the most expensive equipment, certain tools and settings will make it easier to achieve consistent results in motion blur traffic photography:
- Camera: Any camera with manual exposure controls (DSLR, mirrorless, or advanced compact)
- Lens: Wide-angle lenses are popular for cityscapes, but telephoto options can isolate details
- Tripod: Essential for keeping the camera steady during long exposures
- Remote shutter release or timer: Reduces camera shake
- ND filter: Useful for shooting longer exposures during daylight hours
When setting up your camera, start with these baseline settings and adjust as needed:
- Shutter speed: 1/10 to several seconds, depending on desired blur
- Aperture: f/8 to f/16 for greater depth of field
- ISO: Keep as low as possible (ISO 100–400) to minimize noise
- Focus: Pre-focus on a stationary object where the action will occur
Creative Approaches to Traffic Blur Photography
There are several artistic methods to experiment with when photographing moving vehicles and city lights. Each approach offers a unique perspective on urban motion.
Light Trails and Nighttime Exposures
One of the most iconic uses of motion blur traffic photography is capturing the glowing trails left by car headlights and taillights at night. Position your camera overlooking a busy intersection or highway, set a long exposure (from a few seconds up to 30 seconds or more), and watch as streams of light paint the scene.
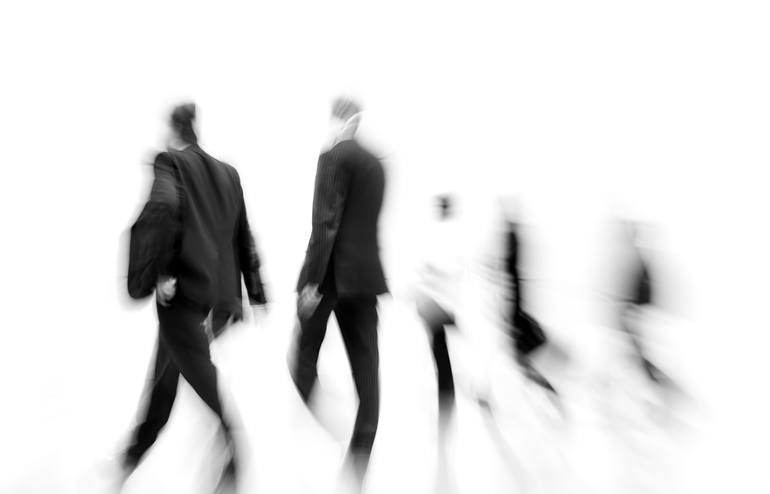
Experiment with different vantage points—bridges, parking garages, or street level—to vary the composition and intensity of the light trails. Adjust your exposure time to control the length and density of the streaks.
Panning for Dynamic Subject Isolation
Panning is a technique where you move the camera horizontally to follow a moving vehicle during exposure. This keeps the subject relatively sharp while blurring the background, emphasizing speed and direction. Use a shutter speed between 1/15 and 1/60 second, and practice smooth, steady camera movement to achieve the best results.
This method works well in daylight or well-lit streets and can be combined with creative framing to highlight a single car, cyclist, or bus against a bustling city backdrop.
Light Painting and Abstract Effects
For a more experimental approach, try incorporating intentional camera movement or allowing lights from passing vehicles to “paint” across the frame. This can result in abstract, colorful images that capture the energy of city life in a unique way.
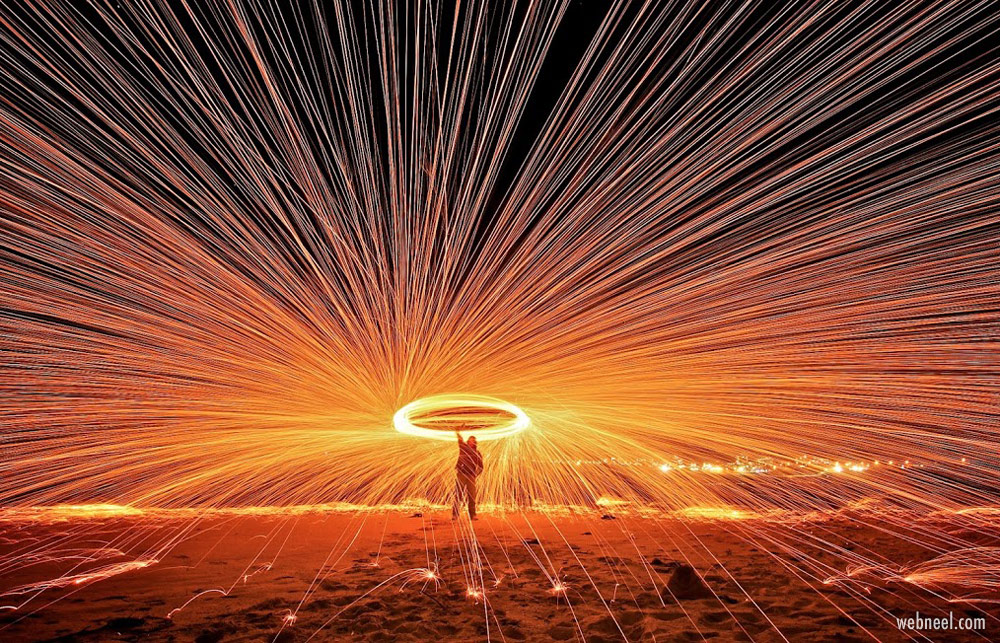
Try rotating, tilting, or zooming your lens during a long exposure to create swirling or radiating patterns. These images often work best at night or in low-light conditions where city lights are prominent.
Tips for Consistent Results in Traffic Blur Photography
- Scout locations in advance: Look for busy intersections, bridges, or elevated walkways with interesting backgrounds.
- Arrive early: Set up before rush hour or sunset to secure the best spot and test your settings.
- Use manual mode: Take full control of exposure for predictable results.
- Check your histogram: Avoid blown highlights, especially with bright headlights or streetlights.
- Review and adjust: Don’t be afraid to take multiple shots and tweak your settings for different effects.
- Stay safe: Always be aware of your surroundings, especially when shooting near busy roads.
Expanding Your Skills and Inspiration
As you practice and refine your technique, consider exploring other creative uses of blur and movement in photography. Guides such as the motion blur with moving camera and motion blur with moving subject articles offer additional perspectives and advanced tips.
Understanding how our eyes perceive movement can also inform your artistic choices. For a scientific angle, the motion blur and human vision resource explores the connection between visual perception and photographic effects.
Frequently Asked Questions
What is the ideal shutter speed for capturing traffic blur?
The optimal shutter speed depends on the speed of the vehicles and the desired amount of blur. For light trails at night, exposures of several seconds (5–30 seconds) are common. For panning shots or daytime blur, try starting at 1/15 to 1/60 second and adjust based on your results.
Do I need a tripod for motion blur photography in traffic scenes?
A tripod is highly recommended for long exposures to keep stationary elements sharp and avoid camera shake. For panning shots, you can shoot handheld, but maintaining a steady motion is crucial for sharp results.
How can I reduce overexposure when shooting long exposures during the day?
Use a neutral density (ND) filter to cut down the amount of light entering the lens. This allows you to use slower shutter speeds without overexposing your image, even in bright daylight.
Can I achieve motion blur effects with a smartphone?
Many modern smartphones offer manual controls or dedicated long exposure modes. While results may not match those of dedicated cameras, you can still create interesting blur effects, especially at night or in low light.
Conclusion
Mastering the art of capturing movement in urban environments opens up a world of creative possibilities. By experimenting with shutter speeds, camera movement, and composition, you can produce images that convey the vibrancy and pace of city life. With practice and patience, motion blur traffic photography can become a powerful tool in your photographic toolkit, allowing you to tell compelling visual stories of the world in motion.