
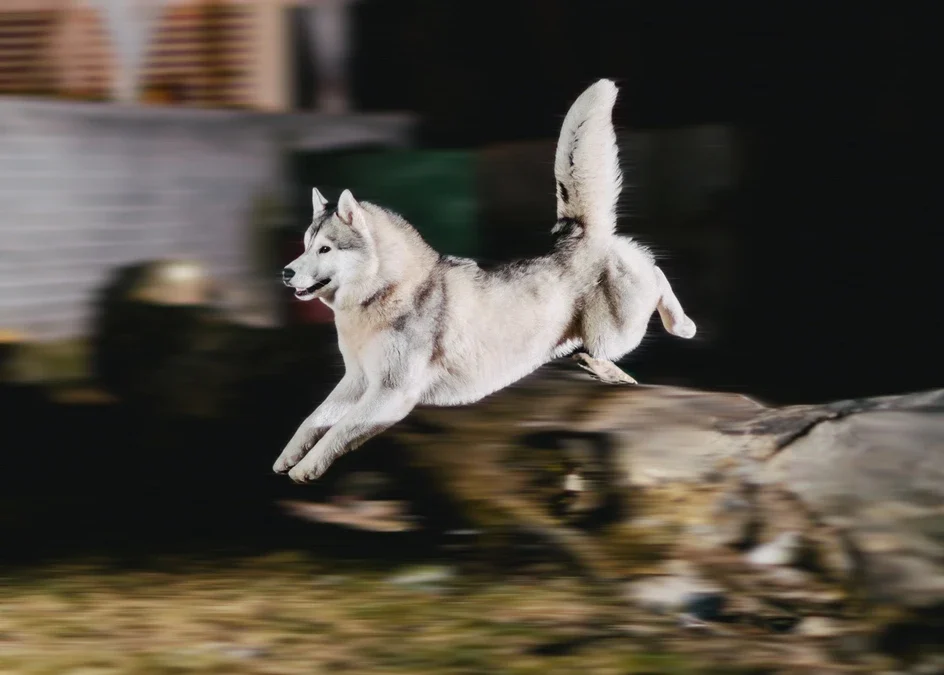
Understanding how to create and refine motion blur effects is a valuable skill for photographers, designers, and digital artists. A well-structured motion blur editing workflow allows you to add energy, depth, and a sense of movement to your images, whether you’re working with sports photography, dynamic street scenes, or creative abstract visuals. This article breaks down the essential steps, tools, and best practices for achieving professional-looking results, from initial capture to final export.
If you’re just starting out, you might want to check out this motion blur settings for beginners guide for foundational camera and software tips before diving deeper into editing techniques.
Why a Structured Approach to Motion Blur Matters
Applying motion blur isn’t just about dragging a slider or using a filter. A thoughtful process ensures your edits look intentional and natural, rather than artificial or distracting. By following a clear sequence, you can maintain image quality, control the direction and intensity of the blur, and make adjustments that fit your creative vision.
A motion blur editing workflow also helps you work efficiently, especially when handling batches of images or collaborating with others. Consistency in your approach leads to more predictable, high-quality outcomes.
Preparing Your Image for Motion Blur Effects
Before you start applying blur, it’s important to prepare your image properly. Begin by importing your photo into your preferred editing software, such as Adobe Photoshop, GIMP, or Affinity Photo. Make basic adjustments to exposure, contrast, and color balance to ensure the image is well-balanced. Cropping and straightening at this stage will also help you focus on the subject and composition.
For those interested in seeing how different settings impact the final result, the motion blur before and after examples guide offers visual comparisons that can help you decide which adjustments to make before adding blur.
Core Steps in the Motion Blur Editing Workflow
1. Isolate the Subject (Optional but Recommended)
In many cases, you may want to keep your main subject sharp while blurring the background or surroundings. Use selection tools like the Lasso, Quick Selection, or Pen Tool to create a mask around the subject. Save this selection as a layer mask so you can easily apply effects non-destructively.
2. Choose the Right Blur Tool
Most editing programs offer several blur options. For simulating motion, the following are most commonly used:
- Motion Blur Filter: Lets you set the angle and distance of the blur, ideal for linear movement.
- Path Blur: Allows for custom blur paths, useful for curved or irregular motion.
- Radial Blur: Simulates spinning or zooming effects.
Experiment with these tools to see which best matches the movement you want to convey. Adjust the intensity gradually to avoid overdoing the effect.

3. Refine the Mask and Blend Edges
After applying blur, check the transition between the sharp subject and the blurred background. Use a soft brush on the mask to gently blend edges, making the effect look more realistic. Adjust opacity and feathering as needed.
4. Layer and Stack for Complex Effects
For advanced edits, consider duplicating your image layer and applying different blur intensities or directions to each. Use layer masks and blending modes to combine these effects, creating depth and dynamic movement.
Fine-Tuning and Exporting Your Image
Once you’re satisfied with the blur effect, review the entire image for consistency. Make final tweaks to brightness, contrast, and color grading to unify the look. Sharpen the subject slightly if needed to enhance separation from the blurred areas.
Save your project in a layered format (such as PSD) for future adjustments, and export a flattened version (JPEG or PNG) for sharing or printing.
Tips for a Professional-Looking Motion Blur Process
- Work non-destructively: Always use layers and masks so you can adjust or remove blur effects later.
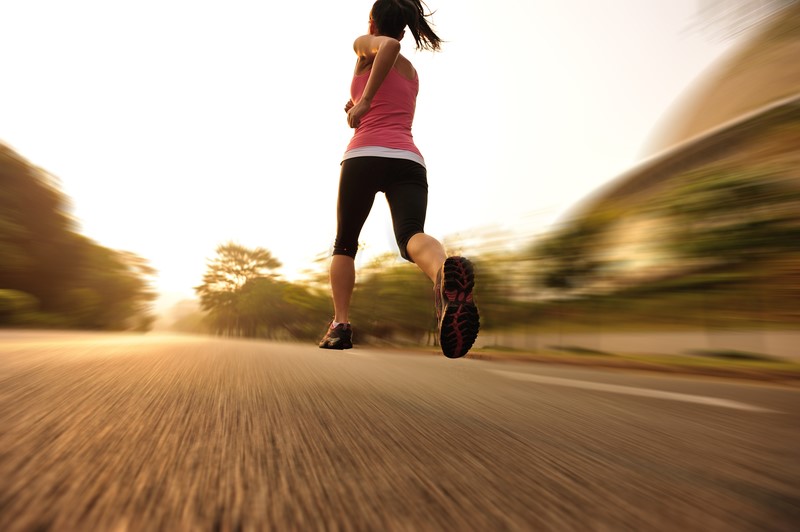
- Match the direction: Align the blur angle with the actual movement in the scene for a believable result.
- Vary the intensity: Use gradients or multiple masks to create areas of stronger and lighter blur, mimicking real motion.
- Combine with other effects: Subtle vignettes, light leaks, or color grading can enhance the sense of speed and atmosphere.
- Check for halos: Watch for unnatural outlines around your subject and refine your mask to avoid them.
For those sharing images on social platforms, the motion blur instagram photography tips article provides advice on optimizing your workflow for mobile audiences and maximizing engagement.
Common Mistakes to Avoid in Motion Blur Editing
- Over-blurring: Excessive blur can obscure details and make the image look unnatural.
- Ignoring lighting consistency: Make sure the blurred areas match the light and shadows of the original photo.
- Flat backgrounds: Adding some variation or texture to blurred areas keeps the image lively.
- Forgetting about export settings: High compression can introduce artifacts, so choose quality settings that preserve your edits.
Recommended Tools and Resources for Motion Blur Editing
While Photoshop remains the industry standard, many other programs offer robust blur tools. GIMP, Affinity Photo, and even some mobile apps provide similar features. For gear recommendations that can help you capture better source images for editing, see this motion blur camera gear recommendations resource.
For a deeper dive into the creative and technical aspects of motion blur, the comprehensive motion blur photography guide from Expert Photography covers both in-camera and post-processing techniques.
FAQ
What is the best software for editing motion blur?
Adobe Photoshop is widely used for its advanced blur filters and masking tools, but alternatives like GIMP and Affinity Photo also offer effective options. The best choice depends on your workflow, budget, and familiarity with the software.
How do I keep my subject sharp while blurring the background?
Use selection and masking tools to isolate your subject before applying blur to the rest of the image. This technique ensures the main focus remains crisp and clear, enhancing the sense of movement.
Can I add motion blur to smartphone photos?
Yes, many mobile editing apps now include motion blur features. While they may not offer the same level of control as desktop software, they can produce impressive results for social media and quick edits.
How do I avoid making the blur look fake?
Match the blur direction to the movement in your photo, use gradients for more natural transitions, and avoid over-applying the effect. Subtlety and attention to detail are key.
Where can I see more examples of motion blur edits?
The motion blur before and after examples guide showcases a variety of edits, helping you understand what works and what to avoid.