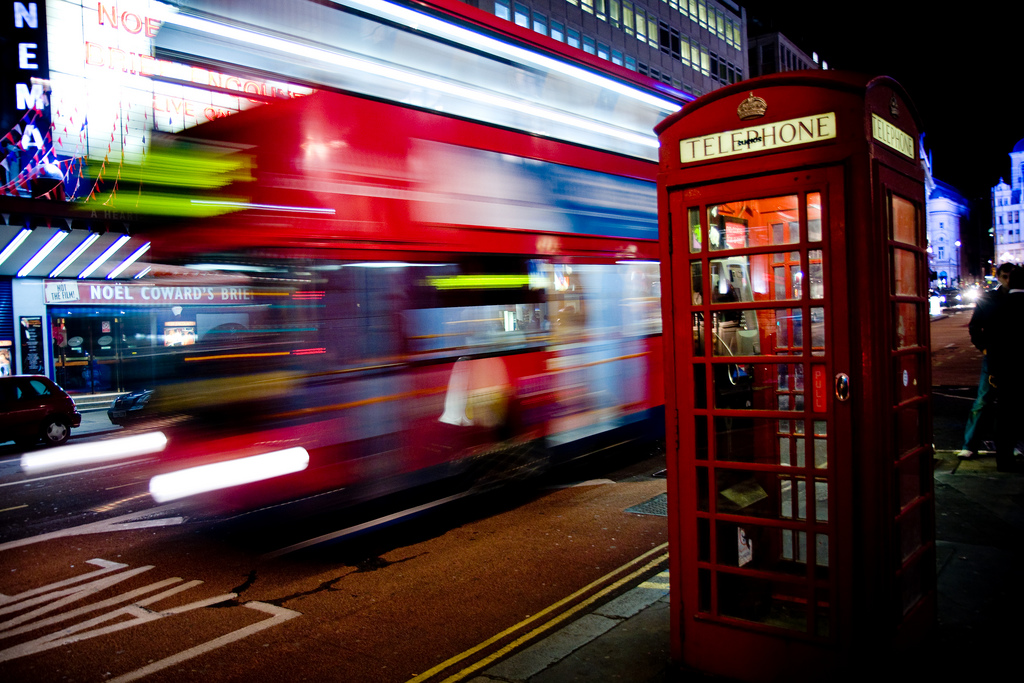
Capturing the dynamic streaks of light from moving vehicles is a favorite technique among night photographers and urban explorers. This motion blur car light trails tutorial provides a practical, step-by-step approach for anyone looking to create striking images that showcase the energy of city streets after dark. Whether you’re new to long exposure photography or seeking to refine your technique, you’ll find actionable advice and tips to help you achieve vibrant, professional-looking results.
Understanding how to use motion blur creatively can transform ordinary scenes into visually compelling photographs. By controlling your camera’s settings and choosing the right environment, you can turn passing cars into flowing ribbons of color and light. For those interested in the science behind this effect, exploring the motion blur and human vision connection can provide deeper insight into why these images are so captivating.
Essential Equipment for Capturing Light Trails
To get started with photographing car light trails, you’ll need a few basic tools. The most important are:
- Camera with Manual Controls: A DSLR or mirrorless camera that allows you to adjust shutter speed, aperture, and ISO is ideal.
- Sturdy Tripod: Since exposures can last several seconds, a stable tripod is crucial to prevent unwanted camera shake.
- Remote Shutter Release or Timer: Using a remote or your camera’s timer minimizes vibrations when pressing the shutter button.
- Wide-Angle Lens: A lens with a wide field of view helps capture more of the scene and the full sweep of light trails.
Optional accessories like lens hoods to reduce flare, or ND filters for shooting in brighter conditions, can also be helpful. However, the essentials above are all you need to begin experimenting with car light trail photography.
Choosing the Right Location and Timing
Selecting an effective spot is key to creating dramatic motion blur images. Look for areas with steady traffic flow, such as busy intersections, overpasses, or curving roads. Elevated positions, like pedestrian bridges or parking garages, can offer unique perspectives and minimize obstructions.
Timing is equally important. The best results are often achieved during the “blue hour”—the period just after sunset or before sunrise—when the sky retains some color but artificial lights are already prominent. This balance helps highlight the vibrant trails while maintaining detail in the surroundings.
Camera Settings for Motion Blur Effects
Achieving smooth, continuous light trails relies on the right camera settings. Here’s a breakdown of the most important adjustments:
- Shutter Speed: The longer the exposure, the longer and more pronounced the light trails. Start with 5–15 seconds and adjust as needed based on traffic speed and density.
- Aperture: Use a smaller aperture (higher f-number, such as f/8–f/16) to maintain sharpness throughout the frame and control the amount of light entering the lens.
- ISO: Keep ISO as low as possible (ISO 100 or 200) to reduce noise, especially in night scenes.
- Focus: Set your focus manually to a point where the cars will pass, or use autofocus and then switch to manual to lock it in place.
- White Balance: Experiment with different white balance settings to achieve the desired mood. “Auto” works for most situations, but “Tungsten” or “Daylight” can produce interesting effects.
For more technical details about how motion blur works in photography, you can refer to this comprehensive guide to motion blur photography.
Composing Your Shot for Maximum Impact
Composition plays a significant role in the effectiveness of your light trail images. Consider the following tips to enhance your photos:
- Lead the Viewer’s Eye: Use the direction of the light trails to guide attention through the frame, often leading toward a focal point or vanishing point.
- Include Interesting Backgrounds: Incorporate cityscapes, bridges, or architectural elements to add context and depth.
- Experiment with Angles: Try shooting from low angles for dramatic foregrounds, or from above to capture patterns and intersections.
- Balance Light Sources: Watch for streetlights or illuminated signs that might overpower the trails or cause unwanted glare.

Advanced Tips for Creative Light Trail Photography
Once you’re comfortable with the basics, try these advanced techniques to add variety and creativity to your images:
- Layer Multiple Exposures: Combine several shots in post-processing to intensify the density of light trails or to blend different traffic patterns.
- Incorporate Reflections: Wet roads or glass surfaces can double the impact of the trails and create abstract effects.
- Use Motion Blur Selectively: Experiment with partially obscuring the lens or panning the camera during exposure for artistic results.
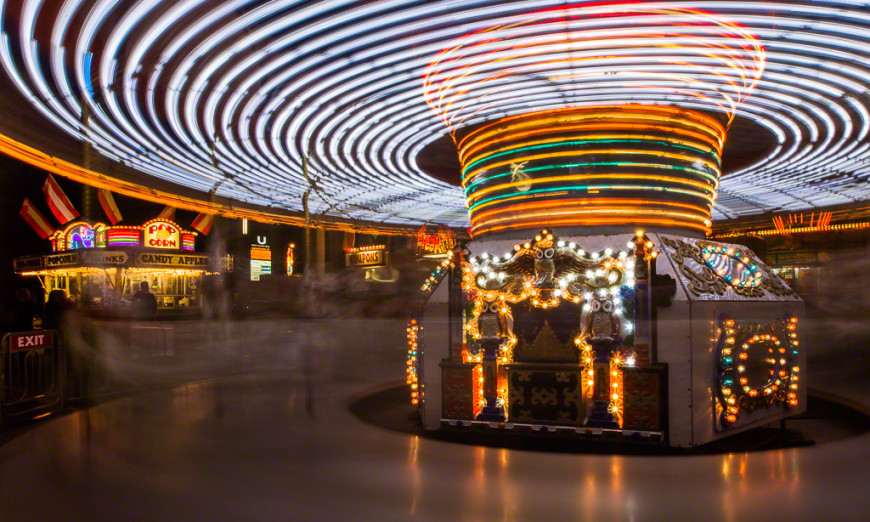
- Try Different Subjects: While cars are the classic choice, buses, trams, or even cyclists with lights can produce unique trails.
For those interested in how motion blur is used in other creative fields, you might enjoy learning about the motion blur effect in graphic design or how it appears in gaming graphics and 3D rendering.
Common Challenges and How to Overcome Them
Even with careful preparation, you may encounter some hurdles when photographing car light trails. Here’s how to address the most frequent issues:
- Camera Shake: Always use a tripod and remote shutter. If you don’t have a remote, set a 2-second timer to avoid vibrations.
- Overexposed Highlights: Lower your ISO, use a smaller aperture, or reduce the exposure time. If necessary, use an ND filter to cut down on incoming light.
- Unwanted Elements: Scout your location in advance and frame your shot to exclude distracting signs, poles, or pedestrians.
- Uneven Light Trails: Wait for consistent traffic or time your shots for rush hour to ensure a steady stream of vehicles.
Frequently Asked Questions
What is the ideal shutter speed for photographing car light trails?
The optimal shutter speed depends on traffic speed and desired trail length. Generally, exposures between 5 and 20 seconds work well. Adjust based on how long cars are visible in your frame and the amount of ambient light.
Can I capture motion blur light trails with a smartphone?
Many modern smartphones offer manual or “pro” modes that allow you to set longer exposures. Use a tripod and a remote shutter app if possible. Results may not match a dedicated camera, but you can still achieve impressive light trails with the right technique.
How do I reduce noise in long exposure night shots?
Keep your ISO as low as possible and use a camera with good low-light performance. Enable long exposure noise reduction if your camera offers it, and consider post-processing to further minimize noise.
Are there creative ways to use motion blur in other visual fields?
Absolutely. Motion blur is widely used in graphic design, gaming, and 3D rendering to convey speed and movement. For more on these applications, explore topics like motion blur settings in video games.