
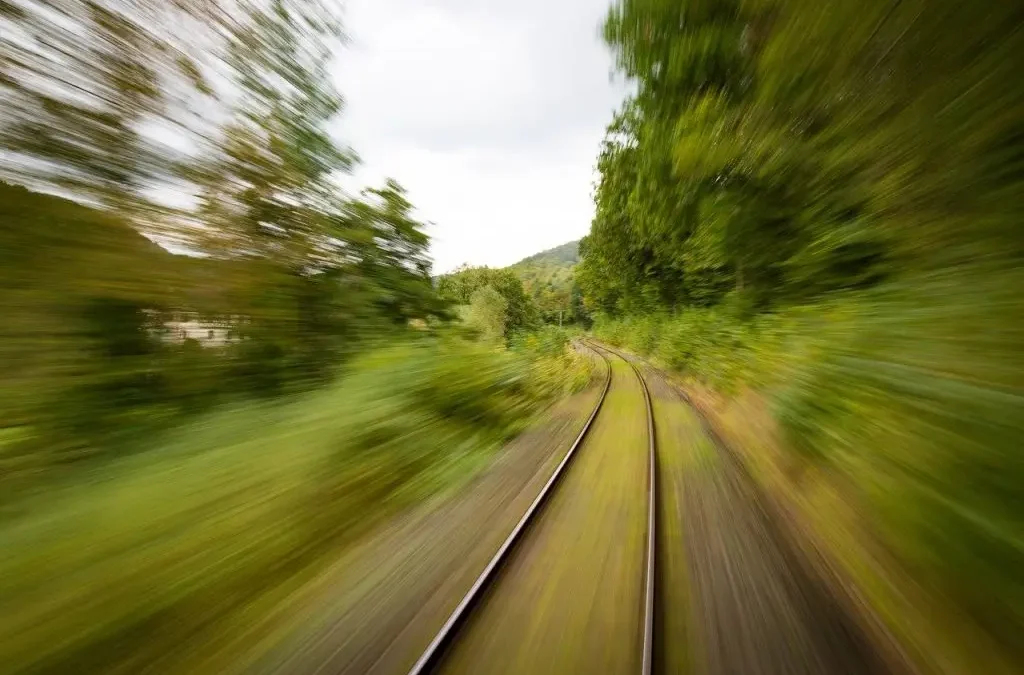
Capturing the mesmerizing movement of stars across the night sky is a rewarding challenge for photographers. Motion blur star trails photography combines long exposures with creative composition to reveal the Earth’s rotation in a single frame. This technique produces dramatic, swirling patterns of light that can transform an ordinary nightscape into a work of art. Whether you’re new to astrophotography or looking to refine your skills, understanding the essentials of motion blur and star trails will help you create stunning images that stand out.
In this guide, you’ll learn the fundamentals of shooting star trails with intentional blur, including camera settings, gear recommendations, and practical tips for planning your sessions. For those seeking more creative approaches, check out these motion blur composition examples for inspiration before diving into the technical details below.
Understanding Motion Blur in Star Trail Photography
At its core, motion blur star trails photography leverages the movement of celestial bodies to create streaks of light across the sky. Unlike standard night sky images, which freeze the stars as points, this technique uses long exposures to capture their apparent motion caused by Earth’s rotation. The result is a series of arcs or circles, depending on where you point your camera.
Motion blur is not just a byproduct—it’s the main creative tool in this style. The length and smoothness of the trails depend on your exposure time, camera stability, and environmental conditions. Mastering this effect requires a balance between technical precision and artistic vision.
Essential Gear for Capturing Star Trails with Motion Blur
Before heading out, make sure you have the right equipment for successful star trail images:
- Camera: A DSLR or mirrorless camera with manual exposure controls is ideal. Full-frame sensors often perform better in low light, but APS-C cameras can also deliver excellent results.
- Lens: Wide-angle lenses (14–35mm) allow you to capture more of the sky and foreground. Fast apertures (f/2.8 or wider) help gather more light.
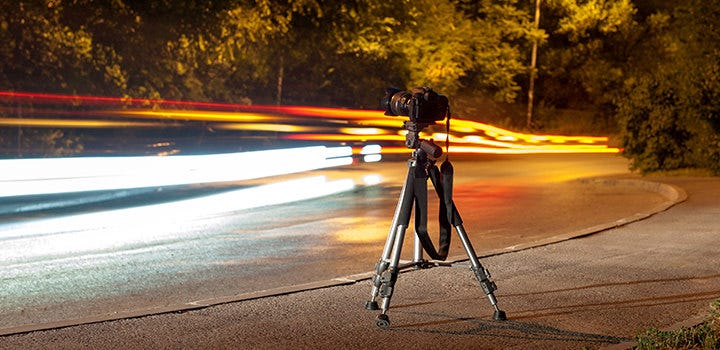
- Tripod: Stability is crucial. A sturdy tripod prevents unwanted shake during long exposures.
- Remote Shutter Release: Use a cable release or intervalometer to trigger the shutter without touching the camera, minimizing vibrations.
- Extra Batteries and Memory Cards: Long exposures drain batteries quickly, and shooting in RAW consumes storage space.
Camera Settings for Motion Blur Star Trails
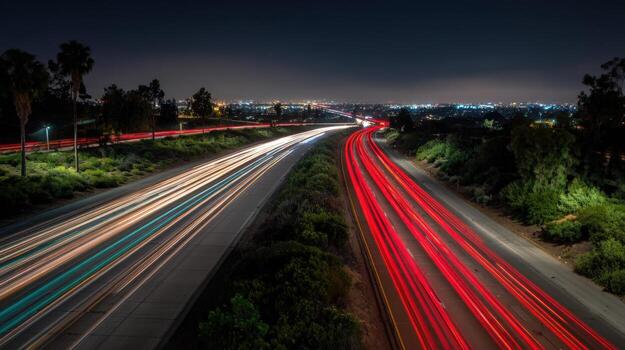
Getting the right settings is key to achieving smooth, bright trails. Here’s how to set up your camera for optimal results:
- Mode: Switch to Manual (M) mode for full control over exposure.
- ISO: Start with ISO 800–1600. Higher ISOs brighten the stars but can introduce noise. Adjust based on your camera’s performance and ambient light.
- Aperture: Use the widest aperture your lens allows (e.g., f/2.8 or f/4) to maximize light intake.
- Shutter Speed: For continuous trails, use a single long exposure (15 minutes to several hours) or stack multiple shorter exposures (20–60 seconds each). Stacking helps reduce noise and allows for easier error correction.
- Focus: Manually focus on a bright star or distant light. Use live view and magnify the image to ensure sharpness.
- White Balance: Set to daylight or manually adjust to avoid color casts.
- File Format: Shoot in RAW for maximum editing flexibility.
Planning Your Star Trails Session
Preparation is essential for successful motion blur star trails photography. Consider these factors before heading out:
- Location: Choose a dark site away from city lights. Light pollution can wash out stars and reduce contrast.
- Weather: Clear, cloudless nights are ideal. Check forecasts and moon phases—new moon nights offer the darkest skies.
- Composition: Include interesting foreground elements like trees, mountains, or buildings to add depth. Pointing your camera north (in the Northern Hemisphere) or south (in the Southern Hemisphere) will create circular trails around the celestial pole.
- Timing: Arrive before sunset to set up and scout your composition. Allow your camera to acclimate to the temperature to prevent lens fogging.
For more creative ideas and advanced techniques, you might find the motion blur creative inspiration guide helpful as you plan your shoot.
Workflow: Shooting and Stacking Star Trail Images
There are two main approaches to capturing star trails: single long exposures and stacking multiple shorter exposures. Each has its pros and cons:
- Single Long Exposure: Set your shutter for 15 minutes or longer. This method produces continuous trails but increases the risk of sensor noise, battery drain, and potential errors (like planes or clouds ruining the shot).
- Stacking Exposures: Take a series of shorter exposures (e.g., 30 seconds each) over an hour or more. Later, combine them using software to create the final image. Stacking reduces noise and gives you more flexibility in post-processing.
To stack images, use software like StarStaX or Photoshop. Import your sequence, align the frames, and blend them using the “lighten” mode to reveal the trails. This approach is especially useful for beginners and those shooting in variable conditions.
Tips for Reducing Noise and Enhancing Image Quality
Long exposures can introduce digital noise and hot pixels. Here’s how to minimize these issues:
- Use Lower ISO Settings: If possible, keep ISO as low as your exposure allows.
- Enable Long Exposure Noise Reduction: Some cameras offer this feature, which takes a second “dark frame” to subtract noise. Note that it doubles processing time per shot.
- Stacking: As mentioned, stacking multiple exposures helps average out noise and hot pixels.
- Post-Processing: Use noise reduction tools in Lightroom or Photoshop to clean up your final image.
For a deeper dive into technical settings, the motion blur settings for beginners guide provides step-by-step advice tailored for those just starting out.
Creative Approaches and Advanced Techniques
Once you’re comfortable with the basics, experiment with different creative techniques:
- Foreground Lighting: Use a flashlight or low-level LED to illuminate foreground elements during the exposure.
- Blending Multiple Exposures: Combine a sharp foreground shot with your star trails for a composite effect.
- Color Adjustments: Adjust white balance and saturation in post-processing to enhance the colors of the sky and trails.
- Incorporate Movement: Capture moving clouds, water, or even people for dynamic compositions.
For more inspiration and to see how others approach these techniques, browse through motion blur before and after examples to compare different editing styles and outcomes.
Common Challenges and How to Overcome Them
Even experienced photographers encounter obstacles when shooting star trails. Here are some common issues and solutions:
- Unwanted Light Pollution: Scout your location in advance and use apps to check for dark skies. Avoid nights with a bright moon.
- Lens Fogging: Bring lens warmers or periodically check your lens for condensation.
- Battery Drain: Carry spare batteries and keep them warm in your pocket.
- Camera Shake: Always use a tripod and remote release. Avoid windy locations if possible.
If you want to master motion blur in other settings, such as studio environments, this comprehensive guide to mastering motion blur in studio photography offers useful techniques that can be adapted for outdoor and astrophotography as well.
Frequently Asked Questions
What is the ideal exposure time for star trails with motion blur?
The best exposure time depends on your desired trail length and technique. For continuous trails, exposures of 15 minutes to several hours are common. If stacking, take multiple 20–60 second exposures over an hour or more, then blend them in post-processing.
How do I focus my camera at night for sharp star trails?
Switch to manual focus and use live view to zoom in on a bright star or distant light. Adjust focus until the star appears as a sharp point. Some lenses have an infinity mark, but always double-check for accuracy.
Can I shoot motion blur star trails photography in light-polluted areas?
While dark skies yield the best results, you can still capture star trails in urban environments by using lower ISO settings, shorter exposures, and careful composition. Light pollution filters and post-processing can help reduce unwanted glow, but the number of visible stars may be limited.