

Understanding motion blur and stabilization is essential for anyone interested in photography or videography. These two concepts play a significant role in how movement is captured and presented in images and footage. Whether you’re aiming to create dynamic, artistic effects or striving for crisp, clear shots, mastering the balance between blur and steadiness can transform your work.
Motion blur occurs when a moving subject or camera causes streaks or smears in an image, while stabilization techniques are used to minimize unwanted shake and keep visuals sharp. Both are powerful tools—when used intentionally, they can add emotion, context, and energy to your visuals. When uncontrolled, however, they can lead to disappointing results. This article will break down the fundamentals, explore practical applications, and offer tips for getting the results you want.
For those looking to see how these techniques are used in creative compositions, you might find inspiration in the motion blur composition examples featured on our site. These examples showcase how intentional blur and stabilization can be combined for striking results.
What Is Motion Blur?
Motion blur is the visible streaking or smearing of moving objects in a photograph or video frame. It’s most commonly caused by a slow shutter speed, rapid subject movement, or camera shake. While often considered an error by beginners, blur can be a deliberate artistic choice, conveying speed, energy, or the passage of time.
In photography, the amount of blur depends on several factors:
- Shutter speed: Slower speeds allow more movement to be captured, increasing blur.
- Subject speed: Faster-moving subjects create more pronounced streaks.
- Camera movement: Even slight shakes can introduce blur, especially at longer exposures.
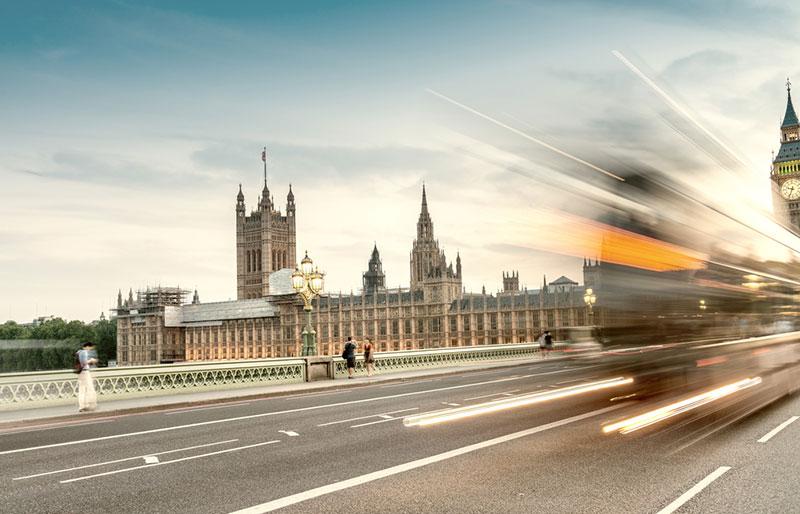
In creative photography, blur is used to suggest motion, add drama, or create abstract effects. For example, panning with a moving subject while using a slower shutter speed can keep the subject relatively sharp while blurring the background, emphasizing speed and direction.
Understanding Stabilization Techniques
Stabilization refers to methods and technologies that reduce or eliminate unwanted camera movement. This is especially important in low-light situations or when using telephoto lenses, where even minor shakes can ruin a shot. There are several types of stabilization:
- Optical stabilization: Built into lenses or camera bodies, this system uses moving elements to counteract shake.
- Digital (electronic) stabilization: Software algorithms adjust the image to compensate for movement, often cropping the frame slightly.
- Mechanical stabilization: Tripods, monopods, gimbals, and steadicams physically steady the camera.
Choosing the right stabilization method depends on your equipment, shooting conditions, and creative goals. For handheld shooting, in-lens or in-body stabilization can be invaluable. For video, gimbals and steadicams offer smooth, cinematic movement.
Balancing Motion Blur and Image Sharpness
One of the biggest challenges is finding the right balance between motion blur and stabilization. Too much blur can make an image look unintentional or messy, while too much stabilization can strip away the sense of movement and energy.
Here are some practical tips for managing this balance:
- Use a tripod or stabilization device when you want maximum sharpness, especially for landscapes or low-light scenes.
- Experiment with slower shutter speeds to introduce controlled blur. Try panning or tracking moving subjects for creative effects.
- For sports or action photography, use faster shutter speeds and enable stabilization to freeze the moment.
- Review your images on location to ensure you’re achieving the desired effect, adjusting settings as needed.
For a step-by-step approach to settings, the motion blur settings for beginners guide can help you get started with the right camera configurations.
Creative Uses of Blur and Stabilization
Intentional blur isn’t just for action shots. It can be used to create mood, suggest movement, or add abstraction to a scene. Some popular creative applications include:
- Light trails: Capturing moving lights at night, such as car headlights or cityscapes.
- Waterfalls and rivers: Using long exposures to make water appear silky and smooth.
- Street photography: Blurring crowds to convey the hustle and bustle of urban life.
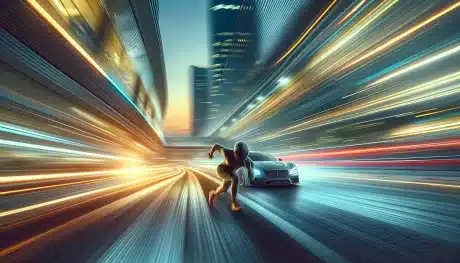
Stabilization is equally important for creative work. It allows you to shoot at slower shutter speeds without introducing unwanted shake, making it possible to capture intentional blur while keeping other elements sharp. For more inspiration, check out our motion blur creative inspiration collection.
Common Mistakes and How to Avoid Them
Even experienced photographers and videographers can struggle with unwanted blur or over-stabilized footage. Here are some common pitfalls and solutions:
- Unintentional camera shake: Use a tripod or enable stabilization when shooting at slow shutter speeds.
- Over-reliance on stabilization: Remember that stabilization can’t freeze subject movement—use faster shutter speeds when necessary.
- Ignoring creative possibilities: Don’t be afraid to experiment with blur for artistic effects, but always review your results to ensure they match your vision.
For a deeper dive into real-world results, the motion blur before and after examples guide illustrates how subtle changes in technique can dramatically alter the outcome.
Expert Tips for Better Results
To make the most of motion blur and stabilization, consider these expert recommendations:
- Plan your shot: Decide in advance whether you want to freeze action or show movement, and adjust your settings accordingly.
- Use burst mode: Capture multiple frames in quick succession to increase your chances of getting the perfect balance.
- Practice panning: Follow moving subjects smoothly with your camera to keep them sharp while blurring the background.
- Combine techniques: Use both stabilization and intentional blur for creative storytelling.
For more advanced techniques and cinematic approaches, the motion blur cinematic photography guide offers detailed advice for those looking to push their skills further.
Further Reading and Resources
If you want to learn more about capturing dynamic movement, the comprehensive guide to capturing motion blur in photography provides additional tips and visual examples. Exploring different resources can help you refine your technique and discover new creative possibilities.
Frequently Asked Questions
How do I prevent unwanted motion blur in my photos?
To minimize unintended blur, use a faster shutter speed, enable your camera’s stabilization feature, and consider using a tripod. Good lighting also allows for shorter exposures, reducing the risk of shake.
Can I add or remove motion blur during editing?
Yes, some editing software allows you to simulate or reduce blur. However, the most natural results come from getting it right in-camera. Digital corrections can help, but they have limitations.
Is stabilization necessary for every shot?
Stabilization is most important when shooting handheld at slow shutter speeds or with long lenses. For fast shutter speeds or when using a tripod, it may not be needed and can sometimes be turned off for best results.