
Motion blur is a popular effect in photography and video editing, helping to convey movement, speed, or a sense of energy within a still frame or sequence. Whether you want to enhance action shots, create dynamic transitions, or simply add creative flair, understanding how to add motion blur in editing can elevate your visuals and storytelling. This guide covers the essentials of applying this effect using various editing tools, offering practical steps, tips, and common pitfalls to avoid.
If you’re interested in capturing this effect directly in-camera, you might also want to explore motion blur on android camera for a step-by-step approach to mobile photography techniques.
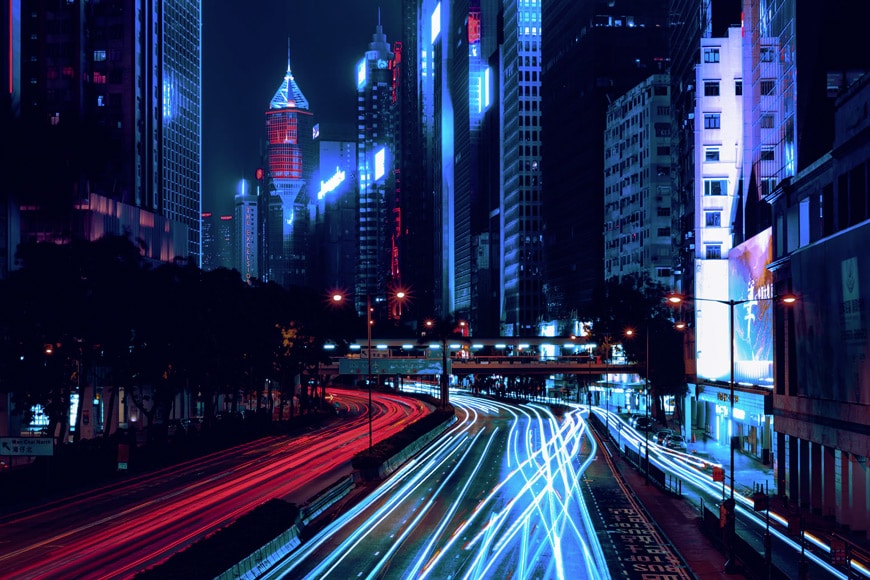
Understanding the Motion Blur Effect
At its core, motion blur simulates the streaking or smearing of moving objects within an image or video frame. This effect occurs naturally when a camera’s shutter speed is slow relative to the speed of the subject, but it can also be created or enhanced in post-production using editing software.
The main reasons to use this effect include:
- Emphasizing movement or speed in a scene
- Directing the viewer’s attention to a subject
- Adding artistic or cinematic style to static images
- Smoothing out transitions in video sequences
Choosing the Right Editing Software for Motion Blur
Most modern editing programs offer tools for applying motion blur, but the process and options can vary. Here are some of the most common platforms:
- Adobe Photoshop: Ideal for still images, with multiple blur filters and advanced masking tools.
- Adobe Premiere Pro & After Effects: Excellent for video, offering both simple and advanced motion blur controls.
- GIMP: A free alternative for images, featuring basic blur filters.
- DaVinci Resolve: Popular for video editing, with built-in motion blur effects.
- Mobile Apps: Many smartphone apps now include motion blur features, though with fewer customization options.
Step-by-Step Guide: Applying Motion Blur in Editing Tools
The process for adding this effect depends on whether you’re working with photos or videos. Below are general steps for both scenarios, focusing on the most widely used software.
Adding Motion Blur to Still Images
- Open the Image: Import your photo into your chosen editing program.
- Duplicate the Layer: Always work on a copy to preserve the original.
- Select the Subject or Area: Use selection tools or masks to isolate the part of the image where you want the effect.
- Apply the Blur Filter: In Photoshop, go to Filter > Blur Gallery > Path Blur or Motion Blur. Adjust the angle and distance to match the direction and speed of movement.
- Refine the Effect: Use layer masks to blend the blurred area with the rest of the image, ensuring a natural look.
- Fine-Tune: Adjust opacity, feathering, and other settings as needed.
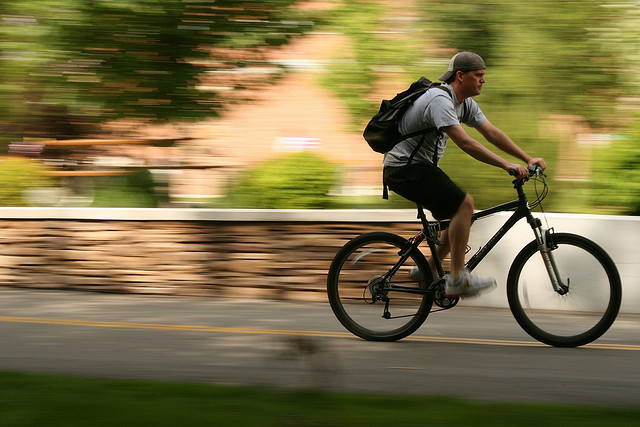
Applying Motion Blur to Video Clips
- Import Your Footage: Open your video in your editing software.
- Add the Effect: In Premiere Pro, use the Directional Blur or Transform effect. In After Effects, enable Motion Blur for layers or use the CC Force Motion Blur effect.
- Adjust Parameters: Set the direction and amount of blur to match the movement in your footage.
- Preview and Refine: Play back the sequence to check the effect. Tweak settings for realism and smoothness.
- Render the Final Output: Export your video once satisfied with the result.
For more advanced techniques, such as combining multiple blur effects or using keyframes for dynamic changes, refer to your software’s documentation or explore guides like motion blur in videography for a deeper dive.
Tips for Realistic and Creative Results
- Match the Direction: Ensure the blur follows the actual movement in the scene for authenticity.
- Use Masks and Selections: Isolate only the moving parts to avoid blurring the entire image or frame.
- Control the Intensity: Too much blur can look unnatural; subtlety often yields better results.
- Combine with Other Effects: Pair with sharpening, color grading, or light leaks for a more polished look.
- Preview Frequently: Regularly check your edits at full resolution to catch any artifacts or mistakes.
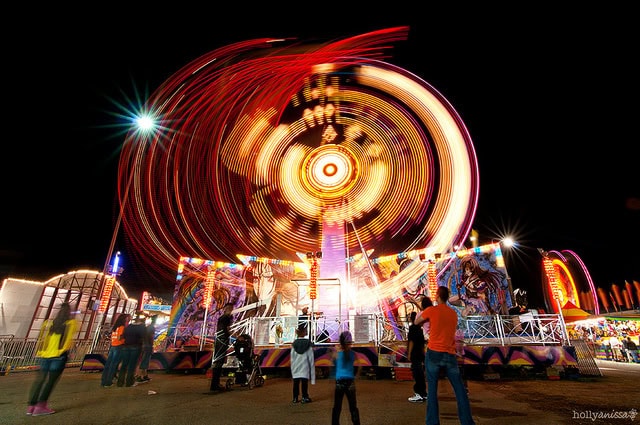
Common Mistakes to Avoid When Using Motion Blur
- Overdoing the Effect: Excessive blur can distract or obscure important details.
- Ignoring Context: Apply the effect only where movement is present; avoid blurring static backgrounds.
- Forgetting Edges: Hard edges between blurred and sharp areas can look unnatural—use feathered masks for smoother transitions.
- Neglecting Realism: The direction and length of the blur should match the subject’s actual motion.
Further Resources and Inspiration
To see how professionals use this effect in creative ways, check out a curated gallery of beautiful motion blur photos. These examples can help spark ideas for your own projects and demonstrate the versatility of the technique.
If you’re looking for more post-production advice, the article on motion blur post processing tips offers practical tricks for refining your edits and achieving professional results.
Frequently Asked Questions
Can I add motion blur to just part of an image or video?
Yes, most editing tools allow you to use masks or selection tools to apply the effect only to specific areas. This is especially useful for emphasizing a moving subject while keeping the background sharp.
What’s the difference between motion blur and other blur effects?
Motion blur simulates the streaking caused by movement, following a specific direction and distance. Other blur effects, like Gaussian or radial blur, create a more uniform or circular softening, which doesn’t convey movement.
Is it better to capture motion blur in-camera or add it in editing?
Both methods have their advantages. Capturing the effect in-camera often looks more natural, but editing allows for greater control and flexibility. For situations where you missed the shot or want to enhance the effect, post-production is a valuable tool.
Does adding motion blur affect image or video quality?
If overused, it can reduce clarity or introduce artifacts. Always work on a duplicate layer and preview your edits to maintain quality.
Conclusion
Mastering how to add motion blur in editing opens up creative possibilities for both photographers and videographers. By understanding the tools available, following best practices, and learning from inspiring examples, you can use this effect to enhance your visuals and tell more compelling stories. Whether you’re working with still images or video, a thoughtful approach to motion blur will help your work stand out.