
Capturing motion blur with DSLR camera settings is a creative technique that can transform ordinary scenes into dynamic, visually striking images. Whether you want to show the rush of city traffic, the flow of a waterfall, or the energy of a sports event, understanding how to control blur in your photos is essential for photographers at any level. This guide explains the fundamentals of motion blur, how your camera settings affect the outcome, and practical tips for achieving the look you want.
Before diving into the technical details, it’s important to distinguish between intentional blur and unwanted effects like camera shake. If you’re interested in learning more about the differences, check out this helpful resource on motion blur vs camera shake.
Understanding Motion Blur in Photography
Motion blur occurs when a moving subject is captured with a slow shutter speed, causing the subject or background to appear streaked or smeared in the final image. This effect can be used artistically to convey speed, movement, or the passage of time. Unlike sharp, frozen images, blur adds a sense of energy and atmosphere, making photos more engaging.
The amount of blur depends on several factors: the speed of the subject, the direction of movement, and most importantly, your camera’s exposure settings. Mastering these elements allows you to control how much blur appears and where it is most noticeable in your composition.
Essential DSLR Settings for Capturing Motion Blur
Achieving the desired blur effect starts with understanding your camera’s exposure triangle: shutter speed, aperture, and ISO. Here’s how each setting influences motion in your photos:
- Shutter Speed: The most critical factor. Slower shutter speeds (such as 1/30s, 1/10s, or even several seconds) allow moving subjects to blur across the frame. Faster shutter speeds (like 1/500s or higher) freeze motion, eliminating blur.
- Aperture: A wider aperture (lower f-number) lets in more light, which can help compensate for slower shutter speeds. However, it also affects depth of field, so consider how much of your scene you want in focus.
- ISO: Raising ISO increases the sensor’s sensitivity to light, allowing you to use faster shutter speeds in low light. However, higher ISO can introduce noise, so balance accordingly.
To create motion blur with DSLR camera settings, start by switching your camera to Shutter Priority (S or Tv mode). This mode lets you set the shutter speed while the camera automatically adjusts aperture for correct exposure. For full control, use Manual mode.
Techniques for Creative Motion Blur Effects
There are several ways to use your DSLR to add creative blur to your images. Here are some popular techniques:
Light Trails and Night Photography
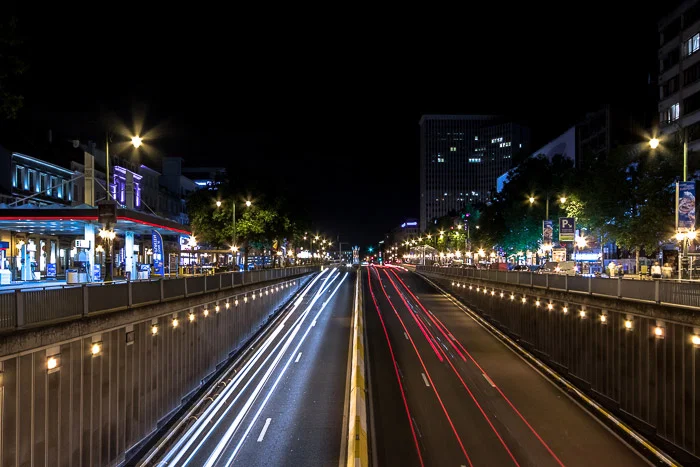
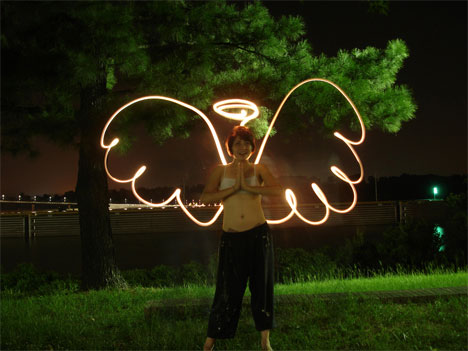
One of the most dramatic uses of blur is capturing light trails from moving vehicles or illuminated objects at night. Set your camera on a tripod, use a slow shutter speed (from a few seconds to several minutes), and let the moving lights paint across your frame. This technique works well for urban scenes, fireworks, or even handheld sparklers.
Panning for Subject Isolation
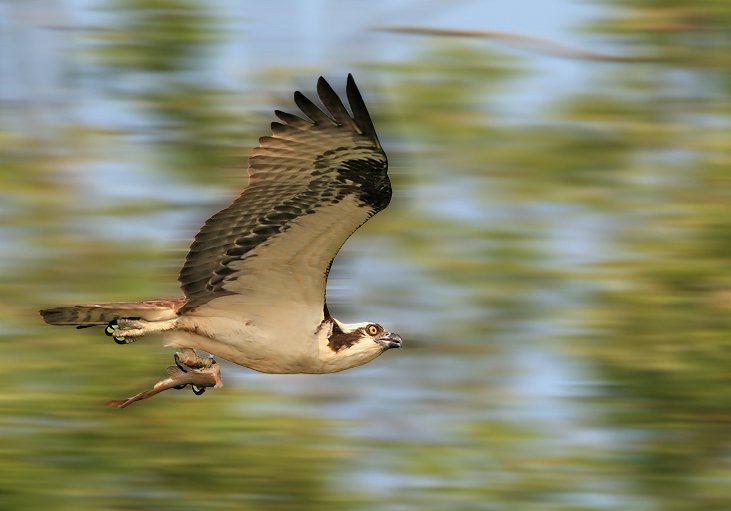
Panning involves moving your camera along with a moving subject (like a cyclist or car) while using a slow shutter speed. The subject stays relatively sharp, while the background blurs, emphasizing speed and direction. Start with shutter speeds around 1/30s to 1/60s and adjust based on the subject’s speed and your steadiness.
Intentional Camera Movement (ICM)
This technique involves deliberately moving the camera during exposure to create abstract, painterly effects. Try vertical or horizontal sweeps, or even circular motions, with shutter speeds between 1/2s and 2s. Experimentation is key to finding unique results.
Tips for Better Results When Using Blur
- Use a tripod: For long exposures, a tripod keeps the camera steady and prevents unwanted shake that can ruin your shot.
- Remote shutter or timer: Trigger the shutter remotely or use the camera’s timer to avoid jostling the camera during exposure.
- Experiment with ND filters: Neutral density filters reduce the light entering the lens, allowing for longer exposures even in bright conditions.
- Manual focus: Autofocus can struggle in low light or with moving subjects. Pre-focus on your subject or use manual focus for consistency.
- Review and adjust: Check your results on the camera’s screen and adjust settings as needed. Don’t be afraid to take multiple shots to get the effect you want.
Common Mistakes and How to Avoid Them
While experimenting with motion blur with DSLR camera settings, beginners often encounter a few challenges:
- Unintentional camera shake: This results in the entire image being blurry, not just the moving subject. Use a tripod and remote shutter release to minimize this.
- Overexposed images: Long exposures can let in too much light, especially during the day. Use a lower ISO, smaller aperture, or ND filter to control exposure.
- Missed focus: Fast-moving subjects can be tricky to keep sharp. Pre-focus or use continuous autofocus modes to improve your chances.
For more in-depth techniques and inspiration, you can explore this comprehensive guide to mastering motion blur photography.
Frequently Asked Questions
What shutter speed should I use for motion blur?
The ideal shutter speed depends on the speed of your subject and the desired amount of blur. For light trails or flowing water, try exposures from 1/2 second to several seconds. For panning shots, start with 1/30s to 1/60s and adjust as needed.
How do I prevent unwanted blur from camera shake?
Use a sturdy tripod and a remote shutter release or the camera’s self-timer. Image stabilization (if available) can also help, but a tripod is the most reliable solution for long exposures.
Can I create motion blur in bright daylight?
Yes, but you’ll need to use a neutral density (ND) filter to reduce the amount of light entering the lens. This allows for slower shutter speeds without overexposing your image.
Mastering motion blur with DSLR camera settings opens up a world of creative possibilities. With practice and experimentation, you’ll be able to capture movement in ways that tell a story and add excitement to your photography.