
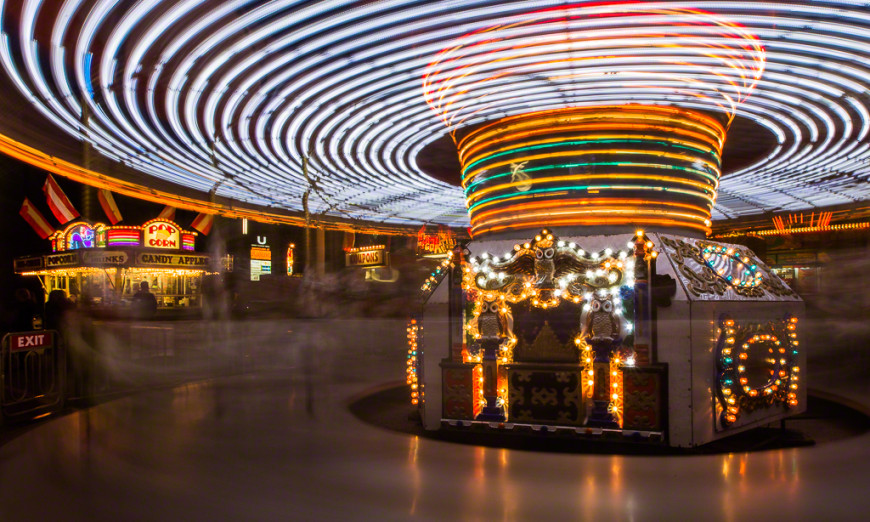
Capturing the energy and grace of dance through photography is a rewarding challenge. Among the many creative approaches, motion blur dance photography stands out for its ability to convey movement, emotion, and rhythm in a single frame. By intentionally allowing parts of an image to blur, photographers can transform dynamic dance scenes into visually compelling works of art that evoke the sensation of motion.
This guide explores practical methods, camera settings, and creative ideas for using motion blur to elevate your dance images. Whether you are photographing ballet, contemporary, or street performances, mastering these techniques will help you express the fluidity and passion of dance in new ways.
For additional inspiration, you may want to browse motion blur composition examples to see how different photographers approach this expressive style.
Understanding Motion Blur in Dance Imagery
Motion blur is the visual streaking or smearing of moving subjects in a photograph. In dance photography, this effect is used deliberately to highlight the speed, direction, and flow of movement. While sharp, frozen images can showcase a dancer’s form, incorporating blur adds a sense of vitality and atmosphere that static shots often lack.
The key to effective motion blur is control. By adjusting your camera’s shutter speed and timing, you can decide which elements remain sharp and which are allowed to blur. This balance is essential for creating images that are both dynamic and visually coherent.
Essential Camera Settings for Capturing Movement
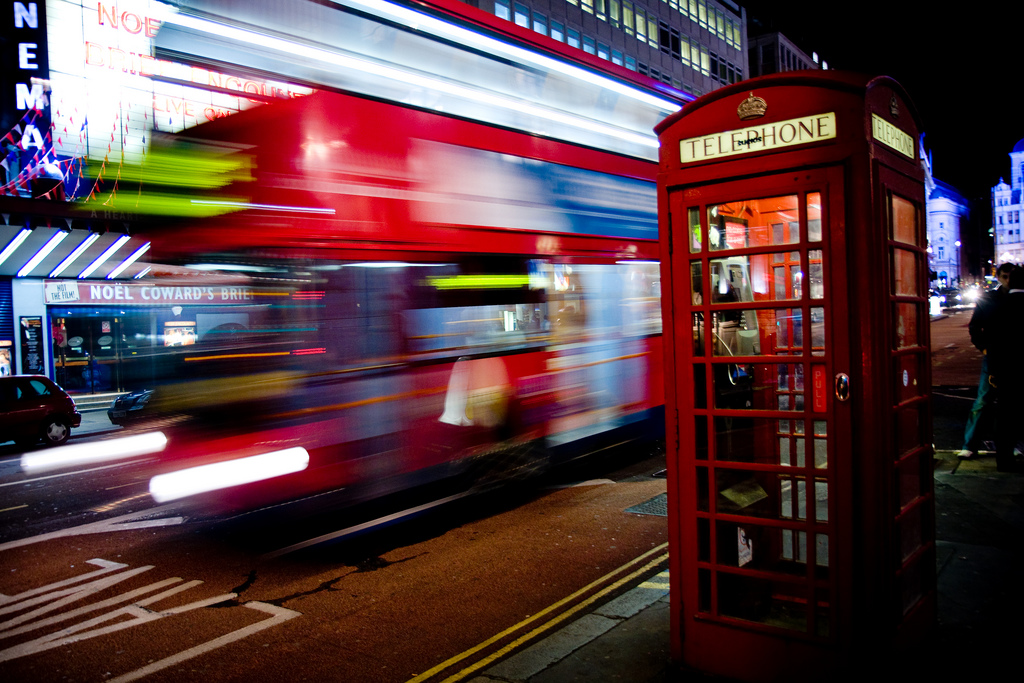
Mastering the technical side of motion blur dance photography begins with understanding your camera’s exposure controls. The most critical setting is shutter speed, which determines how long your camera’s sensor is exposed to light and, consequently, how much motion is recorded.
- Shutter Speed: For intentional blur, use slower shutter speeds—typically between 1/15 and 1/2 second. The exact speed depends on the dancer’s movement and the effect you want to achieve.
- Aperture: A wider aperture (lower f-number) lets in more light, which can help compensate for slower shutter speeds. However, be mindful of depth of field, as a shallow focus can further isolate your subject.
- ISO: Increase ISO as needed to maintain proper exposure, especially in low-light dance environments. Be cautious of noise at higher ISO levels.
- Stabilization: Use a tripod or monopod to keep the camera steady, especially if you want the background or certain elements to remain sharp while the dancer blurs.
For those new to these settings, the motion blur settings for beginners guide offers a step-by-step introduction to exposure adjustments and camera handling.
Creative Approaches to Dance Motion Blur
There are several ways to incorporate blur into your dance images. Each technique offers a unique visual effect and can be adapted to suit different dance styles and environments.
1. Panning with the Dancer
Panning involves moving the camera in sync with the dancer’s movement during the exposure. This keeps the subject relatively sharp while blurring the background, emphasizing speed and direction. To pan successfully:
- Set a slow shutter speed (e.g., 1/15 to 1/30 second).
- Follow the dancer’s motion smoothly as you press the shutter.
- Practice timing and movement to achieve the desired effect.
2. Static Camera, Moving Subject
By keeping the camera still and allowing the dancer to move through the frame, you can create beautiful trails and ghostly effects. This approach works well for spins, leaps, and flowing gestures. Experiment with different shutter speeds to control the length and intensity of the blur.
3. Combining Flash and Ambient Light
Using a flash in combination with a slow shutter speed can freeze part of the dancer’s motion while allowing the rest to blur. This technique, known as “dragging the shutter,” is especially effective in low-light venues. The flash provides a sharp highlight, while the ambient exposure records the movement trail.
Lighting Considerations for Dynamic Dance Shots
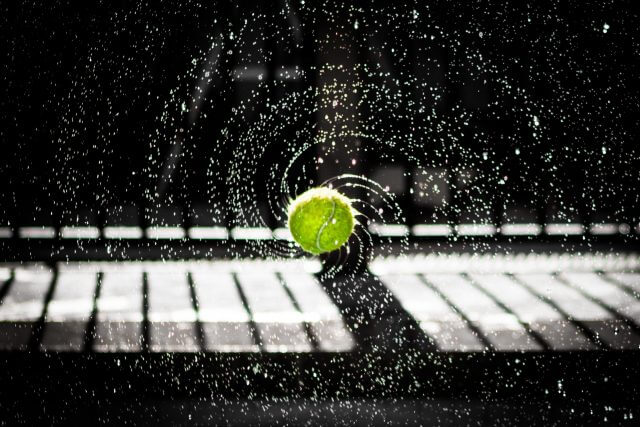
Lighting plays a crucial role in motion blur dance photography. Stage performances often feature dramatic lighting, which can be both a challenge and an opportunity. Here are some tips to make the most of available light:
- Use stage lights creatively: Embrace colored gels, spotlights, and backlighting to add mood and depth to your images.
- Balance exposure: Watch for blown highlights or deep shadows that may obscure details in the dancer’s form.
- Experiment with silhouettes: Strong backlighting can create striking silhouettes with blurred outlines, emphasizing the dancer’s shape and movement.
If you’re interested in cinematic approaches, the motion blur cinematic photography guide offers advanced tips for working with dramatic lighting and storytelling.
Post-Processing Tips for Enhancing Motion Effects
While most of the magic happens in-camera, thoughtful editing can enhance the impact of your motion blur dance images. Consider these post-processing strategies:
- Adjust contrast and clarity: Boosting contrast can help the blurred and sharp areas stand out, while selective clarity adjustments can draw attention to the dancer’s face or hands.
- Fine-tune color: Enhance the mood by adjusting color temperature, saturation, or split toning to complement the dance style and lighting.
- Crop for composition: Reframe your image to emphasize lines of movement or to remove distractions from the edges.
- Use blur filters sparingly: While digital blur tools can enhance or extend motion effects, overuse can make images look artificial. Aim for subtlety.
For a deeper look at how editing can transform your work, explore motion blur before and after examples to see the difference thoughtful adjustments can make.
Common Challenges and How to Overcome Them
Photographing dance with intentional blur comes with its own set of obstacles. Here are some typical issues and solutions:
- Unwanted camera shake: Use a tripod or image stabilization to keep stationary elements sharp.
- Excessive blur: If the entire image is too soft, increase your shutter speed slightly or use a flash to freeze key moments.
- Focus difficulties: Pre-focus on a spot where the dancer will move, or use continuous autofocus to track movement.
- Low light limitations: Open your aperture, raise ISO, or add supplemental lighting as needed.
For more on the fundamentals and creative uses of this technique, the motion blur photography tutorial provides an in-depth overview with practical examples.
Sharing and Showcasing Your Dance Motion Blur Photos
Once you’ve captured and edited your images, sharing them effectively can help you connect with other enthusiasts and potential clients. Consider these tips:
- Curate your portfolio: Select a variety of images that showcase different styles and techniques.
- Engage on social media: Platforms like Instagram are ideal for sharing visually striking motion blur dance images. For platform-specific advice, see motion blur Instagram photography tips.
- Provide context: Include captions or stories that explain your creative process and the dance styles featured.
Frequently Asked Questions
What shutter speed should I use for dance motion blur?
The ideal shutter speed depends on the dancer’s movement and the desired effect. Generally, speeds between 1/15 and 1/2 second work well for capturing expressive blur while retaining some sharpness. Experiment with different settings to find what best suits your subject and style.
How can I keep part of the dancer sharp while blurring the rest?
To achieve this effect, try panning with the dancer or combining flash with a slow shutter speed. Panning keeps the moving subject relatively sharp against a blurred background, while flash can freeze specific moments within a longer exposure.
Is post-processing necessary for motion blur dance images?
While it’s possible to achieve stunning results in-camera, post-processing can enhance contrast, color, and composition. Editing allows you to fine-tune the balance between sharp and blurred areas, making your images more visually impactful.