
When it comes to capturing sharp, creative, or dynamic photographs, understanding how to handle motion blur image stabilization on or off is essential. Many photographers, whether beginners or experienced, face the dilemma of when to enable or disable image stabilization (IS) on their cameras or lenses. The answer isn’t always straightforward, as it depends on your subject, shooting style, and the effect you want to achieve. This article will break down the key considerations, practical scenarios, and best practices for making the right choice.
If you’re interested in pushing the creative boundaries of motion blur, you might also find inspiration in motion blur experimental photography projects, which explore unique ways to use blur for artistic effect.
Understanding Motion Blur and Image Stabilization
Before deciding whether to enable or disable stabilization, it’s important to understand what each term means. Motion blur occurs when there’s movement during the exposure—either from the camera or the subject. This can be intentional, to convey speed or movement, or unintentional, resulting in unwanted softness.
Image stabilization (IS), sometimes called vibration reduction (VR) or optical stabilization (OS), is a technology built into many cameras and lenses. It compensates for small, involuntary camera movements, allowing you to shoot at slower shutter speeds without introducing blur from hand shake.
When to Turn Image Stabilization On
For most handheld photography, especially in low light or when using slower shutter speeds, enabling stabilization is beneficial. Here are some common scenarios where keeping IS active can improve your results:
- Low-light conditions: When you can’t use a tripod and need to avoid high ISO noise, IS helps keep images sharp.
- Telephoto lenses: Longer focal lengths magnify camera shake, making stabilization especially helpful.
- Street and travel photography: When you’re moving quickly and don’t have time to set up support.
- Video recording: IS smooths out handheld video footage, reducing jitters and shakes.
When to Turn Image Stabilization Off for Motion Blur Effects
There are situations where you’ll want to disable stabilization, especially if your goal is to capture intentional blur. Here’s when you should consider turning it off:
- Using a tripod: Most stabilization systems can cause image softness when mounted on a steady tripod, as they may try to compensate for non-existent movement.
- Intentional motion blur: If you want to create artistic blur by panning or using long exposures, IS can interfere with the effect by trying to “correct” the movement you want to capture.
- Panning shots: Some IS systems have a dedicated panning mode, but if yours doesn’t, it’s best to switch it off to avoid unpredictable results.
- Long exposure photography: For light trails, waterfalls, or night scenes, stabilization can sometimes introduce micro-vibrations that reduce sharpness.
For more on creative uses of blur, check out guides like motion blur creative projects or motion blur event photography for inspiration and technique tips.
How Stabilization Affects Motion Blur in Photography
The main role of stabilization is to reduce blur caused by camera movement, not subject movement. If your subject is moving and you use a slow shutter speed, you’ll still get blur—even with IS enabled. This distinction is crucial:
- Stabilization helps with camera shake (e.g., handheld shots).
- It does not freeze subject motion—for that, you need a faster shutter speed.
- For creative blur, such as panning with a moving subject, stabilization may work against your intended effect.

Practical Tips for Deciding Between Stabilization On or Off
Making the right decision about stabilization comes down to your shooting situation and creative goals. Here are some practical tips:
- Assess your support: If you’re using a tripod or other stable support, turn IS off. If you’re handheld, keep it on—unless you’re intentionally creating blur.
- Consider your subject: For static subjects, IS helps with sharpness. For moving subjects where you want to show motion, IS may not help and could even hinder your results.
- Know your gear: Some modern stabilization systems detect tripod use and adjust automatically, but many do not. Check your camera or lens manual for specifics.
- Experiment: Try shooting the same scene with IS on and off to see which effect you prefer. This is especially useful for creative or experimental projects.
For outdoor scenarios, you can find more detailed advice in resources like motion blur outdoor photography, which covers techniques for nature and landscape shots.
Common Mistakes and How to Avoid Them
Even experienced photographers sometimes misuse stabilization. Here are a few pitfalls to watch for:
- Leaving IS on when using a tripod: This can result in less sharp images due to the system “searching” for movement.
- Forgetting to enable IS for handheld low-light shots: This can lead to unnecessary blur from camera shake.
- Not checking for panning modes: If your lens or camera has a dedicated panning mode, use it for horizontal motion shots to avoid unwanted corrections.
- Assuming IS will freeze moving subjects: Remember, stabilization only helps with camera movement, not subject motion.
Examples of Motion Blur with and without Stabilization
To illustrate the impact of stabilization, consider these scenarios:
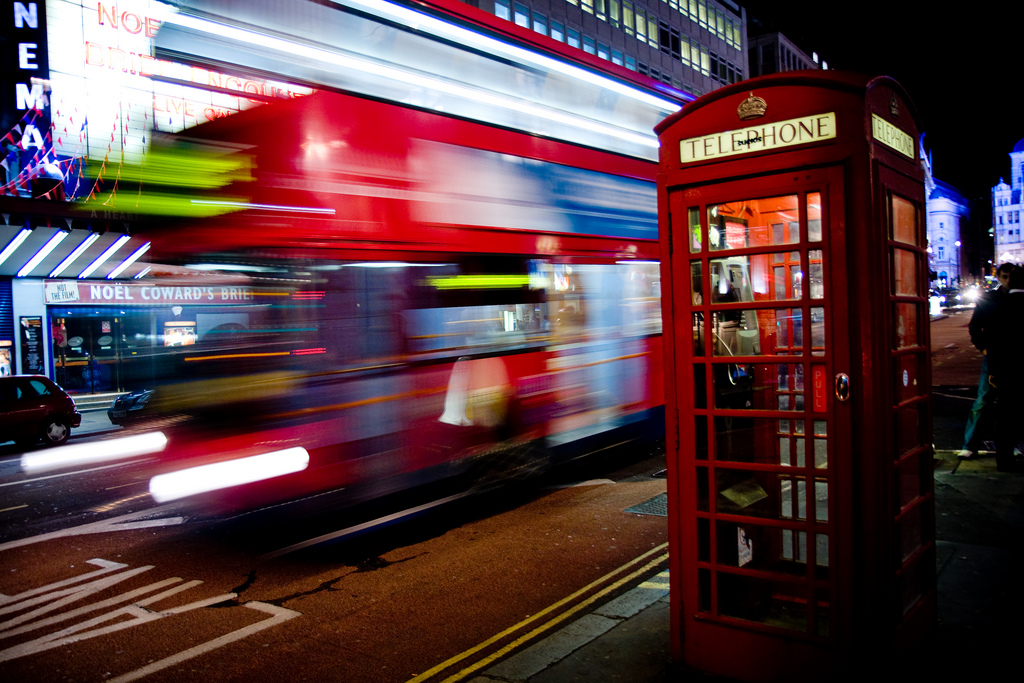
- Handheld night street photography: With stabilization, you can shoot at slower shutter speeds and still get sharp images of stationary subjects, while moving cars or people will blur—creating a dynamic effect.
- Panning with a cyclist: Disabling IS (or using panning mode if available) helps you achieve a sharp subject with a blurred background, emphasizing motion.
- Tripod-mounted long exposure: Turning IS off ensures maximum sharpness for static elements, while moving lights or water create smooth, intentional blur.
For a deeper dive into the artistic side of blur, you can explore motion blur photography techniques and creative uses in this comprehensive guide.
FAQ: Motion Blur and Image Stabilization
Should I always turn off image stabilization when using a tripod?
In most cases, yes. When your camera is mounted securely, stabilization can introduce minor vibrations or “hunting” that may reduce sharpness. Some newer systems detect tripod use and deactivate automatically, but it’s safest to switch it off manually unless your gear specifies otherwise.
Can image stabilization help with moving subjects?
No, stabilization is designed to counteract camera shake, not subject movement. To freeze a moving subject, use a faster shutter speed. If you want to capture motion blur, consider disabling IS to avoid interference with the effect.
What is panning mode in image stabilization?
Panning mode is a feature on some lenses and cameras that allows stabilization to work only on the vertical axis, letting you move the camera horizontally to follow a moving subject. This helps create sharp subjects with blurred backgrounds. If your equipment doesn’t have this mode, it’s usually best to turn IS off when panning.
Does stabilization affect image quality for long exposures?
Yes, leaving stabilization on during long exposures—especially on a tripod—can sometimes introduce slight blur. Always disable IS for long, tripod-mounted shots to ensure the sharpest possible results.
Conclusion
Deciding whether to enable or disable stabilization for motion blur is about understanding your creative intent and technical needs. Use stabilization for handheld shots where sharpness is the priority, and switch it off when you want to capture intentional blur or are shooting with a tripod. By mastering when and how to use this feature, you’ll have greater control over your images and can achieve both technical precision and creative expression in your photography.