
Motion blur in HDR photography is a creative technique that combines the dynamic feel of movement with the tonal richness of high dynamic range imaging. By blending multiple exposures, photographers can capture both the subtle details in shadows and highlights while also introducing a sense of motion, resulting in images that are both visually striking and technically challenging. Whether you are looking to add energy to urban scenes, emphasize the flow of water, or create abstract effects, mastering this approach opens up new possibilities for artistic expression.
However, integrating motion blur with HDR methods comes with its own set of challenges. Issues like ghosting, alignment, and exposure blending require careful planning and the right tools. In this article, you’ll find practical advice, workflow tips, and inspiration for using motion blur effectively within your HDR projects. For those interested in exploring more creative uses of this effect, you might enjoy browsing motion blur creative inspiration for artists, which showcases a variety of innovative approaches.
Understanding Motion Blur in HDR Imaging
Combining motion blur with high dynamic range photography involves capturing a sequence of images at different exposures, some of which may include moving subjects or intentional camera movement. The goal is to merge these exposures into a single image that retains both the broad tonal range of HDR and the expressive qualities of motion.
There are two main ways motion blur appears in HDR work:
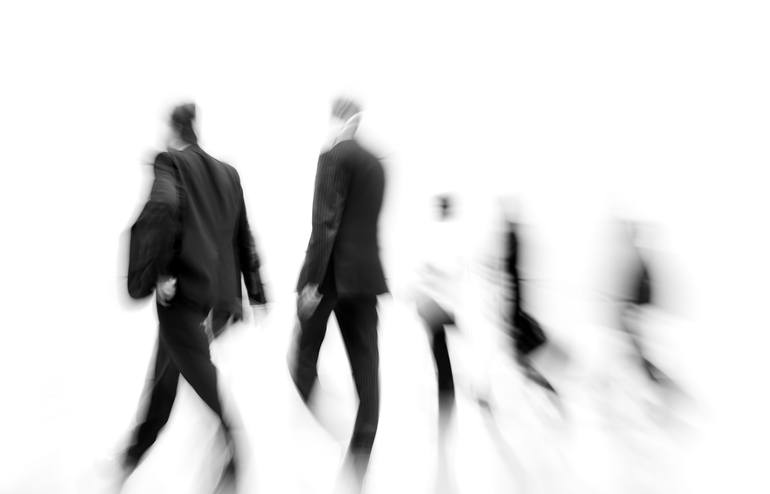
- Intentional subject movement—such as people walking, vehicles passing, or flowing water—adds a sense of life and energy.
- Camera movement—like panning or intentional shake—can create abstract or painterly effects.
When blending exposures, these moving elements can cause alignment issues or ghosting artifacts. Specialized HDR software often includes tools to minimize these problems, but understanding the process is key to achieving clean, compelling results.
Techniques for Capturing Dynamic HDR Images
To successfully incorporate motion blur in HDR photography, careful planning and technique are essential. Here are some proven strategies:
- Use a tripod for static elements. This ensures that the background remains sharp and consistent across exposures, making it easier to blend images later.
- Bracket exposures quickly. Many cameras offer automatic exposure bracketing (AEB), which captures multiple exposures in rapid succession. This reduces the chance of unwanted movement between frames.
- Control shutter speed to introduce blur. A slower shutter speed will create more pronounced motion effects. Experiment with different speeds to achieve the desired look.
- Isolate moving elements. If possible, take one exposure specifically for the moving subject and others for the static background. This allows for more control during blending.
- Manual blending in post-processing. Instead of relying solely on automated HDR merging, consider manually masking and blending exposures in software like Photoshop. This gives you precise control over where motion blur appears.
Common Challenges and How to Overcome Them
Integrating motion blur with HDR techniques can introduce several technical hurdles. Here are the most common issues and practical solutions:
- Ghosting: When moving objects appear in different places across exposures, merging them can create unwanted double images or “ghosts.” Most HDR software offers ghost removal tools, but for complex scenes, manual masking is often more effective.
- Alignment problems: Even with a tripod, slight shifts can occur. Use the auto-align feature in your editing software, or manually align layers before blending.
- Exposure inconsistencies: Rapidly changing light can cause uneven exposure across frames. Bracket quickly and consider shooting in RAW for maximum flexibility.
- Loss of detail: Excessive blur or poor blending can reduce sharpness in key areas. Use layer masks to selectively apply motion blur only where you want it.
For more inspiration and practical examples, you can explore motion blur composition examples that demonstrate how to balance movement and clarity in complex scenes.
Creative Approaches to Blending Movement and HDR
There are many ways to use motion blur creatively within HDR workflows. Here are a few ideas to spark your imagination:
- Panning with HDR: Track a moving subject with your camera while bracketing exposures. This keeps the subject relatively sharp while blurring the background, adding a sense of speed and direction.
- Light painting: Use a long exposure to capture trails of light, then blend with bracketed exposures for a dramatic effect. This is especially effective in urban night scenes.
- Water and clouds: Slow shutter speeds create silky water or streaked clouds, which can be merged with HDR exposures for a surreal, dreamlike look.
- Abstract effects: Intentional camera movement during exposure can turn ordinary scenes into abstract compositions, especially when combined with the expanded tonal range of HDR.

Recommended Tools and Software for HDR with Motion
To achieve the best results when blending motion blur with HDR, the right tools make a significant difference. Here are some popular options:
- Adobe Lightroom and Photoshop: These programs offer advanced alignment, masking, and blending features, making them ideal for manual HDR workflows.
- Photomatix Pro: Known for its robust ghost removal and exposure blending tools, this software is widely used by HDR enthusiasts.
- ON1 HDR: Offers a user-friendly interface and powerful blending options, including tools for handling moving subjects.
- Affinity Photo: An affordable alternative with strong HDR and masking capabilities.
When choosing software, look for features like automatic alignment, customizable ghost removal, and support for RAW files. For a deeper dive into how motion blur affects visuals and perception, check out this comprehensive explanation of motion blur’s impact on images.
Workflow Tips for Consistent Results
Getting consistent, high-quality results with motion blur in HDR photography requires a thoughtful workflow. Here are some tips to streamline your process:
- Plan your shot: Visualize the final image and decide which elements should be sharp and which should show movement.
- Bracket exposures efficiently: Use your camera’s burst or AEB mode to minimize time between shots.
- Organize files: Keep your bracketed sets together and label them clearly for easy identification during editing.
- Edit non-destructively: Use adjustment layers and masks so you can fine-tune the blend without losing original data.
- Refine the blend: Pay close attention to edges where moving and static elements meet. Use soft brushes and gradual transitions for a natural look.
If you’re new to these techniques, the motion blur settings for beginners guide provides a helpful introduction to camera settings and exposure control.
Frequently Asked Questions
How do I avoid ghosting when combining motion blur with HDR?
Ghosting occurs when moving objects appear in different positions across your bracketed exposures. To minimize this, use HDR software with advanced ghost removal features, or manually blend exposures in Photoshop using layer masks. Capturing a separate exposure for the moving subject can also help you control the final result.
What camera settings work best for motion blur in HDR?
Start by using a tripod and setting your camera to aperture priority mode. Choose a slower shutter speed (such as 1/10 to 1/2 second) for exposures where you want motion blur, and bracket your exposures quickly. Adjust ISO and aperture to maintain proper exposure without introducing too much noise or losing depth of field.
Can I add motion blur to HDR images in post-processing?
Yes, you can simulate motion blur in post-processing using tools like Photoshop’s blur filters. However, capturing real movement in-camera generally produces more natural and convincing results. If you do add blur digitally, mask the effect carefully to avoid making the image look artificial.
Conclusion
Blending motion blur with HDR techniques allows photographers to create images that are both technically impressive and artistically expressive. By understanding the challenges and mastering the right tools and workflows, you can produce dynamic photos that stand out. For more before-and-after examples and advanced tips, visit the motion blur before and after examples guide. With practice and experimentation, you’ll be able to harness the full creative potential of movement and high dynamic range in your photography.