
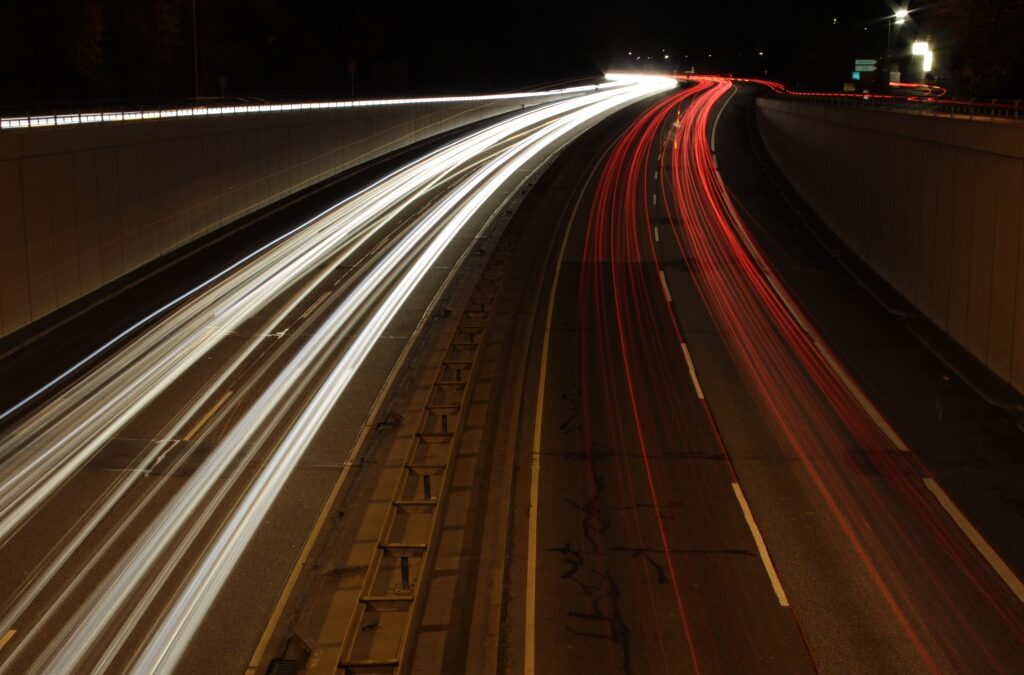
Adding motion blur in portrait photography can transform a static image into a dynamic visual story. By intentionally introducing blur, photographers can convey movement, emotion, and atmosphere that traditional sharp portraits may not capture. This technique is not just about technical skill; it’s about creative vision and understanding how to balance clarity with intentional softness. Whether you’re aiming for subtle energy or dramatic effect, learning to control motion blur will expand your artistic toolkit.
Before diving into the practical steps, it’s helpful to explore various approaches and see how others have used these effects. For inspiration, you might want to browse through motion blur composition examples that showcase different creative possibilities.
Understanding the Role of Motion Blur in Portraits
When used thoughtfully, motion blur can add a sense of life and narrative to your portraits. Instead of freezing a subject in time, you can show the flow of movement—whether it’s hair blowing in the wind, a dancer spinning, or a subject walking through a bustling street. The key is to decide what you want the viewer to feel and how much blur will support that vision.
There are two main ways to introduce blur in portraits:
- Subject movement: The person moves while the camera remains still, resulting in a blurred subject against a sharp background.
- Camera movement: The camera moves (intentionally or by panning) while the subject stays relatively still, producing creative streaks or a sense of motion in the surroundings.
Essential Camera Settings for Capturing Motion
Achieving the right amount of motion blur in portrait photography starts with understanding your camera’s exposure controls. The most critical factor is shutter speed. A slower shutter allows more movement to be recorded, while a faster shutter freezes action.
- Shutter speed: For subtle blur, try speeds between 1/30 and 1/60 second. For more pronounced effects, experiment with 1/10 second or slower. The exact setting depends on how fast your subject is moving.
- Aperture: Use a smaller aperture (higher f-number) if you need to compensate for extra light entering during long exposures. This also increases depth of field, keeping more of the scene in focus.
- ISO: Keep ISO as low as possible to reduce noise, especially in low-light situations where longer exposures are common.
If you’re new to these settings, the motion blur settings for beginners guide offers step-by-step advice for getting started.
Creative Techniques for Dynamic Portraits
There are several ways to incorporate motion blur effects into your portraits, each offering a unique look:
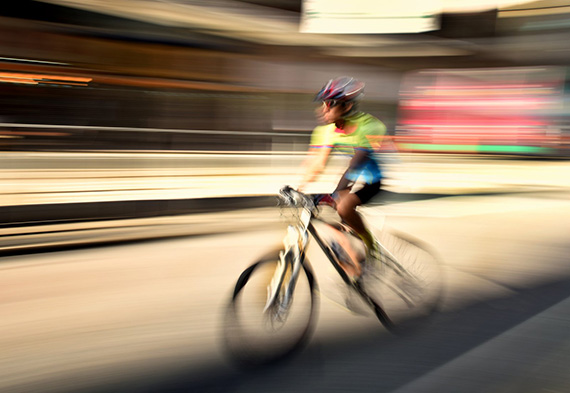
- Panning: Move your camera in sync with a moving subject. This keeps the subject relatively sharp while blurring the background, emphasizing speed and direction.
- Intentional camera shake: Gently move the camera during exposure for abstract, painterly results. This works well with slow shutter speeds and can add a sense of chaos or emotion.
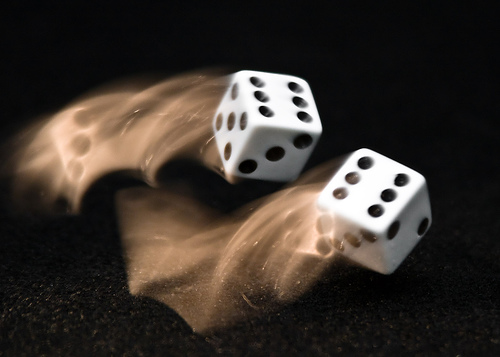
- Subject movement: Ask your model to move—spin, jump, or walk—while you keep the camera steady. This creates a soft, ghostly effect that can evoke energy or dreaminess.
- Layered exposures: Combine sharp and blurred frames in post-processing for a surreal, composite look.
Experimenting with these methods will help you discover which style fits your creative vision. For more advanced approaches, you can also explore the motion blur cinematic photography guide for inspiration from film and editorial work.
Lighting Considerations for Blurred Portraits
Lighting plays a crucial role when working with motion blur in portrait photography. Natural light is often ideal, especially during golden hour or in shaded environments, as it’s softer and less likely to cause harsh highlights. However, artificial lighting can also be used creatively:
- Continuous light: Allows you to see how movement will appear in real time. LED panels or softboxes work well for this purpose.
- Flash with rear curtain sync: Fires the flash at the end of the exposure, freezing the subject after the blur has been recorded. This technique can create striking images with both sharp and blurred elements.
Balancing light levels is essential. Too much light can overexpose your image during long exposures, while too little can result in muddy or noisy photos. Neutral density (ND) filters are helpful for reducing light so you can use slower shutter speeds even in bright conditions.
Common Challenges and How to Overcome Them
Working with motion blur in portraits can be unpredictable. Here are some frequent issues and practical solutions:
- Unwanted camera shake: Use a tripod or stabilize your camera to keep the background sharp when only the subject should be blurred.
- Overexposure: Lower your ISO, close your aperture, or use ND filters to avoid blown highlights during long exposures.
- Missed focus: Pre-focus on the spot where you expect your subject to move, or use continuous autofocus (AI Servo/AF-C) to track motion.
- Too much or too little blur: Adjust your shutter speed incrementally and review results after each shot. Small changes can make a big difference.
Reviewing motion blur before and after examples can help you understand how adjustments affect the final image and guide your experimentation.
Post-Processing Tips for Enhancing Motion Effects
Editing software can refine or enhance the blur captured in-camera. Here are some practical steps:
- Sharpening: Selectively sharpen the subject’s face or eyes to draw attention, while leaving the blurred areas soft.
- Contrast and color: Boost contrast or adjust color grading to emphasize mood and direct the viewer’s eye.
- Layer masks: Use masks in Photoshop or Lightroom to blend sharp and blurred areas for a balanced look.
- Adding digital blur: If needed, apply motion blur filters to enhance or correct areas that didn’t blur enough in-camera.
For more in-depth advice, you can read this comprehensive guide to capturing motion blur in photography that covers both shooting and editing techniques.
Showcasing Your Work and Finding Inspiration
Once you’ve created images with motion blur in portrait photography, consider sharing them on social platforms or photography communities. Engaging with others can provide feedback and spark new ideas. If you’re interested in optimizing your images for social media, the motion blur Instagram photography tips article offers practical advice for reaching a wider audience.
Remember, every photographer develops their own style with practice. Keep experimenting, reviewing your results, and learning from both successes and mistakes.
Frequently Asked Questions
What shutter speed should I use for motion blur in portraits?
The ideal shutter speed depends on how much movement you want to capture and how fast your subject is moving. For gentle blur, try 1/30 to 1/60 second. For more dramatic effects, experiment with 1/10 second or slower. Always review your results and adjust as needed.
How can I keep my subject’s face sharp while adding motion blur?
Use panning techniques or rear curtain flash sync to freeze the face at the end of the exposure. You can also ask your subject to keep their head still while moving other parts of their body, or enhance sharpness selectively in post-processing.
Do I need special equipment for motion blur in portrait photography?
While a tripod and ND filters can help, you don’t need specialized gear to start. Most cameras with manual controls are sufficient. Continuous lighting or a flash with rear curtain sync can expand your creative options, but natural light works well for many scenarios.