
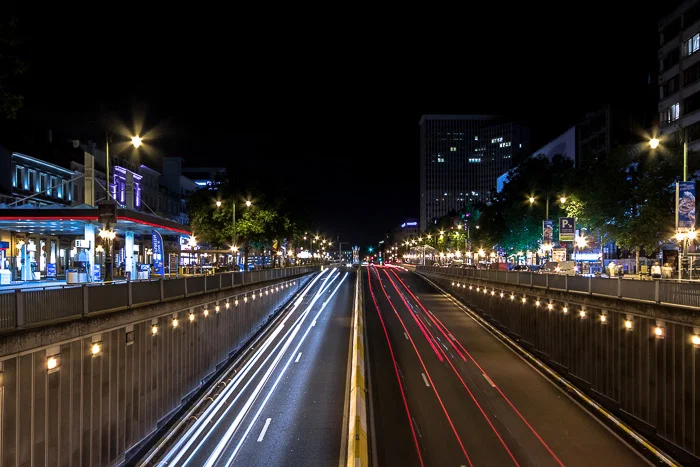
Capturing motion blur light trails is a creative photography technique that transforms moving lights into vibrant streaks, adding energy and drama to your images. For those just starting out, understanding the basics of long exposure and camera settings is essential to mastering this style. Whether you’re shooting city traffic at night or experimenting with handheld lights, this guide will walk you through the process step by step.
If you’re interested in exploring more creative approaches, you may also find inspiration in these motion blur composition examples that showcase different ways to use blur for artistic effect.
Understanding the Basics of Motion Blur and Light Trails
At its core, motion blur in photography is the visible streaking of moving objects in a still image. When it comes to light trails, this effect is achieved by using a slow shutter speed to capture the path of light sources—like car headlights, LED wands, or even sparklers—as they move through the frame. The result is a dynamic image that tells a story of movement and time.
The key to successful light trail photography is controlling exposure. By keeping the camera’s shutter open for longer, you allow moving lights to paint across the sensor, creating those signature streaks. This technique is especially popular for night scenes, urban landscapes, and creative portraits.
Essential Equipment for Capturing Light Trails
Before diving into your first session, gather the right gear to ensure sharp, well-exposed results:
- Camera with Manual Controls: Any DSLR or mirrorless camera that allows manual adjustment of shutter speed, aperture, and ISO will work.
- Tripod: A sturdy tripod is crucial to prevent camera shake during long exposures.
- Remote Shutter Release or Timer: This helps minimize vibrations when triggering the shutter.
- Wide-Angle Lens: A lens with a wide field of view lets you capture more of the scene and dramatic light trails.
- Optional Accessories: ND filters for daytime shooting, extra batteries, and a flashlight for setup in low light.
Step-by-Step Guide: Creating Stunning Motion Blur Light Trails
1. Choose the Right Location and Timing
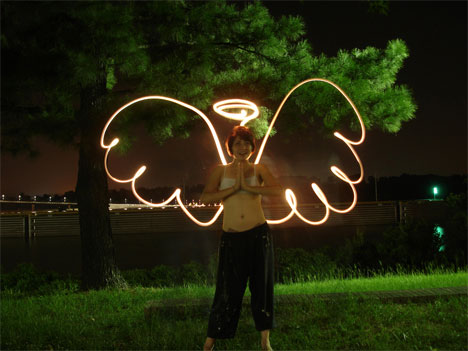
Urban environments with moving vehicles, busy intersections, or illuminated landmarks are ideal for light trail photography. For more creative effects, try locations with minimal ambient light and moving light sources you can control, such as LED sticks or flashlights.
2. Set Up Your Camera and Tripod
Place your camera on a stable tripod and compose your shot. Consider the direction of movement and how the light trails will flow through the frame. Use manual focus to ensure sharpness, especially in low-light conditions.
3. Adjust Camera Settings for Motion Blur
The most important setting for capturing light trails is shutter speed. Start with a shutter speed between 5 and 30 seconds, depending on the amount of movement and ambient light. Use a low ISO (100–400) to reduce noise, and set your aperture between f/8 and f/16 for a deep depth of field.
If you’re unsure about the best settings for your camera, check out this motion blur settings for beginners resource for more detailed guidance.
4. Trigger the Shutter and Capture the Action
Use a remote shutter release or your camera’s self-timer to avoid introducing shake. As the shutter opens, let the lights move through the scene—either naturally, like passing cars, or by moving a light source yourself. Review your images and adjust exposure as needed.
5. Experiment and Refine Your Technique
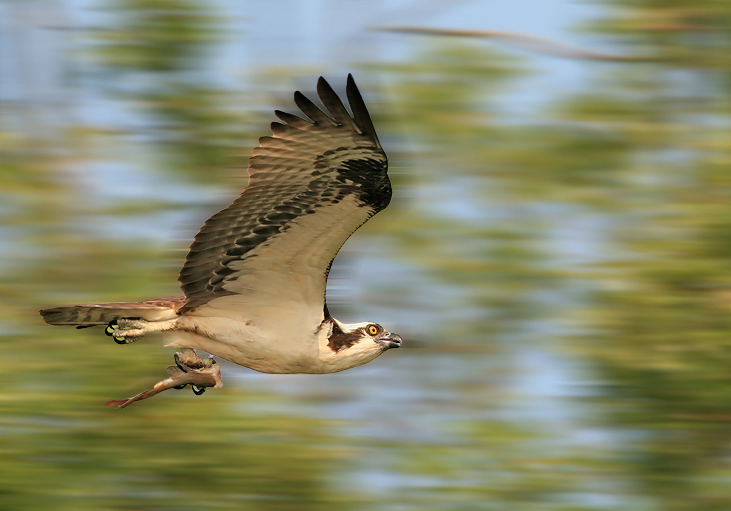
Try varying your shutter speed, aperture, and ISO to see how they affect the length and brightness of the trails. Move your camera during the exposure for abstract effects, or combine stationary and moving elements for unique compositions.
Tips for Better Results with Light Trail Photography
- Scout Locations in Advance: Look for places with interesting backgrounds and predictable movement of lights.
- Use Manual Focus: Autofocus can struggle in low light, so switch to manual and pre-focus on a bright spot or distant object.
- Bracket Your Exposures: Take multiple shots at different settings to ensure you capture the best possible image.
- Watch for Overexposure: If your trails are too bright, reduce ISO or use a narrower aperture.
- Incorporate Foreground Elements: Adding stationary objects can provide context and depth to your photos.
Editing and Enhancing Your Light Trail Images
Post-processing can help you bring out the best in your light trail shots. Adjust contrast and clarity to make the trails stand out, and use noise reduction tools to clean up any grain from long exposures. Cropping and straightening can also improve composition.
For more advanced editing techniques and creative ideas, explore motion blur cinematic photography guide for tips on achieving a polished, professional look.
Common Challenges and How to Overcome Them
- Camera Shake: Always use a tripod and remote trigger to avoid blurry backgrounds.
- Unwanted Light Sources: Scout your location to minimize streetlights or other distractions in your frame.
- Focus Issues: Use manual focus and check your shots at high magnification to ensure sharpness.
- Weather Conditions: Wind or rain can cause movement or water spots on your lens—bring protective gear and clean your lens regularly.
Further Learning and Inspiration
If you want to see how others approach this genre, check out some motion blur before and after examples to understand how different settings and techniques can transform a scene. For social media enthusiasts, these motion blur instagram photography tips can help you share your creations with a wider audience.
For a deeper dive into the technical and creative aspects, the mastering motion blur photography guide provides expert advice and advanced tips for refining your skills.
FAQ: Motion Blur and Light Trails for New Photographers
What shutter speed should I use for light trail photography?
The ideal shutter speed depends on the amount of movement and available light. Generally, exposures between 5 and 30 seconds work well for capturing car trails or moving lights. Experiment with different durations to achieve the desired effect.
Can I create light trails during the day?
Yes, but you’ll need to use a neutral density (ND) filter to reduce the amount of light entering the lens. This allows for longer exposures without overexposing your image, making it possible to capture motion blur even in bright conditions.
Do I need special software to edit my light trail photos?
While basic adjustments can be made with free software, programs like Adobe Lightroom or Photoshop offer more control over contrast, color, and noise reduction. These tools help enhance the clarity and impact of your motion blur images.